.Obj Export - Exporting Wavefront .obj Files
Before you Export your scene, there are some steps you can take to help ensure that you'll get the expected results...
- If you are using HyperNURBs Objects, make sure that the "Subdivision Renderer" setting is correct - the mesh will be subdivided in the .obj file using the Renderer setting, NOT the Editor setting.
- If you are using Symmetry Objects in your scene, you might want to collapse them and fix up the uv-mapping before Exporting (you'd likely want to do this anyway, in order to fix up your Group and Material selection tags).
- If you're expecting 'Groups' in the file, make sure that you have your Polygon Selection Tags set up correctly, uniquely named and listed in the Group Tag (which would need to also be on the mesh).
- Ditto the above, for 'UVMapper Regions' and the Region Tag.
- Make sure that your Materials have unique names, with no spaces in them.
- Make sure that you have (uniquely named) Polygon Selection Tags set up for your intended Material zones and that your Texture Tags point to them (in the Texture Tag's "Selection" field). See the section on Materials for details.
- If you have objects in the scene that you don't want Exported to the .obj file, you can simply 'hide' them in the Editor - Riptide Pro will only Export unhidden objects*, that are also not being masked by an "Export Mask Tag".
- If you have objects in the scene that you don't (ever) want Exported to the .obj file, you can use an "Export Mask Tag" and still leave them visible in the Editor.
- Material names should not contain spaces.
- Polygon Selection Tags should not contain spaces.
(* this is now an 'option' in v1.3)
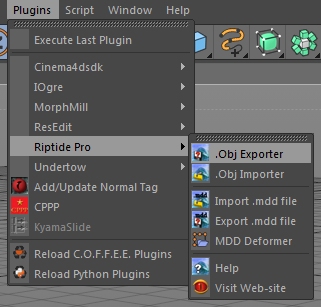
Once you're ready to Export, the first thing to know about Exporting .obj files with Riptide Pro is that the plugin does not 'replace' the built-in Wavefront .obj filter (it's not actually a 'Filter' plugin), so you'll find it under the "Plugins" menu...
After activating the menu, you'll be prompted with a standard File Requester, to allow you to choose the name and location of the file to be Exported. After choosing the name, the Export dialog will open...
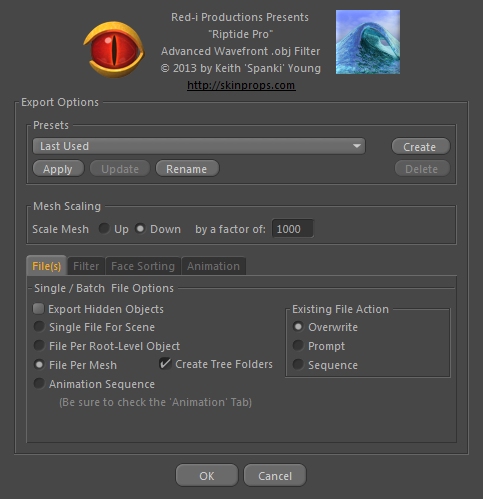
...due to the differences in the nature of Importing vs. Exporting, there are fewer overall options for Exporting - most of the additional Import options deal with how the mesh gets presented inside Cinema 4D - however there are still more options than most 3D Apps allow.
The following related pages (see the menu on the left) will describe the Presets and Mesh Scaling sections, along with the individual File(s), Filter, Face Sorting and Animation tabs.