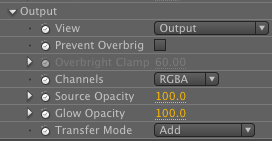
Radium Glow plug-in: Output group
The Output group controls how the glow gets blended. Output controls let you change viewing options, and control the compositing of the glow and source image. This group controls the rendering of the final glow output with the source in the layer. You have control over the compositing with settings for footage opacity, glow opacity and transfer modes. The term 'bmap' is shorthand for 'brightness map'.

View pop-up
The View pop-up lets you see three different options.

Output: The default setting. This shows you the results of Radium Glow, or how the image is being blended with the filter. You'll generally set up your effect with Output chosen. Output should always be used for final render of the glow.
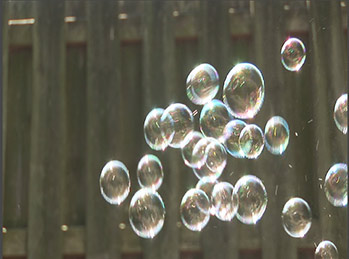
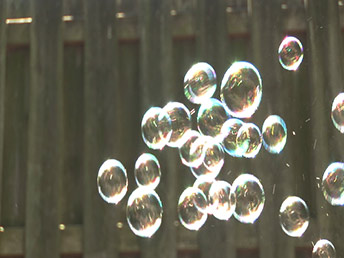
At left, original footage from ArtBeats. At right, View> Output shows the effect of Radium Glow.
Brightness Map: Shows a representation of the brightness values that are being used to generate the glow. This is a great option to toggle with Output, as it lets you clearly see what is being affected in your image. The Brightness Map is affected by all values in the Main group and Input group.


View> Brightness Map. At left, Threshold 50. At right, Threshold 20, which affects fewer pixels.
Mask: Shows the mask being used by the Mask controls. This is a view of the built-in mask shape or the custom alpha loaded into Mask Layer. (See Mask> Mask Layer.) You will use this View option simply to check what the glow's specified alpha channel looks like.
If Mask> Enable Mask is unchecked, this means the Mask Layer setting is not active and you will see a blank, white layer. If Mask Layer is active but no custom Mask Layer is chosen, you will see the Radium Glow built-in mask shape, which is a small feathered ellipse. If the Mask Layer is active and a custom layer is chosen, you will see that custom alpha, as shown in our example below.
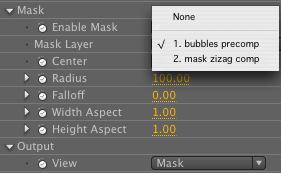
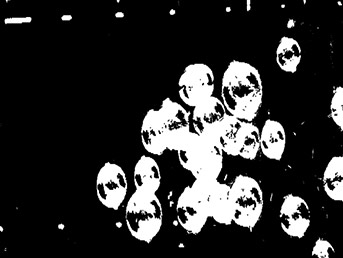
View> Mask. At left, Mask Layer loads a pre-comped layer with alpha channel. At right, a view of the alpha channel.
Prevent Overbrights
Prevent Overbrights and Overbright Clamp (see below) are used to control the brightness of the final image. The desired result for both is a more controlled glow. This can temper the extremely high intensities made possible by settings such as Glow Intensity, and keeps your image in the color-safe range for broadcast.
The Prevent Overbrights checkbox is essentially a range remapping control. When it is active, values that are brighter than 100% white are remapped to the top of the color-safe range. This remapping makes the brightest 20% of the values fit into normal 0-255 8-bit color range. Note: This happens before the final compositing, so the source values may still have overbrights in the final image. By default, Prevent Overbrights is turned on.

Overbright Clamp
When Prevent Overbrights is checked, Overbright Clamp is activated. This also reduces luminance or saturation to a broadcast-safe level. Clamp simply changes the maximum glow value from 100% to a range-dependent value. The default value is 100%. The result is that brightness levels are adjusted so that the white point is shifted, but you don't lose the 'whiteness' of the brightest areas. White is still 100% white, but there are more transitional values in the glow falloff.
For example, at a Clamp value of 90, 90% of the brightest values will be constrained, but some overbright values will still appear in the final Radium Glow result. This makes for a smoother transition with more gradation. It also avoids an artifact-heavy halo effect which could cause a bleeding of color into surrounding pixels.
Channels
Channels controls which image channel the output is rendered into. Options include all channels (RGBA), just RGB, and the individual channels Red, Green, Blue and Alpha. You can see its effect when you view the channel in its own channel mode in After Effects, and when you view the channel in full RGB mode.
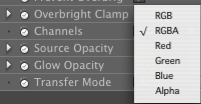
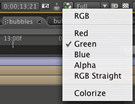
The Channels menu, showing output options and the view controls in After Effects.
At left, the pop-up option for Channels. At right, the channel choices in After Effects' composition window.
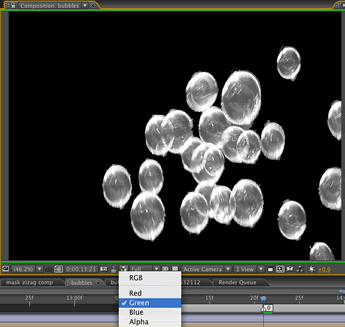
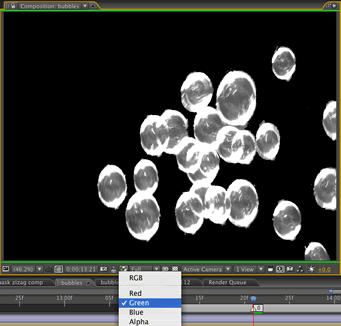
At left, the source layer's Green channel is selected, but the Radium Glow filter is turned off.
At right, the source layer's Green channel is selected, Radium Glow is turned on, and Output> Channels 'Green' option is selected.
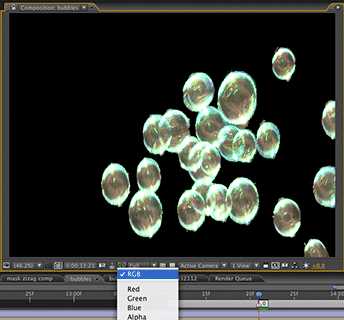
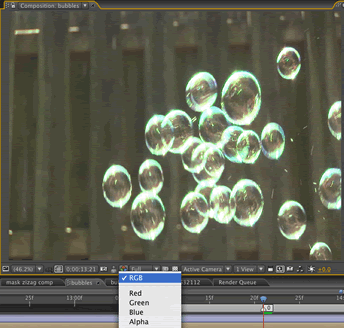
At left, the source layer's RGB channel is selected and Output> Channels 'Green' option is selected.
At right, the source layer's RGB channel is selected, Output> Channels 'Green' option is selected, and After Effects is ignoring the alpha channel of the source layer.
Source Opacity
This parameter controls the opacity of the footage to which Radium Glow is applied. The default value is 100%, meaning the footage is fully opaque. Lowering Source Opacity can create really nice effects because the glow takes on more bright/dark contrast against the image. At low values, the image may look blurred out.
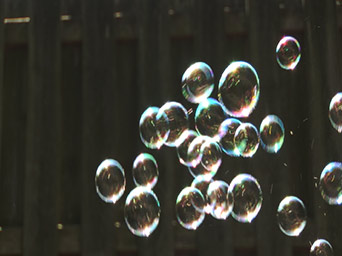
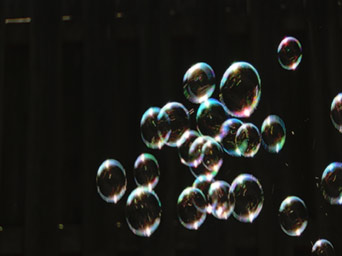
At left, Source Opacity 50. At right, Source Opacity 20.
Glow Opacity
This parameter controls the opacity of the glow itself. The default value is 100%, meaning the glow is fully opaque. Lowering Glow Opacity makes the entire glow effect lighter in relationship to the source footage. Changing this value works just like changing the exposure of the glow. In the default Add mode (see below), changing the Glow Opacity from 100% to 50% would be the same as decreasing the exposure of the glow by one stop.
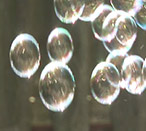
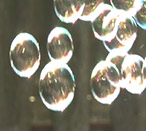
At left, Glow Opacity 10. At right, Glow Opacity 100.
Transfer Mode
This pop-up features a number of common blend modes, including: None, Behind, Normal, Add, Screen, Multiply, Overlay, Soft Light, Hard Light, Color Dodge, Color Burn, Darken, Lighten, Hue, Saturation, Color, and Luminosity. The default mode is Add.
The compositing modes blend the glow's output with the source using the source and opacity values. This works in the same way as if you were compositing the effect and the source on two layers and choosing a blend mode to combine the layers. Radium Glow simply does this without having to use separate layers. All of these modes produce results that are visually equivalent across all hosts and work in all bit depths.
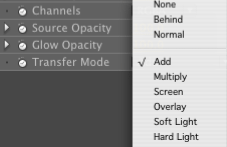
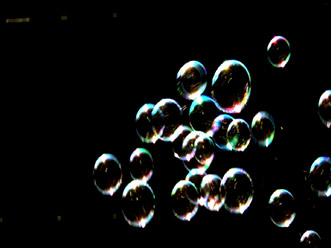
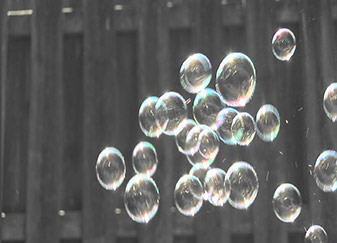
Left to right, Hard Light mode and Saturation mode.