Radium Glow plug-in: Mask group
These settings let you constrain the area that is used in the creation of the brightness map (or 'bmap') and, correspondingly, the glow area in the frame. You can either use Radium Glow's built-in elliptical mask, or choose another alpha layer to use as the matte. For all grayscale masks, white shows the glow, black hides the glow, and gray values partially show the glow.
NOTE: The View popup lets you see what's going on in your image. When View is set to Mask option, you see the mask being used by the Mask parameters. This is how we generated the screen shots on this page of the glow mask. See Output group> View pop-up.
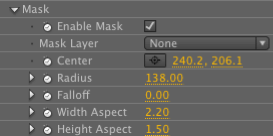
Enable Mask
This check box simply turns the use of the mask on and off when creating the bmap. Once Enable Mask is checked, the glow effect is immediately constrained by the default mask. Checking Enable Mask activates the Mask Layer setting plus all of its transform options. (See below: Center, Radius, Falloff, Width/Height Aspect.)


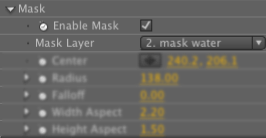
The Enable Mask with controls active. When a Mask Layer source is chosen, the other controls are ignored.
Mask Layer> None
This control lets you choose another layer's alpha channel as the source for the mask. Only the layer's alpha channel is used; RGB values are ignored. By default, the Mask Layer control is set to None (or empty) and thus the built-in elliptical shape is used instead. When the built-in mask is used, the other Mask settings are active. The built-in mask will always take a circular or oval shape, and it will always have a gradual falloff from a bright centerpoint to a darker edge. To make an irregularly shaped mask or one that is not feathered, you will want to create and load a custom mask. (See below, Mask Layer> Custom.)

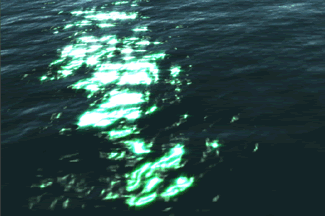
At left, the original ArtBeats footage. At right, Radium Glow applied without a mask.
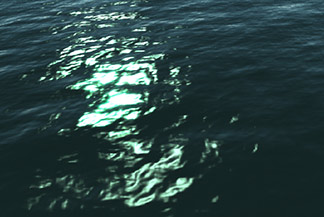
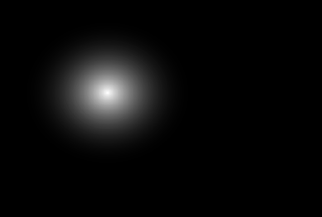
At left, the Radium Glow is constrained to the top center by the built-in mask. At right , the built-in mask (as applied to our image) after it has been reshaped by Center, Radius, Fallout, and Width/Height Aspect.
Mask Layer> (Custom)
The Mask Layer can be set to another layer that contains an alpha channel. The RGB values of this layer are ignored; only the alpha is recognized. When a custom alpha is used, the transform Mask settings are inactive but their controls do not gray out. Note: If you are using an After Effects shape layer, that layer must be pre-comped for the filter's Mask Layer to recognize it.
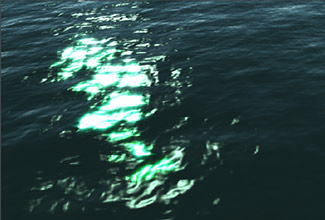
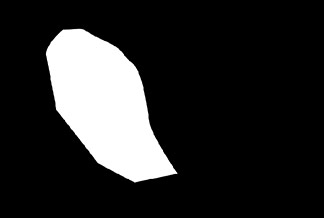
At left, the Radium Glow is constrained by a custom mask. At right, the pre-comped alpha channel generating the custom mask.
Center
This sets the center point for the mask with X, Y coordinates. Default value places the mask in the center of your comp.
Radius
Controls the size of the ellipse in pixels. The output is actually twice as wide as this value. The default is 100 and thus will create a circle that is 200 pixels across.
Falloff
Changes the brightness or softness falloff of the mask. A value of 0 creates a mask with a direct gradation from white at the center to black at the edge. A value of 1.0 (the maximum) will dim the mask to black. If you can't see the built-in mask, check Falloff to make certain it isn't maxed out to 1.0. The default value is 0.
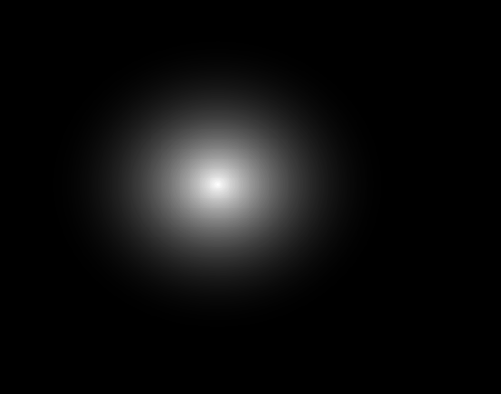
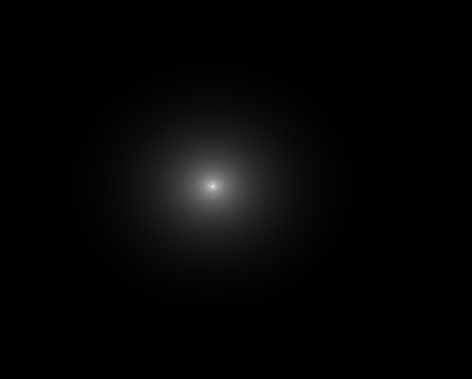

Left to right, Falloff 0 (default), Falloff 0.5 and Falloff 1.0.
Width Aspect
Controls the ratio of the width to the height with this control. Values larger than 1 will cause the mask to stretch horizontally, creating an elongated ellipse. A value less than 1.0 will compress the mask and make it look taller than it is wide.
Height Aspect
Controls the ratio of the height to the width and stretch or compress the mask shape on the vertical axis. This control works the same as the Width Aspect with large values elongating the mask, while small values will pinch it vertically. Note: If the aspect values are equal at any value, then you end up with a circle.