
Radium Glow plug-in: Input group
This group of controls lets you fine tune where the glow appears in your image. You can change the channels source, interpolation quality and brightness map (or 'bmap'). You can change the bmap using blurs, subsampling, channels and value clamping. The bmap is created from one of the RGBA channels in the source frame.

Glow Layer
Glow Layer will calculate the brightness of a loaded layer with the brightness of the source layer (to which Radium Glow is applied). Changing the Threshold value will change the Glow Layer's effect. You will see more of a difference if you use a layer with a lot of contrast, such as our example below.

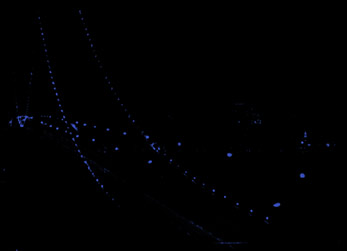
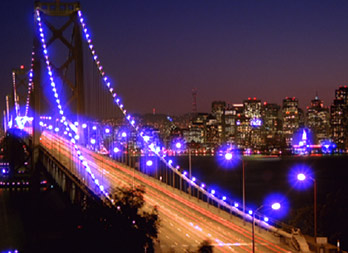
At left, Glow Layer loads in a pre-comp. In middle, the pre-comp that is loaded. At right, the results. Note how the blue map creates just blue glowing areas in the output.
Blur Input
As the name indicates, this control blurs the bmap. Blur Input can be used to the soften the appearance of the bmap, making the lighter and darker areas less pronounced and causing a smaller overall glow. This control has a small range of values, from 0 to 1, with 0 as the default. A higher setting softens and lessens the effect of the glow. This will have more impact if your image is high-contrast, such as our example below.
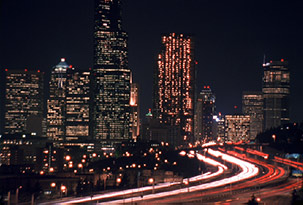
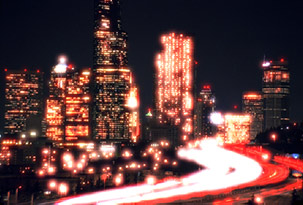
At left, our original Artbeats footage. At right, Blur Input 0.
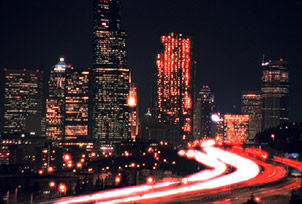
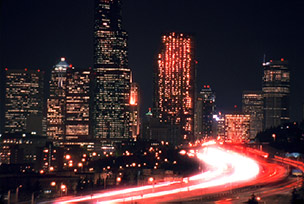
At left, Blur Input 0.2. Below right, Blur Input 0.5.
Quality pop-up
Quality determines how quickly your glowing image builds and how accurately its glow points adhere to the brightness values. It does this by subsampling the underlying brightness map ('bmap').
Higher subsampling will speed up the rendering quite a bit. At higher settings, the glow builds more quickly but can appear a bit blobby or chunky. Setting Quality to 4:1 or 8:1 is great for a faster workflow when you're designing the effect. At lower settings, the glow takes longer to build, but its results are more streamlined and make your image look better stylistically.
1:1: Samples every pixel in the source to create the bmap. You will want to do your final render at 1:1 or 2:1.
2:1: Samples every other pixel or half the pixels to create the bmap.
4:1: The default setting. Samples a quarter of the pixels to create the bmap.
8:1, 16:1: Samples 18 or 1/16 of the pixels to create the bmap. Values above 4:1 may create distorted glow results. Because the subsampling will change the bmap from frame to frame, you will see a flicker in the glow output, which can be distracting or cool depending on your taste.
Please see the Premiere Pro page for notes about that host application.
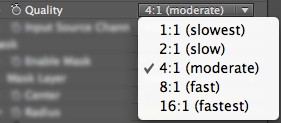
Quality pop-up trades off accuracy and speed
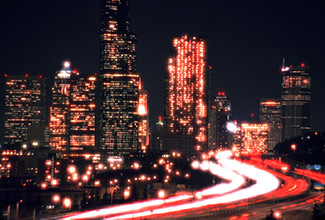
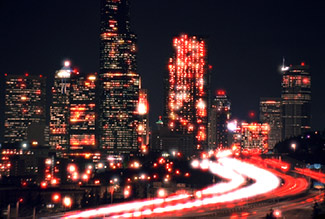
Top left, Quality 1:1. Top right, Quality 4:1 (default).
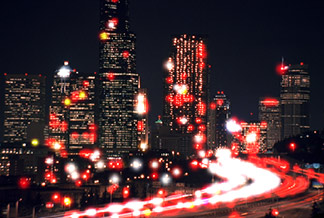
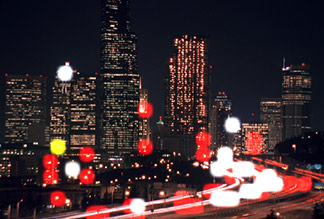
Bottom left, Quality 8:1. Bottom right, Quality 16:1.
Input Source Channels
This pop-up lets you select the source channel for the creation of the bmap. Let's look at its seven choices.
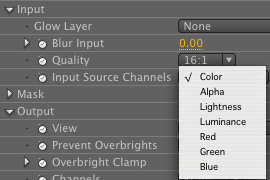
Input Source Channels
Color: The default setting. This option creates a bmap for Red, Green and Blue channels. This is consequently the slowest mode because it has to render in all three channels.
Red, Green, Blue: Each option creates a bmap from the Red, Green or Blue channels. A histogram is created for the brightness distribution of any of these colors individually. Choosing Red, Green, Blue, Luminosity, Lightness or Alpha (basically, any option but Color) will generally tone down the colorfulness of your glow and give you whiter values.
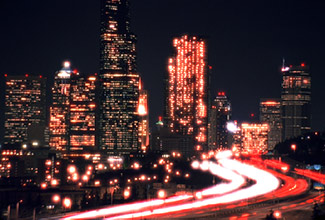
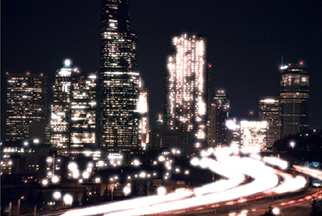
At left, Input Source Channel 'Color' (default). At right, Input Source Channel 'Red'.
Alpha: This option uses the alpha channel of the layer. The more grayscale values in your alpha channel, the more intermediary values will be in your glow. This is because white shows the glow, black hides the glow, and gray values partially show the glow. If there is no alpha in your footage, you will see a white image when Alpha is chosen.
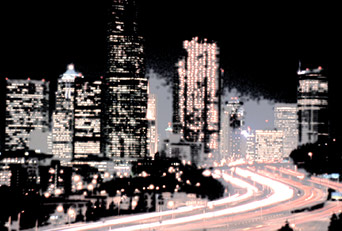
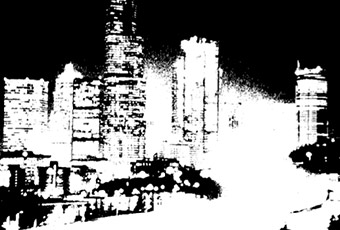
At left, Input Source Channel 'Alpha'. At right, the footage's alpha channel is being used. This example uses After Effects' built-in Color Key filter to generate a crude mask with very few gray values.
Lightness, Luminance: Each of these options creates a single glow channel for RGB based on the Luminance or Lightness in the image. These options can create slightly different results. Luminance is a histogram based on the human perception of the brightness of RGB values, which is most sensitive to green and least sensitive to blue. Lightness is based on a histogram of the true brightness values of all three color channels. Depending upon your image, the brightest values could get clipped in either option, which changes the overall distribution of the glow.
Input Source Channel 'Luminance'.