Blacklight Edges plug-in
Blacklight Edges makes your image appear as if the edges have been placed under a blacklight. To create this effect, the plug-in runs an edge detection algorithm on your footage, then maps a specialized color gradient to the resulting edges.
Blacklight Edges creates a very stylized look, like the Goth and Heat Vision filters. Its controls and results are limited compared to the Roto Toon and Outlines Only filters. The controls are Blur options, Edge options, and Blend with Original.

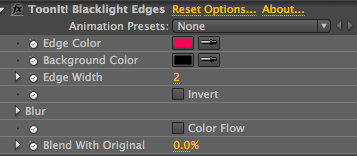
The full control list for Blacklight Edges plug-in.
Edge Color well
Blacklight Edges maps a color gradient to the edges it detects in your footage. This control sets the color that is mapped to the edges. The color will be arranged in a varying gradient on the edges. The edge color is mapped with its complementary color (opposite on the color wheel) directly at the extreme outside parts of the edges. The default is magenta (a purplish red).
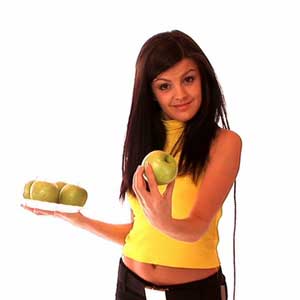
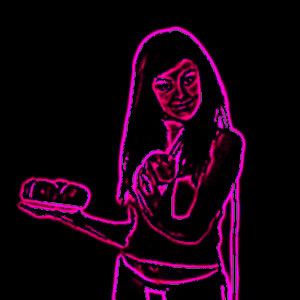
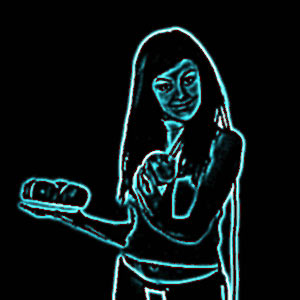
At left, the original footage. In middle, Blacklight defaults applied. At right, Edge color changed to blue.
Background Color well
Blacklight Edges maps a color gradient to the background, or non-edge area, of the footage. This control chooses the color of the background. The default is black.
![]()
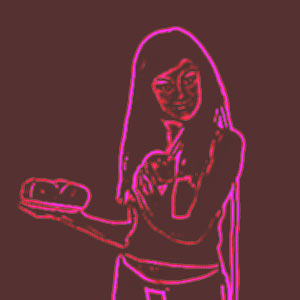
The Background Color has been changed to a reddish gray. The Edge Color stays at its default, but notice how much lighter it appears because of the decreased contrast.
Edge Width
This sets the width of the rendered edges. The default is 3. Values range rom 1 to 5. Higher values make the edges thicker.
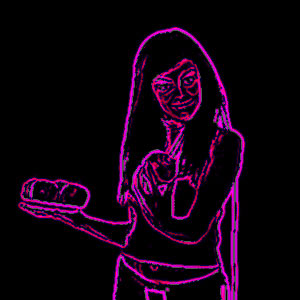
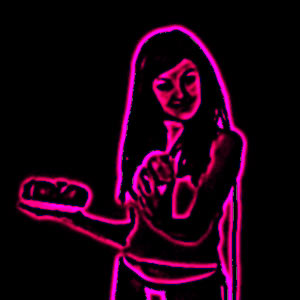
At left, Edge Width at 1. At right, Edge With at 5. The details get blurred at higher line widths, which gives the footage a softer look.
Invert checkbox
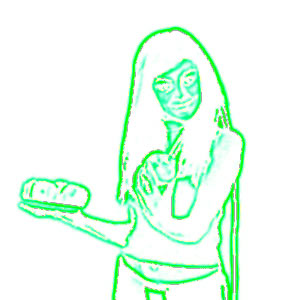
This checkbox inverts the edge effect. If you are using the default colors of magenta against black, the edges will be green-blue and the background will be white.
This effect isn't always interesting immediately, as often the line thickness can get exaggerated. If you play around with the Background and Edge Width colors, then it can become more useful.
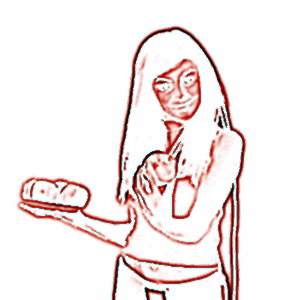
![]()
At left, the default colors are inverted. At right, the Edge Color is changed to blue, which makes the edges red (its inverse).
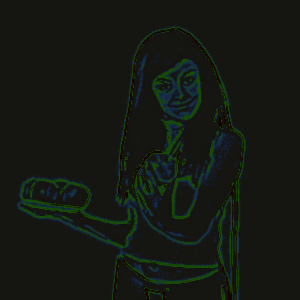
![]()
Here the Background Color is white, which makes the background black (its inverse).
Color Flow checkbox (NEW to v2.0)
This is a somewhat tricky effect to describe. It basically washes the entire image with green, red, or blue, depending on the color of the outline. To some degree, the wash color will be the complementary color of the outline (at the opposite side of the color wheel). However, since Color Flow is limited to three colors, it’s not exactly complementary. For instance, if you have red outlines, the wash is cyan; if you have yellow outlines, the wash is blue; and so on.
The result is that dark areas of the image stay dark, but lighter areas really pick up the color of the wash. The outlines themselves are not usually affected by the wash, but occasionally can be.
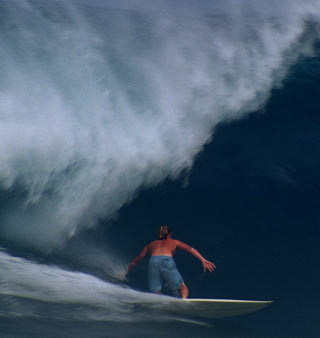
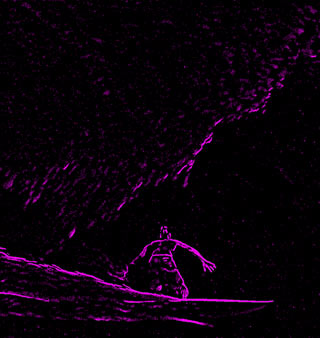
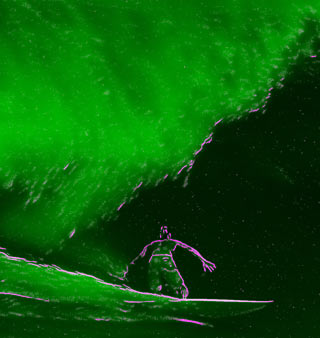
At left, the original image. In middle, the Blacklight defaults. At right, with Color Wash turned on.
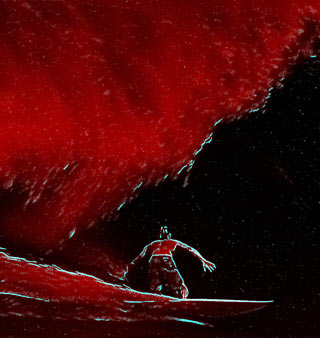
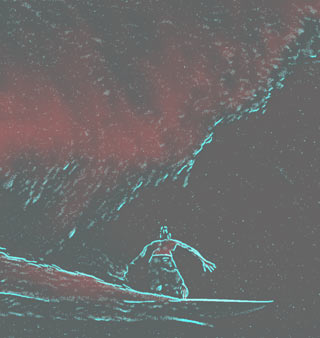
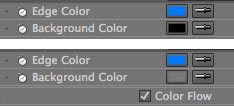
At left, Edge Color is blue. In middle, Background Color is gray. Color Flow is turned on for both images. At right, the color wells.
IMPORTANT: Color Flow only works with colors that have 100% in the Saturation component of HSB color space. This means that when you open up the Color Picker to pick a new color, the color has to have 100% as its ‘S’ value. (It can’t be 99, it must be 100.) This creates happy, bright, fully saturated colors.
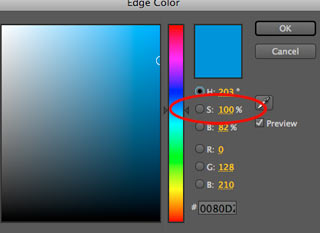
The 'S' value must be set to 100% for any Color Flow color.
Blend With Original
This is a percentage slider that will fade the Blacklight results back into the original image. By default, this is set to 0 and turned off. Higher values make more of the underlying image show through.

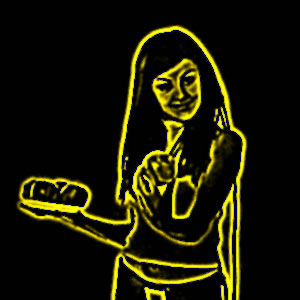
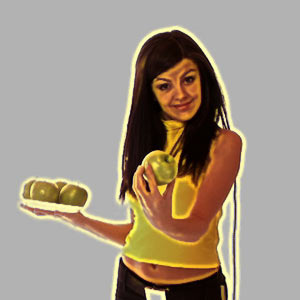
At left, original image. In middle, Blend at 0 (turned off). At right, Blend at 70 makes an interesting glow effect.
Blur group
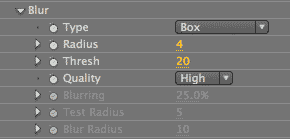
This group of controls sets the Blur style and properties used by the Blacklight Edges rotoscoping algorithm.
Blur Type pop-up
These three Blur methods give you a choice of the type of blending and smoothing that will occur among the line segments created by Blacklight Edges. Select between a Box Blur, Gaussian Blur or Supersmart Blur. Each Blur Type will enable different Blur options, which are explained on this page.

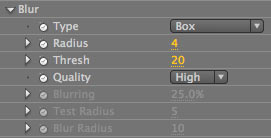
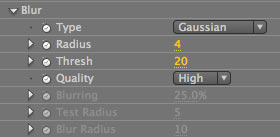
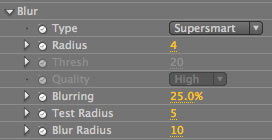
Blur Type> Box Blur
Box Blur is selected by default. This option will generally give you the best final results. In this blurring technique, each pixel in the resulting image has a value equal to the average value of its neighboring pixels in the input image. A Box Blur can approximate a Gaussian Blur effect, but it uses a much simpler algorithm which is significantly faster.
Blur Type> Gaussian Blur
Gaussian Blur tends to soften the image. This blurring technique typically reduces image noise and reduces detail. The Gaussian formula produces concentric circles of distribution from a center point, with the original pixel's value receives the heaviest weight and neighboring pixels receive smaller weights as their distance from the original pixel increases. This results in a smooth blur that preserves boundaries and edges better than more uniform blurring options.
Blur Type> Supersmart Blur (NEW to v2.0)
Supersmart Blur creates a smarter, more detailed blur. This option will smooth and simplify an image or video frames while still maintaining high-contrast detail. The advantage of Supersmart is that it can be better at at removing unwanted noise and artifacts, while still making each frame look relatively crisp and in focus.
Box Blur and Gaussian Blur are based on bilateral filtering, with some additional tweaks. Supersmart Blur is a smart blur that is based on a different principle. You will see less difference between the Box and Gaussian Blurs than you will in comparison to the Supersmart Blur.
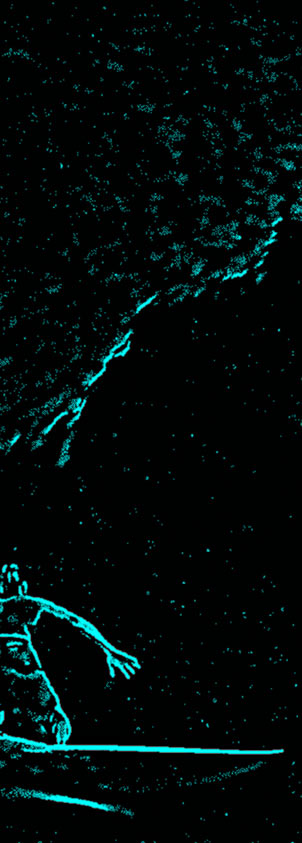
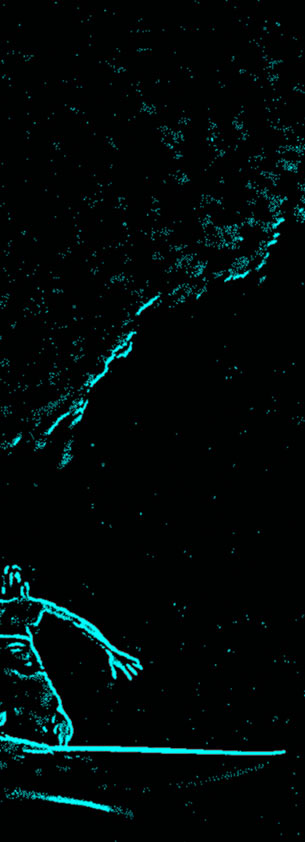
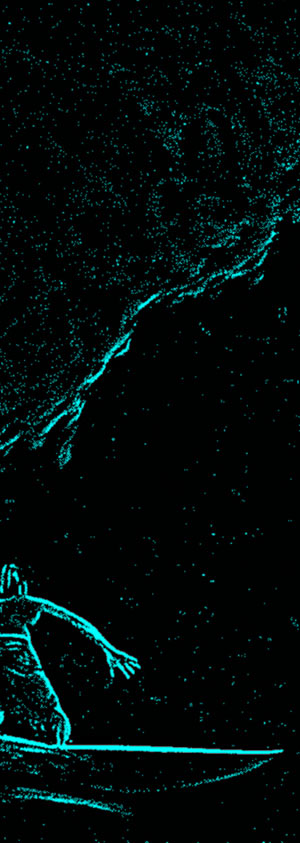
Left to right: Default results for Box Blur, Gaussian Blur, Supersmart Blur. Box and Gaussian always have less difference than Supersmart.
Radius
This control is active for all three Blur Type options.
Radius defines the 'radius', or size of the area in an original video frame whose pixel colors are blended together. This blend area sets the color of each pixel in a blurred video frame of the selected Blur Type.
The default is 4 and value range is 1 to 30. A higher Radius will smooth out the segment edges between the dark, midtone and highlight colors. The edges will become more rounded, especially if you have Thresh set higher than the default value. At a higher Radius, the image will be translated into fewer lines. A value of 0 will turn off the Blur Type.
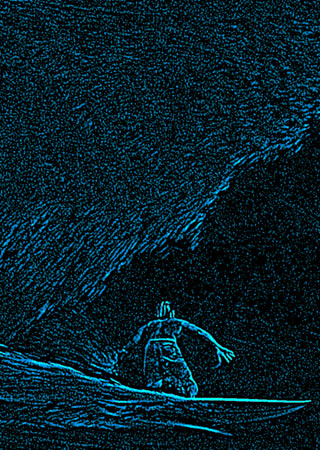
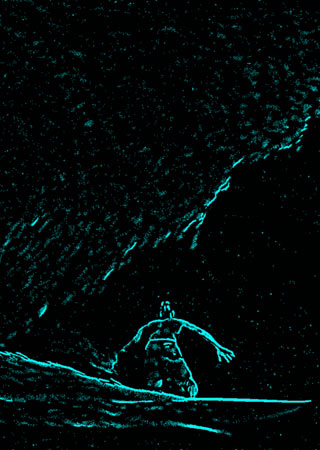
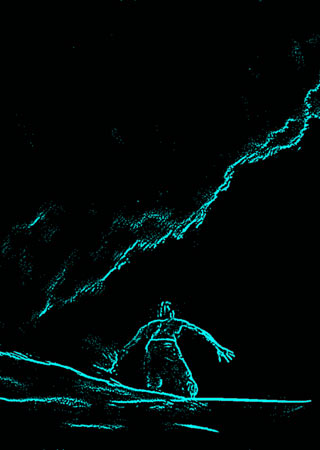
Left to Right: Radius 1, 4 (default), 20. At a higher value, the colors blend more smoothly.
Thresh (Threshold)
This control is active when Box Blur or Gaussian Blur are chosen.
Threshold determines how similar or dissimilar colors will be affected by the blurring before being passed to the edge detection algorithm. Default is 20 and value range is 1 to 35. The higher this value is, the wider the range of colors that will be blurred together.
You can look at Thresh (Threshold) as being similar to the Tolerance value for Adobe Photoshop's Magic Wand selection tool. Only colors that are inside the Radius' area definition and within the Thresh/Tolerance of the color at the center of the blur will be blurred together.
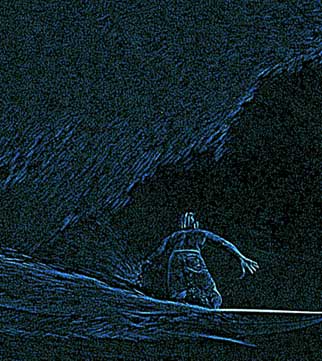
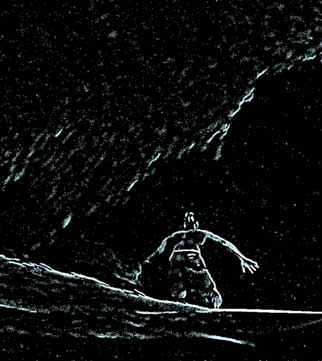
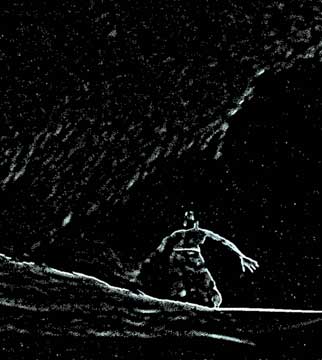
Left to right: Thresh 1, 20 (default), 35. At a higher value, there is more blend/blur in the edges.
Quality pop-up
This control is active when Box Blur or Gaussian Blur are chosen.
The Quality menu lets you switch between a quick-and-dirty and a high-quality blur. The pop-up menu has two options, a Fast blur and High blur. Where you leave this option depends in part upon how fast your system is. The Fast setting renders more quickly but with less detail. The High setting takes longer to render but gives more definition to the edges. Leave Quality set to Fast when you need control tweaks or interaction to be relatively quick. Always set it to High prior to rendering the image as a final output.
The Blur Quality value determines the amount of detail that is affected by any setting. The image edges won’t hold as true to the original image at a lower Fast Quality than at the High Quality setting. This control is disabled when the Supersmart option is chosen for Blur Type.
Note about Supersmart controls
You can look at Blurring, Test Radius and Blur Radius as three controls that work directly with each other when Supersmart Blur is chosen.
Imagine that Blur Radius creates a blurred image from the original source footage. Supersmart Blur wants to blend the original and blurred images together. To do this, Blurring and Test Radius work together to create something like an alpha channel for the Supersmart blending. Where the level of detail/contrast is high in the original image, more of that original shows up in the final blended result. Where the level of detail/contrast is low, less of the original image shows up in the result.
Blur Radius (NEW to v2.0)
This control is active when Supersmart Blur is chosen.
As mentioned above, Blur Radius essentially generates a blurred image from your original image. Values go from 1 to 30. The default is 10. At higher values, the blurred image that Supersmart Blur creates is... blurrier! This blurry image is then selectively blended with the original image to produce the output.
In our tests, Supersmart Blur gives the best results when Blur Radius is kept around twice Test Radius, but your mileage may vary. (see examples below in Test Radius)
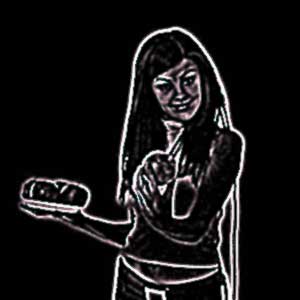

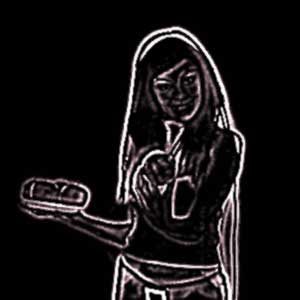
Left to right: Blur Radius of 1, 10 (default) and 30. The higher the value, the more blurry the image is.
Blurring (NEW to v2.0)
This control is active when Supersmart Blur is chosen.
Blurring creates a defined amount of blurring on the image. Values go from 0 to 100. The default is 25% and this creates a slight blur.
At 0%, Blurring copies the original image to the output, so none of the image is blurred. At 100%, it copies the blurred image (that Blur Radius has made) to the output, so all of the image is blurred. At mid-range values like 50%, Supersmart Blur creates an intermediate blend of the original and blurred images.
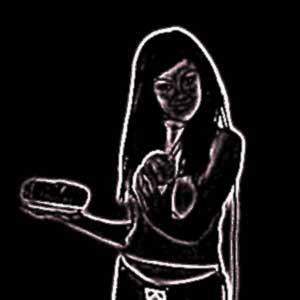
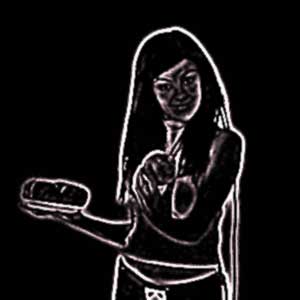
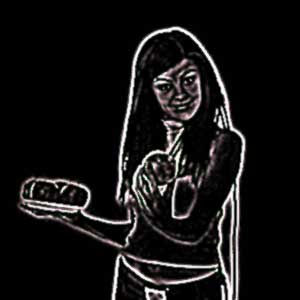
Left to right: Blurring of 0, 25 (default) and 75. The higher the value, the more blurring there is.
Test Radius (NEW to v2.0)
This control is active when Supersmart Blur is chosen.
Test Radius has a unique role. It tests or measures the contrast and level of detail in a defined area (or 'radius') of the original image. This lets Supersmart Blur figure out how much level of detail there is in each part of the source image so it can work its magic. Values go from 1 to 30. The default is 5. Higher values sample from a larger area (or radius) of the image.

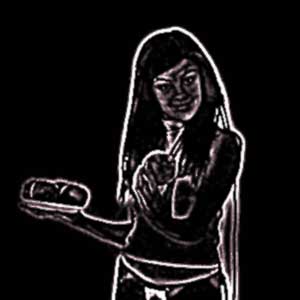
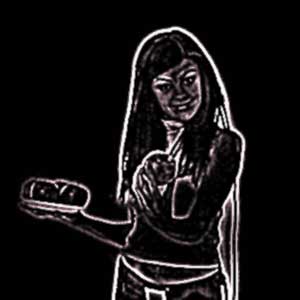
At left, Test Radius of 5 (default), Blur Radius of 10. In middle, Test Radius 10, Blur Radius 10. At right, Test Radius 20, Blur Radius 30.
We think the results of Test Radius look best when Blur Radius is double its value.