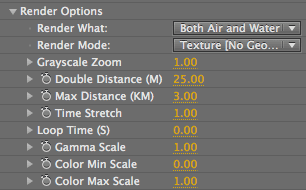
Render Options group
In addition to Render What and Render Mode, the Render Options section control how Psunami displays its water scene. These options include being able to stretch or loop the animation time, and controlling the gamma and color in your scene.

Render Options group.
Render What pop-up
These settings determine if your scene renders just the air, just the water, or both in your scene. Read more here.
Render Mode pop-up
This pop-up controls how your Psunami scene will be displayed and rendered. Read more here.
Grayscale Zoom
Lets you zoom into and out of the grayscale image you see in the Grayscale Render Modes. This does not affect how your scene is rendered in any of the other modes.
Grayscale Zoom is intended to be an aid in positioning the camera and Image Maps in your scene. Of course, if you're rendering in a Grayscale mode in order to use the results as a displacement map in a 3D program, zooming in or out of the image will affect your final render. In this case, you can use Grayscale Zoom as an easy way to scale your displacement map before rendering.
To zoom into the grayscale image, decrease the Grayscale Zoom value. The top left image shows the default settings in Grayscale (No Icons) mode with a Grayscale Zoom value of 0.25. To zoom out of the grayscale image, increase the Grayscale Zoom value. The top right image on the following page shows the default settings in Grayscale (Icons) mode with a Grayscale Zoom value of 4.
You'll notice that in Grayscale (Icons) mode, zooming out also zooms out your camera and image icons proportionally. This lets you see the relative placement and size of the Image Maps and the camera's position and field of view in your overall scene.
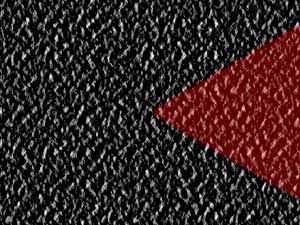
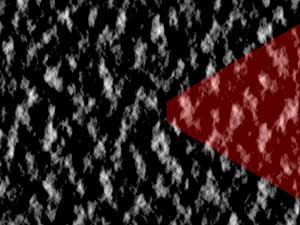
Left to right, Grayscale Zoom at 1.0 and 0.3.
Double Distance (M)
Sets the distance from the camera's current position, in meters (hence the M), at which Psunami will reduce the resolution of the ocean mesh by one-half, to speed up rendering. The farther from the camera the mesh surface is, the less detail you can see in your final render.
Psunami takes advantage of this to improve the processing time required for polygon rendering by reducing the fineness of the polygon mesh once the mesh is a given distance from the camera. When Psunami reduces the mesh resolution, it does so by simply skipping over every other polygon and doubling the size of the remaining polygons.
This process is progressive, meaning that Psunami cuts the resolution of the mesh by half each time the Double Distance is reached. In other words, with a Double Distance of 25, when the mesh is 25 meters from the camera, its resolution is reduced by half; when the mesh is 50 meters from the camera, the mesh is again reduced by half; and so on.
This process continues until the mesh reaches the maximum distance as set in Max Distance. By reducing the resolution of the mesh in this way, Psunami can render faster, since there are fewer polygons to process. Double Distance is calculated relative to the camera's current position in each frame, so you don't have to worry about animating the Double Distance value to compensate for a moving camera.
Normally, the default Double Distance value of 25 meters is adequate for most situations, but if you've placed your camera relatively high above the ocean, you may want to increase the Double Distance to a higher value to keep the resolution of the more visible areas of the mesh higher. The top left image on the following page shows a Psunami scene with a high camera and a relatively low Double Distance.
If you look closely, you can see where the mesh resolution changes, about halfway from the foreground to the horizon. Eventually, the short Double Distance makes the mesh flatten out completely, reducing the realism of the scene. Increasing the Double Distance helps smooth out this transition area and make the mesh reduction less obvious, as in the image above right. (Remember, however, that increasing the Double Distance creates more polygons, so your render times will increase accordingly.)
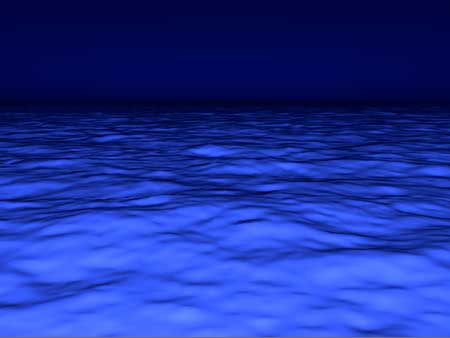
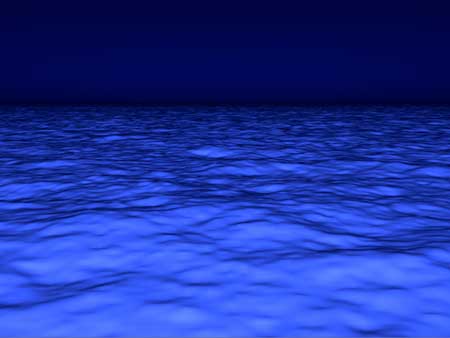
Left to right, Double Distance at 20 and 50. We used the Luminance> Glowing Blue preset.
Max Distance (KM)
Sets the distance from the camera's current position, in kilometers (hence the KM), beyond which Psunami will replace the polygons in the ocean mesh with a flat bump mapped plane.
Like the Double Distance Render Option discussed above, Max Distance is a way to reduce the polygons in the ocean mesh and cut down render times. Since the ocean surface seen at a distance of several kilometers has almost no detail, it's overkill for Psunami to keep track of polygons that will not be seen in the final image. So, Psunami uses the Max Distance value to eliminate the unseen polygons entirely and substitute a textured, shaded flat surface, similar to what you see in Texture (No Geometry) Render Mode.
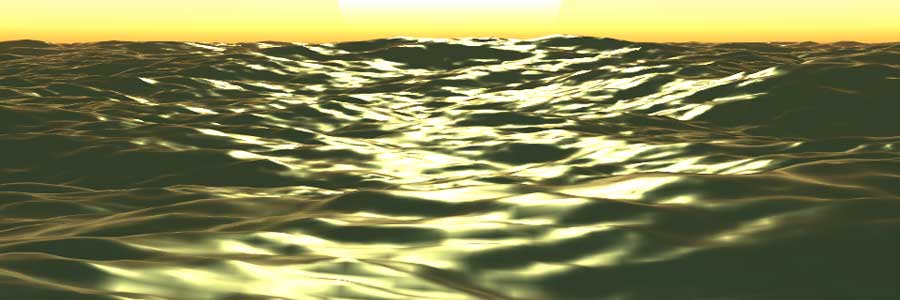
Like the Double Distance option, the default Max Distance value is usually adequate for most scenes, unless you've placed the camera very high above the water. In that case, you may find that the default Max Distance doesn't provide enough detail in the final image, as shown in the top left image on the following page. In this case, increasing the Max Distance can help add more detail to the final scene and increase the realism of the final render, as seen top right on the following page.
Of course, like Double Distance, increasing the Max Distance value will increase the number of polygons in the scene, so your render times will also increase.
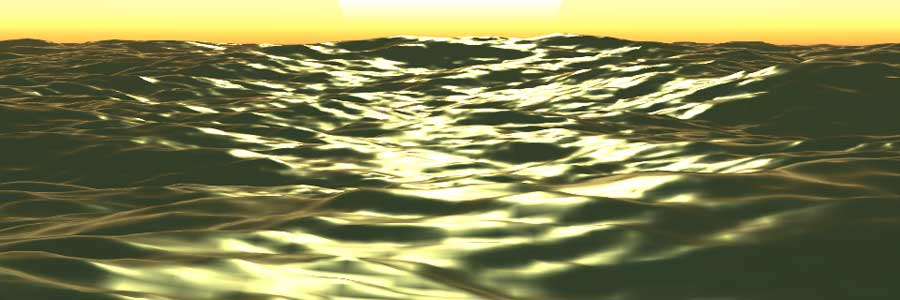
Above, Max Distance at 1. Below, Max Distance at 10. We used the Sunrise-Sunset> Big Gold Sunset preset.
Time Stretch
Lets you control the overall rate of change in Psunami's water surface motion in order to create slow motion or time-lapse effects. As in the real world, Psunami's waves are a result of wind acting on the water in the scene.
You can control to some extent the wave speed and energy by adjusting the Wind Direction and Wind Speed in the Primary Waves property group, but you can't slow down the overall speed of motion in the ocean surface by reducing the Wind Speed — all that happens is that the waves diminish down to nothing. If you need slower or faster wave action than Psunami will let you create with the Primary Waves property group, you can use Time Stretch to control the activity of the water's surface.
A Time Stretch value of 1 is the default, and tells Psunami to calculate the waves in your scene at the normal rate. A value of 2 doubles the rate of change, so that the waves move at twice the speed of the default settings, while still maintaining their other characteristics. You can set this value as high as 600 for extreme time-lapse effects. Setting Time Stretch to less than 1 will slow down the wave motion, which lets you render slow-motion waves. Setting Time Stretch to 0 will “freeze” the ocean in its current state.
Loop Time (S)
Lets you render seamless loops of your Psunami wave geometry for use as continuously looping backgrounds or textures. You can also use Loop Time to increase your productivity, in that you can render out a relatively short looped Psunami movie, import it into your scene, and use that as your ocean texture instead of having to render an entire linear scene from beginning to end.
Loop Time is set in seconds. The default value of 0 tells Psunami to render the scene without looping geometry at all; any higher value tells Psunami to render a scene which will seamlessly loop after the number of seconds you set with the Loop Time slider. This value can be set as high as 600 seconds, so you can render loopable movies of up to 10 minutes in length.
Note that Loop Time only applies to wave motion. If you want your camera motion or other animatable properties to loop, you'll have to set them up yourself. Also be aware that Loop Time interacts with Time Stretch. That is, if you have a Loop Time of 2 seconds and set Time Stretch to 0.5, which slows the wave speed down by half, you'll have to set your composition length to 4 seconds to render out a complete loop.
Gamma Scale
Controls the midpoint values of the colors in your scene, in effect letting you adjust the brightness and contrast of your scene with a single control. Lower Gamma Scale values increase the brightness and decrease the contrast in the rendered scene. A Gamma Scale of 0 results in a pure white image. Higher Gamma Scale values reduce the brightness and increase the contrast in the rendered scene.
You can use Gamma Scale to adjust for overly-bright lighting in your scene or to compensate for the darker renders produced in Too Realistic Render Mode. Gamma Scale also works in Grayscale and Depth Map Render Modes, so you can use it to adjust the contrast in grayscale pixels in a displacement map or to modify the range of grayscale values in a Depth Map.
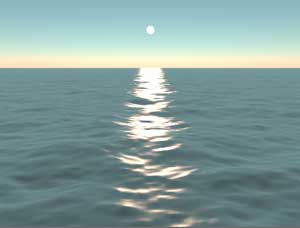
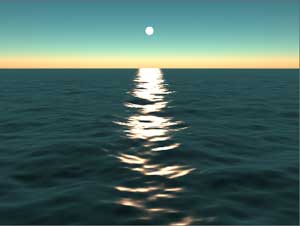
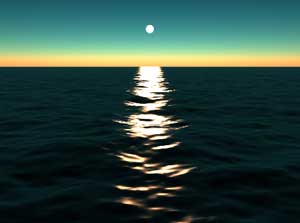
Gamma Scale at 0.5, 1.0 and 1.5.
Color Min Scale, Color Max Scale
These controls work together to control the black point and white point in your Psunami scene. Adjusting the Color Min Scale value upward without adjusting Color Max Scale compresses all the color values in your render towards the dark end of the color range, increasing contrast and decreasing overall brightness.
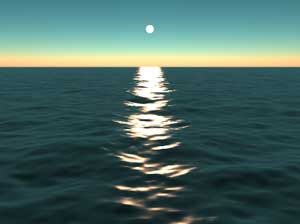
Color Min Scale at 0 (default) and Color Max Scale at 1 (default).
Raise Color Min: Adjusting the Color Min Scale value downward without adjusting Color Max Scale expands all the color values in your render towards the Light end of the color range, decreasing contrast and increasing overall brightness. The image at right shows a default render with a Color Min Scale of –0.5 and a Color Max Scale of 1.
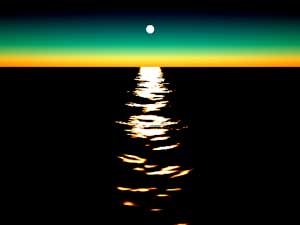
Color Min Scale at 0.5 and Color Max Scale at 1.
No Color Min, raise Color Max: Adjusting the Color Max Scale value upward without adjusting Color Min Scale expands all the color values in your render towards the dark end of the color range, decreasing contrast and decreasing overall brightness.
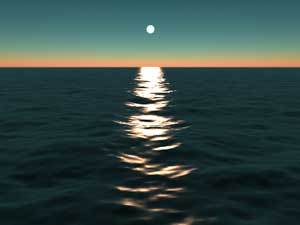
Color Min Scale of 0 and Color Max Scale of 1.5.
No Color Min, lower Color Max: Adjusting the Color Max Scale value downward without adjusting Color Min Scale compresses all the color values in your render towards the Light end of the color range, increasing contrast and increasing overall brightness.
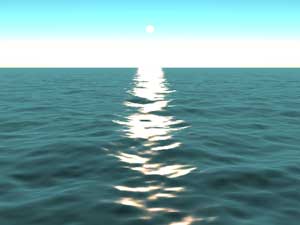
Color Min Scale of 0 and Color Max Scale of 0.5.
Raise Color Min, no Color Max: As you can see, expanding the range between the Color Min Scale and Color Max Scale decreases contrast; compressing the range between the Color Min Scale and Color Max Scale increases contrast. Setting the Color Min Scale value higher than the Color Max Scale value inverts the colors in your scene – useful for rendering those alien environments.
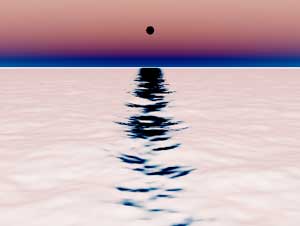
Color Min Scale of 1 and Color Max Scale of 0.
Use Color Min/Max with Gamma Scale
You can use Color Min/Max Scale in conjunction with the Gamma Scale slider to control the black point, midpoint, and white point of your final render. You can also use Color Min/Max Scale in the Grayscale Render Modes to adjust the range of grayscale values in the final render, which is particularly useful if you're using Psunami to generate displacement maps.
Use Color Min/Max with Render Modes
In the Grayscale Render Modes, decreasing the contrast of the grayscale image will result in less displacement overall and smoother transitions between high and low areas in the final displacement. Increasing contrast will result in greater displacement and more abrupt transitions between high and low areas in the final displacement.
Color Min Scale and Color Max Scale are also used in Depth Map Render Mode to set the endpoints of the range from the camera, in meters, where the Depth Map image will transition from black to white. Color Min Scale sets the distance from the camera where the Depth Map image will transition from black to gray. Color Max Scale sets the distance from the camera where the Depth Map image will transition from gray to white.
Finally, you can use Color Min/Max Scale in Light Tracking and Wireframe modes to lighten the default blacks and darken the default whites in the final render.
As you've seen, Color Min/Max Scale have different functions depending on the Render Mode you're working with, and require significantly different values to work effectively in the different modes. To cut down the amount of slider-dragging you'll have to do to work with the various Render Modes, we strongly suggest that you save some appropriate Color Min/Max Scale ranges as Presets to make it easier to jump back and forth between settings.