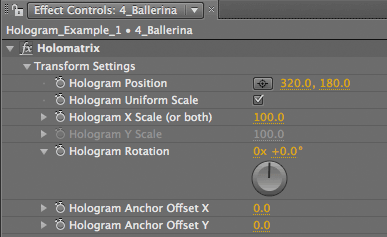
Transform Settings group
The Transform group is a great way to tap into the transformation properties of the Holomatrix effect. Transform Settings is the only parameter group that does not have a checkbox option to activate/deactivate it. This is because Transform parameters are global functions that need to always be accessible.
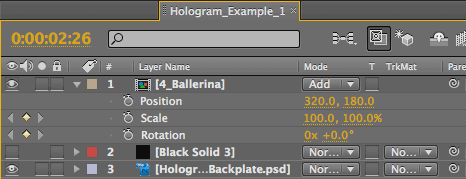
It is recommended to use the Transform group for the Holomatrix layer instead of After Effects' built-in Transform properties. Using AE's Position property will typically have an unwanted impact on parts of the effect, such as unintential cropping of Interference Ghost or Color Separtaion when the source layer is moved. Another unintended example is that AE's Scale property will scale down the Scan Lines effect along with the source image.

![]()

At left, the Transform Settings group in Holomatrix. At right, corresponding Layer Properties in After Effects. It's best to use the plug-in's Transform parameters when affecting the position, rotation or scale of the layer it is applied to.
Hologram Position
Positions the original source footage. The Holomatrix layer isn't really moving, just the source image within the layer. Use this Position parameter -- instead of After Effects' built-in Position property -- to prevent any weirdness from occurring in which the source layer is moved and the edges of effect appear cropped.
Position is especially important when working with effects like Interference Ghost and Color Separation. For instance, when Ghosting is set to large values, the ghosting may get cropped by the bounding box of the source layer.
Default setting is the center of the composition. In our example below, using a 640x320 comp, the Position was initially set to 320,180. You can input numeric values for Position, or use the crosshair to drag the source image to a new position point.
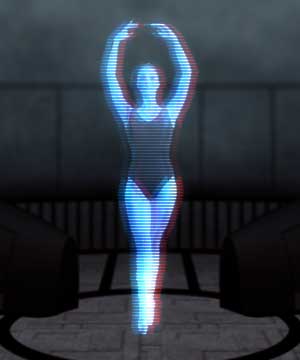
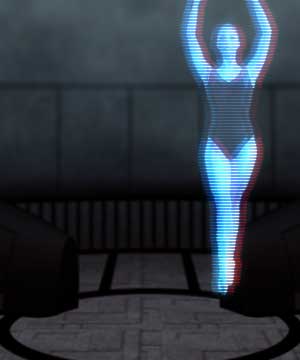
At left, Hologram Position at 320,180, which is center of a 640x320 comp. At right, Position at 400,140.
Hologram Uniform Scale
When turned on, this makes Hologram Scale X control both Scale X and Scale Y. By default, Uniform Scale is turned on and Scale Y is greyed out.
Hologram X Scale (or both)
Scales original footage on the X-axis. Scales both X- and Y-axis if Uniform Scale is turned on.
Default setting is 100, which sets the Holomatrix layer is at its full size. Value range is 0 to 100. At 0, the Holomatrix image disappears. Higher values make the source image larger, along with the applied effect.
X Scale allows you to scale the source image but not affect the Holomatrix line size. This prevents any weirdness from occurring where, for instance, you scale the layer and Scan Lines disappear or begin to break up.

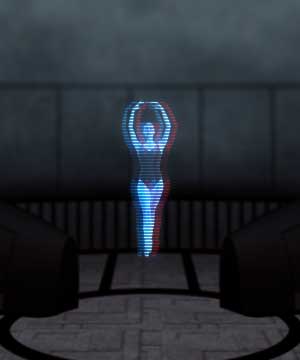
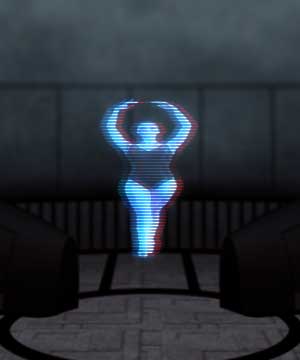
At left, X Scale and Y Scale at 100 (defaults). In middle, X and Y at 50. At right, X at 100 and Y at 50.
Hologram Y Scale
Scales original footage on the Y-Axis. As with X Scale, this allows you to scale the source image but not affect the Holomatrix line size, preventing Scan Lines from disappearing.
Default setting is 100, which sets Holomatrix layer at its full size. Value range is 0 to 100. At 0, the Holomatrix image disappears. Higher values make the source image larger, along with the applied effect.
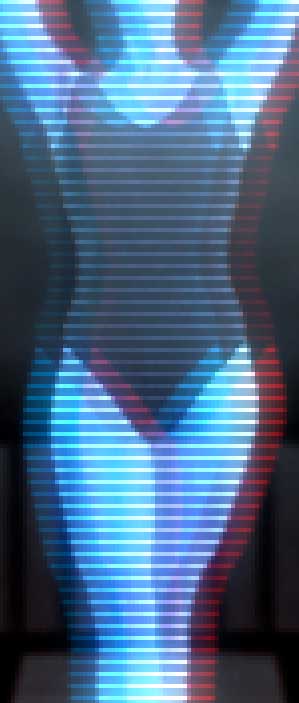
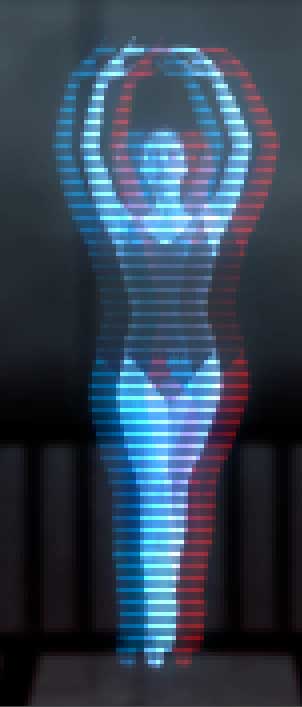
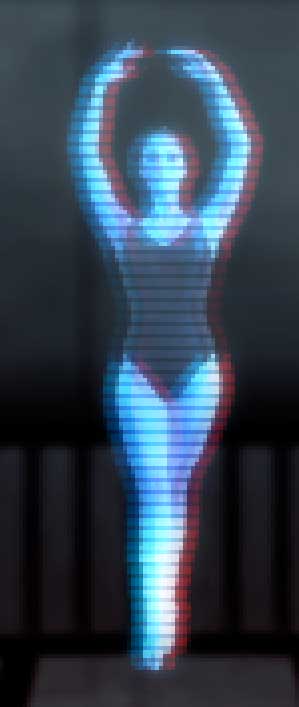
At left, the Holomatrix image with X/Y Scale at 100. In middle, Scale at 50 using Holomatrix X/Y Scale.
At right, Scale at 50 using AE's Scale layer property. Using Holomatrix Scale preserves the effect, like the distance of the Color Separation images and the relative size of the Scan Lines.
Hologram Rotation
Rotates the source image. Holomatrix Rotation does not affect the orientation of the Scan Lines, which keeps the believability of the effect. There are two values for Rotation.
The second value sets the orientation of the rotation. Default setting is 0.0, which applies no rotation. Value range is 0 to 360, measured in degrees. Positive values rotate to the right. Negative values rotate to the left.
The first value sets the number of rotations of the source image. Default setting is 0%, or no full rotation. Any other value will create that number of rotations.
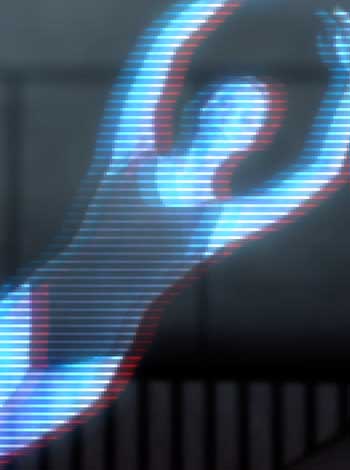
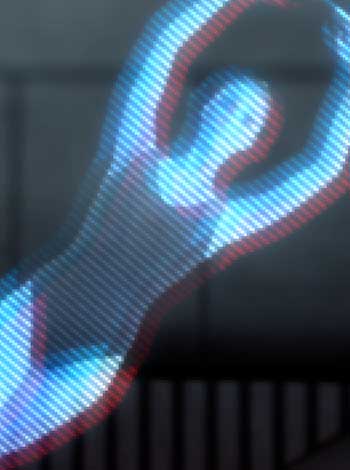
At left, Hologram Rotation at 40. At right, AE's Rotation layer property at 40. Using plug-in's Rotation preserves the effect's orientation of the Scan Lines.
Hologram Anchor Offset X
Offsets the source image's anchor point. This allows you to animate the Hologram Scale or Rotation from a different anchor point position. Default setting is 0. Value range is -500 to 500. Positive values move the source image to the left. Negative values move the source image to the right.
Hologram Anchor Offset Y
Offsets the original footage's anchor point, in case you want to animate the Hologram scale or rotation from a different anchor point position. Default setting is 0. Value range is -500 to 500. Positive values move the source image upwards. Negative values move the source image downwards.
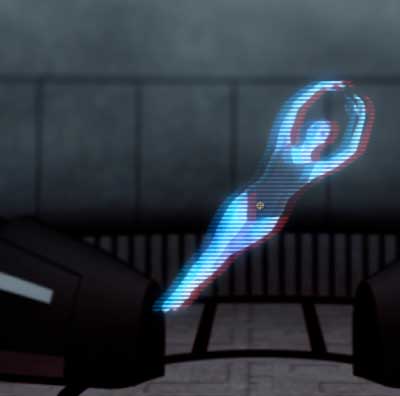
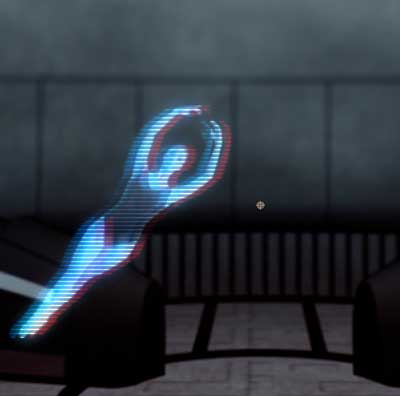
At left, Offset X/Y at 0 (defaults). At right, Offset X at 100, Offset Y at -120. Notice the source image's position relative to the layer's centerpoint.