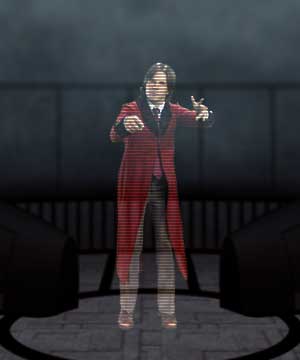
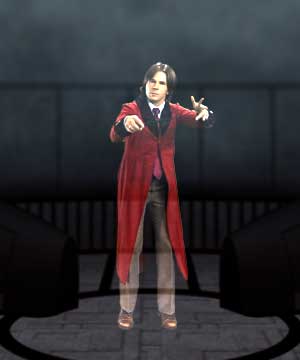

Scan Line Settings group
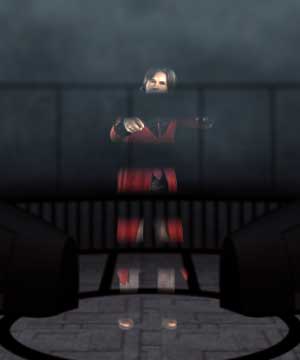
Scan Lines are a big part of the Holomatrix effect. When Scan Lines are turned on, a regularized set of lines runs through the image, helping to sell the effect of a transmission. With Scan Lines turned off, the effect looks more like a ghosting of the image. There are two other Line effects, Lines Down and Lines Up.

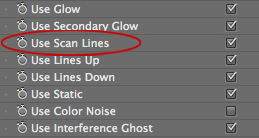
At left, the Scan Line settings. At right, the Scan Lines checkbox.


At left, with Scan Lines. In middle, without Scan Lines. At right, without Holomatrix. Original footage courtesy of www.allbetsareoff.com
Scan Line Distance
Determines how far apart the scan lines are set. Default setting is 3. Value range is 0 to 200. At 0, there are no lines and the image is solid. Higher values increase the distance between lines, which creates visual gaps in the source footage.
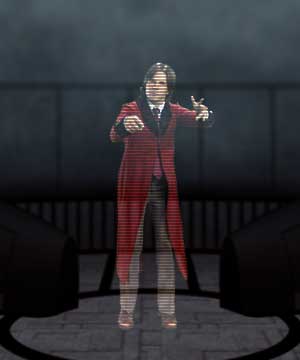

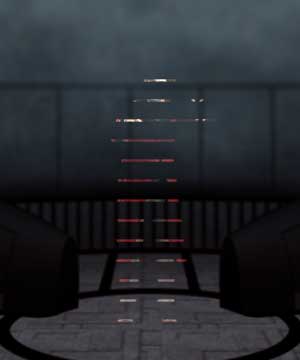
Left to right, Scan Line Distance at 3 (default), 6 and 20. Thickness at 4.
Scan Line Thickness
Controls the thickness of the scan lines. Default setting is 4. Value range is 0 to 200. Higher values make the lines thicker. If the Scan Line Distance is low, the thickness of the lines may overtake the gap between lines, making the source image appear solid again.
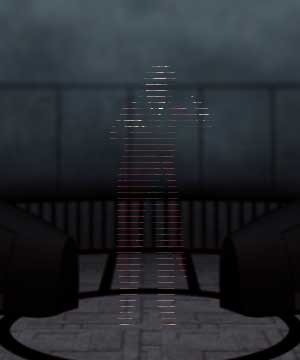

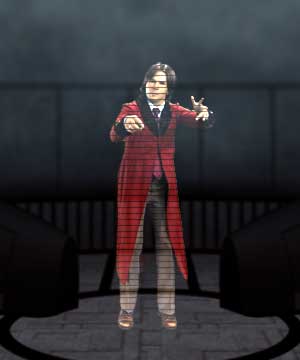
Left to right, Scan Line Thickness at 2, 4 (default) and 8. Distance at 6.
Scan Line Feather
Controls the softness of the scan lines. Default setting is 2. Value range is 0 to 200. The default value of 2 gives the lines a hard edge. Higher values make the lines softer, giving them a feathered edge. This softness is often difficult to see unless the Distance and Thickness values are high.
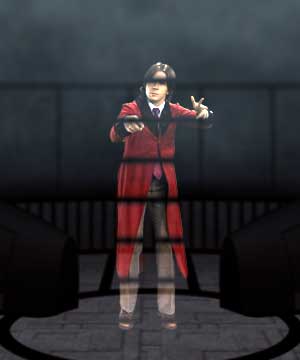
At left, Scan Line Feather at 10. At right, Scan Line Feather at 20.