Tutorial for LUT Buddy
This tutorial takes you through the simple steps to create a LUT in After Effects, then import the LUT into Final Cut Pro.
STEP 1
Open After Effects and create a new comp with a layer of footage. Make sure the comp is set to Full resolution.
The only requirement for our example footage is that it's at least 256 pixels wide. We will create a 1D 256 LUT and the footage pixel width needs to be equal to or greater in value. Read more in Pattern options.
STEP 2
Apply the LUT Buddy plug-in. Initially you will see no change to the comp.
STEP 3
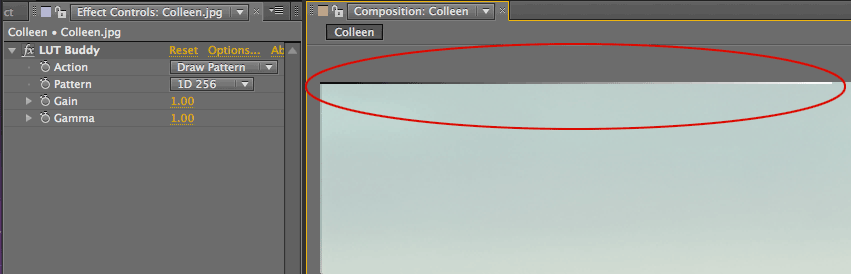
Set the Action to Draw Pattern. Set the Pattern to 1D 256. If you look closely at your footage, you will see that a gradient has been drawn across the left part of the top row of pixels.
In our next step, Draw Pattern will essentially record everything that you do for color correction to the footage.
STEP 4
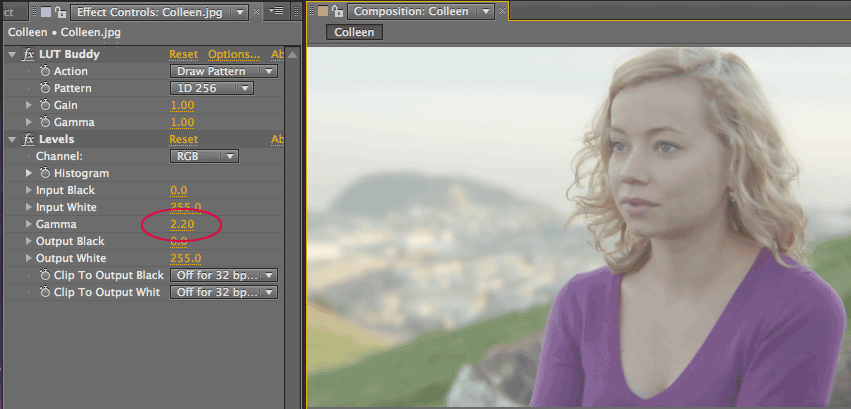
Let's apply a color change to our footage so LUT Buddy can capture its LUT value. From the menu, apply Color Correction> Levels to the layer. Set Gamma to 2.2, which brightens the image.
NOTE: We are choosing a simple correction with Levels as our example. You can do any color correction for this step, including using our Magic Bullet Colorista II plug-in.
STEP 5
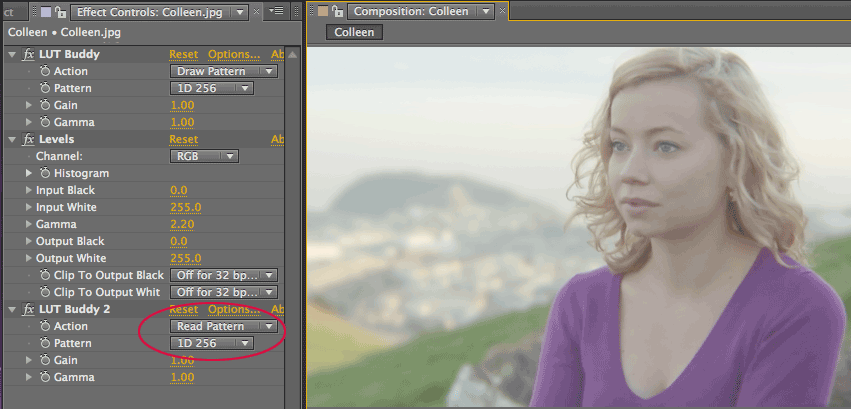
In the Effects window, duplicate LUT Buddy. Move the second instance below the color correction effects. In our example, it goes below the Levels plug-in.
Keep the Pattern set to 1D 256. The Pattern needs to match both instances of the LUT Buddy plug-in. The plug-in needs to draw and read the same Pattern dimensions in order to accurately create a LUT. You will get garbage output or some other weirdness otherwise.
Change the Action to Read Pattern. Read tells LUT Buddy to read the color correction values and store them in memory.
STEP 6
Now click the Options button in the second LUT Buddy instance. This brings up the Options dialog.
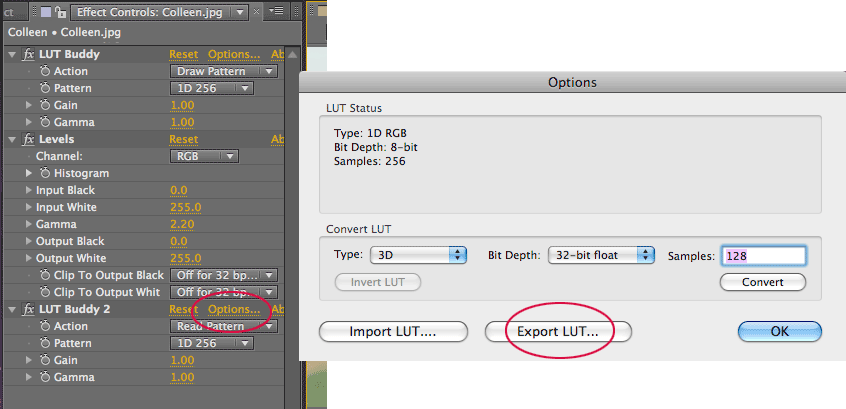
STEP 7
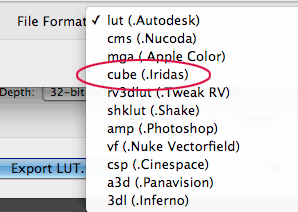
Click the Export LUT... button to bring up a Save dialog. Set the format to 'Color (.cube)' and save the file as 'mylevels.cube' to your desktop.
STEP 8
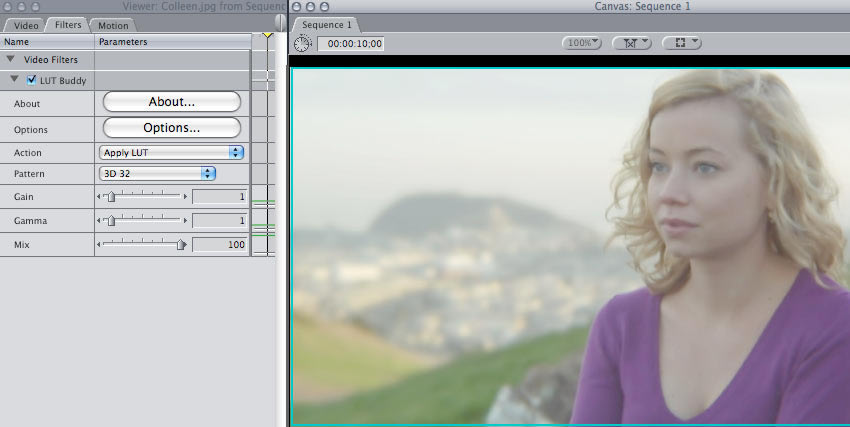
The purpose of LUT Buddy is to take LUT settings from a desktop application like After Effects and move that LUT to another application or hardware device. For our example, we will apply the LUT in Final Cut Pro.
Launch FCP, add the same footage layer to the Timeline, and apply LUT Buddy. Initially there is no change to the footage because the plug-in is present but not our exported LUT values.

STEP 9
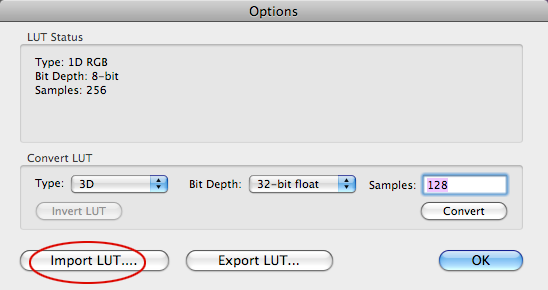
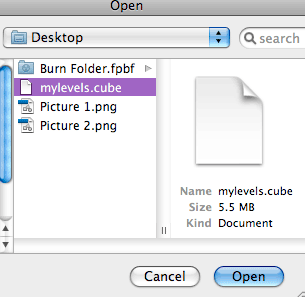
Click the Options button to open the LUT Buddy dialog. Click the Import LUT... button to open a Browse dialog. Now locate and choose the 'mylevels.cube' file.
![]()
STEP 10
Once you click Open, the LUT data loads into LUT Buddy. The Levels created in After Effects been loaded into FCP and your footage has the same look between host applications.
At first, this process may not seem very impressive. After all, you could have simply used the Levels dialog already found in FCP, or you could have exported a file from After Effects' own Curves filter. The key difference is that with LUT Buddy, we were able to do an arbitrary color operation and save it out to any number of standard file formats to be replicated in many different settings.