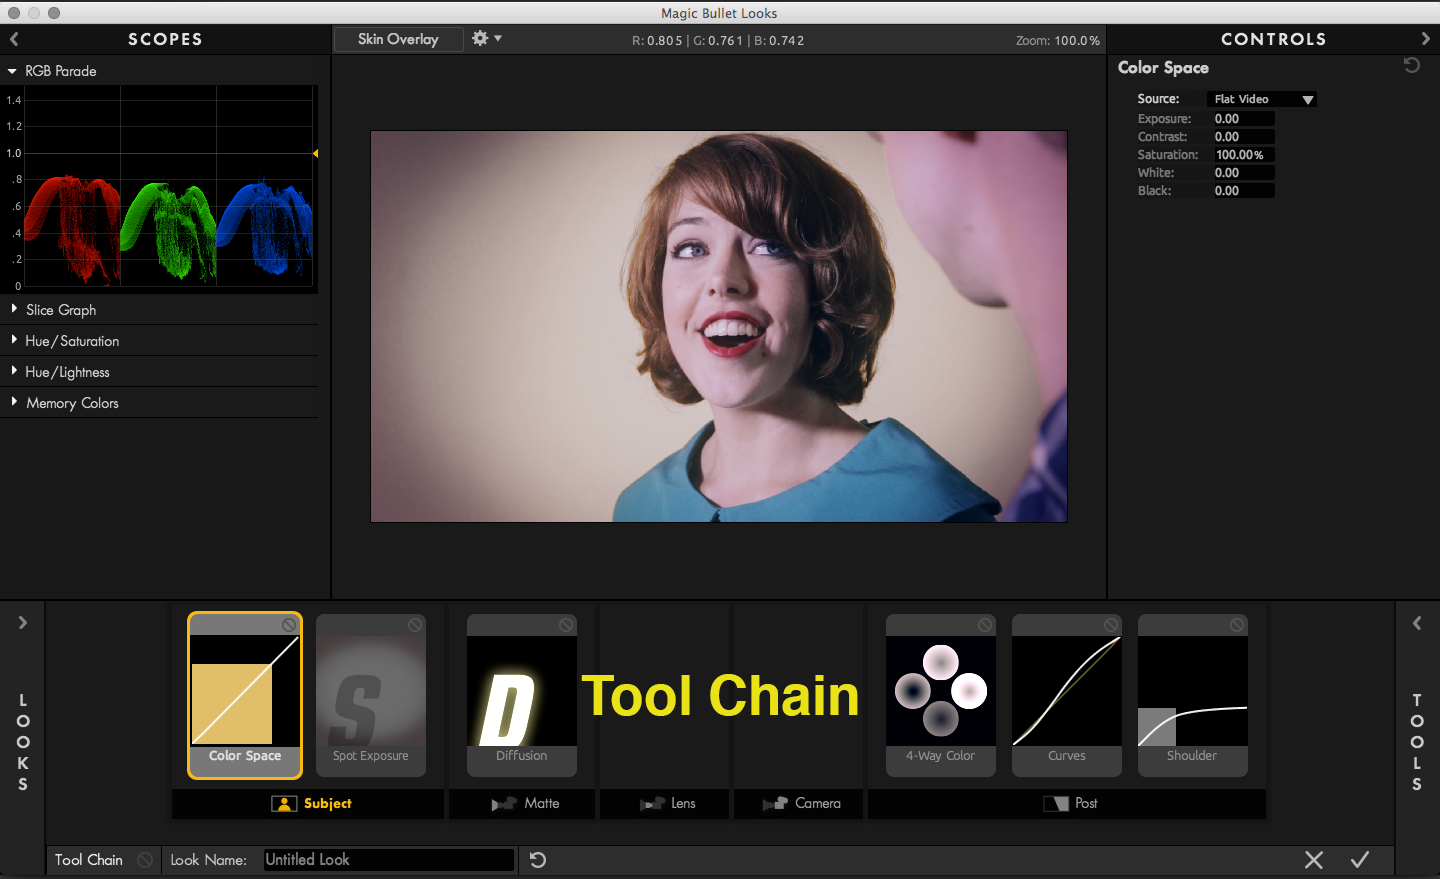
Tool Chain
The Tool Chain is the heart of Magic Bullet Looks. Each part of a traditional graphics pipeline is represented by a section of tools in the Chain. The Chain resembles a virtual camera, from the subject (in front of the lens), through the camera itself, to the post-production process (after the camera).
How it works
Tools are processed from left to right, following the same path as light through a real-world cinematography workflow. This means that the tool that is leftmost in the Tool Chain gets applied to your image first. The tool to its right gets applied next, and so on until the rightmost tool has been applied.
Tool Categories: A tool can nest in the Tool Category it is associated with.
Delete a tool: To remove a tool from your Look, just drag the tool icon outside of the Tool Chain. When you release the tool, it gets deleted. If a tool is selected, you can also use the Delete (Del) or Backspace key to remove the tool.
Arrow keys: You can click the keyboard Right and Left Arrows to move forward and backward between tools in the Chain.

Bypass on/off switches
You can enable or disable the tools in the Tool Chain area by clicking the Tool Bypass icon. This icon is called the Tool Bypass Switch because it tells Magic Bullet Looks to 'bypass', or ignore, tools that are loaded in the Tool Chain. When a tool is Bypassed, the icon will turn red. Clicking on the red icon, will turn the tool back on.
Main Bypass: Turn on/off the entire Tool Chain with the Tool Chain button at bottom left of the Information Bar. Turning the chain off shows a preview without any tools.
Tool Bypass: Turn on/off the individual tools with the Bypass switch at the top right of each tool icon. Turning off the icon shows a preview without that tool applied.
Keyboard shortcut: The '\' key is a new helpful shortcut for toggling the Main Bypass on and off. This keyboard command saves a lot of time when previewing your look.
![]()
![]()
Add Tools to the Chain
There are a few ways to add a tool to the Tool Chain. When you drag a tool from the Tool Drawer over the Preview Area or Tool Chain, that tool will appear in the Chain with overlays and controls ready for editing.
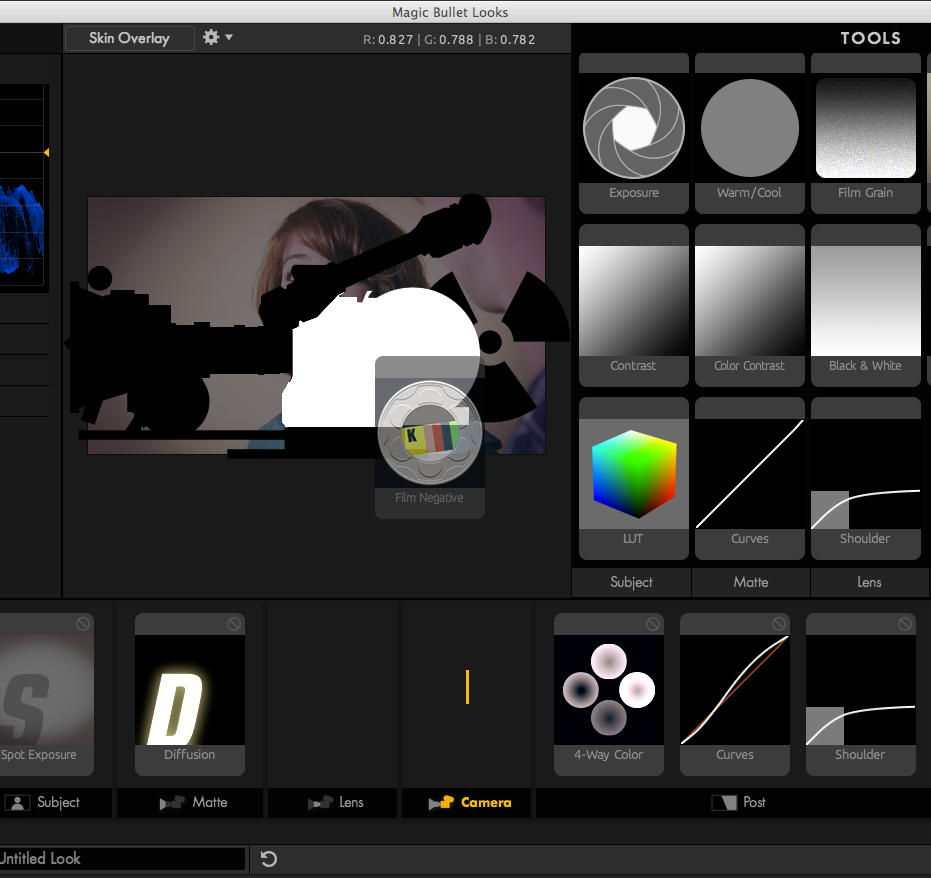
Positioning in the Chain
Many tools can appear in multiple Tool Chain categories. By default, a tool that is picked in the Tools Drawer will appear in its associated category in the Tool Chain.
For instance, click the Post category in the Tools Drawer and drag an Exposure tool into the Tool Chain. Exposure will naturally settle into into the Post category of the Tool Chain and apply its effect after all other tools in the other categories. However, Exposure is a tool that appears in all five Tool Drawer categories. If Exposure is instead added from the Subject category, then it will settle into the Subject category of the Tool Chain and apply itself at the beginning of the Looks effect.
Power Tip
If you want to break the default positioning of tools, you can Alt-drag (Windows) or Option-drag (Mac) a tool in the Tool Chain. This places the tool into any part of the Chain regardless of its natural place in the Chain. Breaking the Chain position lets you put a tool in a category that it wouldn't normally appear in. For instance, Spot Exposure is a tool that appears only in the Subject category and applies its lightening effect early in the Looks treatment. However, you can Alt/Option-drag a Spot Exposure into the Post category to lighten the shadows slightly after all other operations.