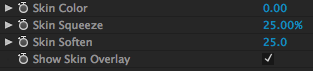
Skin controls
Three Skin sliders and a checkbox are the primary controls to make skin tones look their best. The Skin controls find and correct the big, bad cosmetic flaws; often, you will only need to use these controls. The Skin group has a pre-defined mask function which tells the controls to only work on colors that are close to proper skin tones.
The three sliders are set up to be used in order of appearance. (Though you don't have to use them in this order.) You can often first adjust skin tone with Skin Color; then tighten that color range with Skin Squeeze; then use Skin Soften to increase or decrease the smoothing effect.
Skin Color
Skin Color is a Hue offset for skin. Calculates what the skin tone is and lets you adjust its hue from green to red. This keeps skin from looking too orange/red or too blue/purple. Skin Color brings skin color into an acceptable range for what is considered skin color and nudges the skin tones of any race, eliminating unwanted color cast.
Default setting is 0. Value range is -100 to 100. Lower values shift the skin hues closer to magenta, which corrects any greenish or cool cast to the skin. Higher values shift the skin hues closer to green, which corrects reddish tone in the skin.
Skin Color may also shift other colors in the footage that are close to a skin tone, including the non-flesh tones, so you need to be mindful of the adjustment. The Skin Color control is meant to help you maintain the correct skin tones so your talent always looks like a person and not like an alien.
Something to keep in mind is that Cosmo only affects the area of your image that it reads as skin tone. Skin Color, along with Skin Squeeze, can adjust the range of colors that are defned as skin tone. If you want to have a broader effect on the image, use Skin Color to adjust the coloration so Cosmo sees more skin tones.
Use with Show Skin Overlay: Skin Color is a great slider to adjust when you have Show Skin Overlay turned on. Skin Color lets you adjust the range of skin colors, while Skin Overlay shows you which areas of color are the correct skin color.


Left to right, Skin Color at 0, 17 and 25. At 0, the skin is a bit reddish. A value of 17 is a good adjustment for the skin color. The higher value of 25 looks slightly too yellow.
Skin Squeeze
Often skin tones are too varied in color and therefore take on a blotchy appearance. Skin Squeeze compresses the skin tones to be more uniform in hue.
This compression or 'squeezing' helps the effectiveness of the Skin Color slider by broadening or contracting the area of the calculated skin tones. The squeezing flattens the range of skin tones, making the skin look flatter and smoother. It reduces blotchiness and unifies an uneven complexion, which can help with a ruddy or blotchy complexion.
Default setting is 25%. Value range is 0 to 100%. Higher values contract the color range. This forces any color that is close to a flesh tone to be a flesh tone, effectively reducing the number of colors in an area of skin. Lower values broaden the color range, which allows for a greater variation in skin hue.
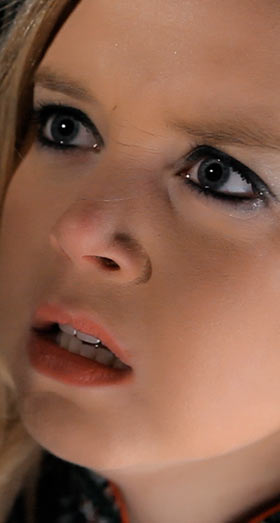
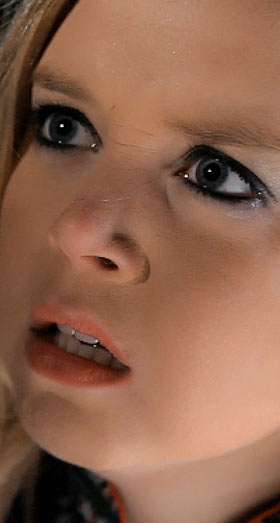
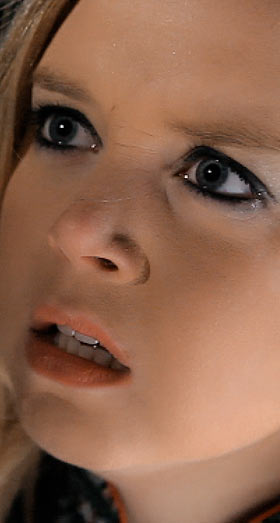
Left to right, Skin Squeeze at 25, 37 and 50. Skin Color at 0. Look carefully at the redness around the model's nose, and how it decreases slighly at a higher Skin Squeeze.
Left to right, Skin Squeeze at 25 and 50. Skin Color at 17. At a higher Squeeze value with Skin Overlay on, the tip of her nose gets identified and squeezed.
Skin Soften
Skin Soften is the motherlode control since it does the skin smoothing. You can almost look at this control as an airbrush tool.
Default setting is 25. Value range is 0 to 100. The higher the value, the more the skin is smoothed. Be careful about setting very high values. Too much softening will create a plastic or airbrushed look, which detracts from the natural appearance of skin.
Works with Skin Finder: Skin Soften is directly affected by the Skin Finder slider because its effect is governed by the mask selection created by Skin Finder. This mask tells the Skin controls to only work on colors that are defined as skin tones.

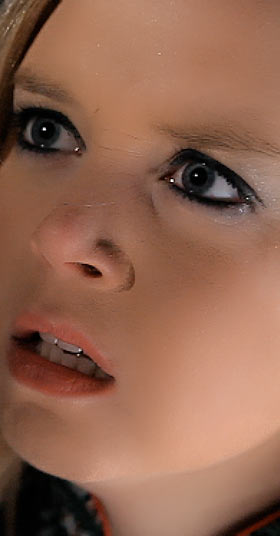
Left to right, the original image, Skin Soften at 25, and Skin Soften at 70.
Show Skin Overlay checkbox
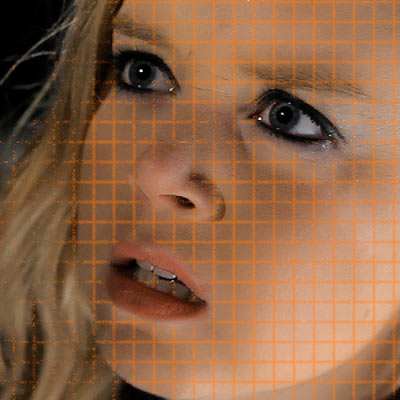
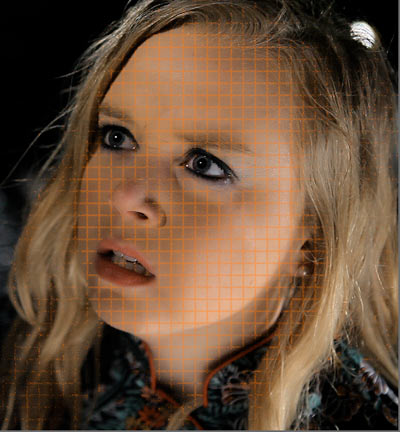
Shows where Cosmo identifies skin tones by placing an orange grid over those areas. Turned off by default, which means the orange grid does not show.
As soon as you apply Cosmo, its default settings will apply a skin correction. To go beyond the default settings and do some fine tuning, we recommend turning on Show Skin Overlay. An orange grid will appear. Wherever the orange lines are drawn, a true skin tone is underneath.
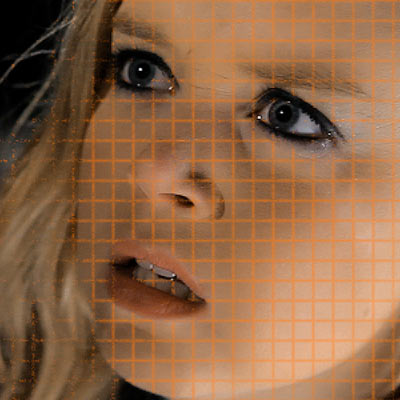
Skin Overlay lets you see the skin area that you are correcting. As you edit values in the Skin controls, the Overlay grid will shrink or grow to cover areas that should be flesh tones. For instance, activate Skin Overlay when working with the Skin Color slider so you can check skin tones as you work. If the orange lines increase, that means you have added true skin tone. If the lines decrease, you have removed true skin tone.
Skin Overlay is a quick way to check if your skin tones are are identified properly and will look look correct. This gives you a good guide to color correcting for skin tones specifically, which is a difficult task. This grid also helps you set up skin colors that will align properly to correct skin tones on a vectorscope (a device used to measure color in a video signal).


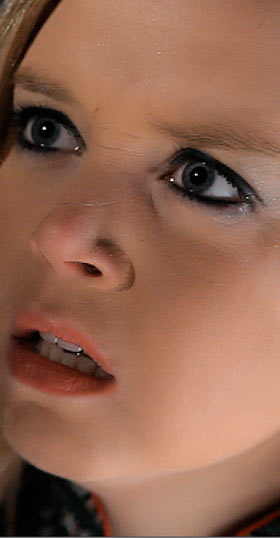
At left, Skin Color at 0. The Skin Overlay grid covers both non-skin and skin areas of the face. At right, the underlying image.

At left, Skin Color at 14. The Skin Overlay is more accurate as the grid now covers only the skin. At right, the underlying image.