
RG Shadow plug-in: Motion Blur group
The Motion Blur group generates a blur effect for the movement of the shadow. This blur is applied to the animation of the shadow points or any of the controls that would affect the shadow's motion. Let's say that you have moved the baseline points of the shadow or animated its growth. You want to apply a slight blur to that motion to make it more believable. Motion Blur makes the shadow's movement look more realistic, and it makes certain the plug-in will multi-sample correctly if the shadow is moving.
You can set RG Shadow's Motion Blur to generate an effect, or you can use what the host app's project settings are doing naturally. If you activate the Motion Blur group, you can set the levels or number of samples that are used, that is, how many times the blurring is repeated. Go here for a full explanation of using Motion Blur in Warp and After Effects.

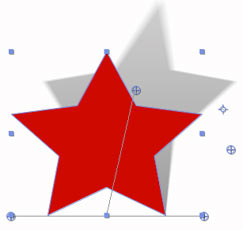
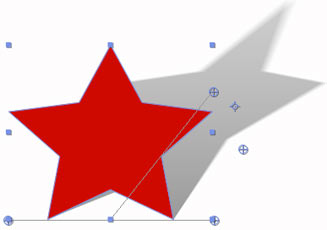
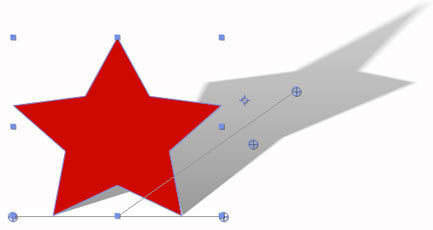
The shadow animates its Height/Slant with Motion Blur defaults applied.
Motion Blur pop-up
There are three ways to explore Motion Blur in RG Shadow, and the Motion Blur pop-up lets you choose which one.

• On: This option uses the plug-in's own Motion Blur settings to translate the blur. When On is selected, the three Motion Blur controls are active. The Shutter Angle, Shutter Phase and Samples controls all affect the appearance of the blur. To use this option correctly in After Effects, make sure that both Motion Blur switches in the After Effects Timeline are turned off. This will allow the plug-in will calculate the motion blur itself. If you animate a setting like the Height/Slant point, you will see motion blur as the shadow moves.
• Comp Settings: This option takes on the project settings in After Effects for Motion Blur. Only one of the plug-in's Motion Blur controls, Samples, stays active. To use this option correctly in the After Effects Timeline, turn on the Enable Motion Blur project switch and/or the Motion Blur layer switch. If you animate a control like the Height/Slant point, you will see motion blur as the shadow moves.
• Off: This option tells the plug-in to ignore all Motion Blur in the plug-in's settings and After Effects' settings. When Off is selected, the three Motion Blur controls are grayed out. Motion Blur does increase the render time, so you may wish to use this Off option to disable Motion Blur while working, and only enable it with On or Comp Settings when you need to render or see a result.


Shutter Angle
Shutter Angle affects the appearance of the shadow's blur by determining how long the shutter stays open to capture the frame. This affects the amount of motion blur that is applied. This 'shutter' is a simulation of the exposure allowed by a rotating camera shutter. You are telling the camera to keep its shutter open to a certain width, measured in degrees.
The default is 360 degrees and the value range is 0 to 720. At higher values like 600, the virtual shutter is open longer, giving a longer exposure, and a high level of blur is applied. At lower values like 10, only a little blur is applied to the shadow.
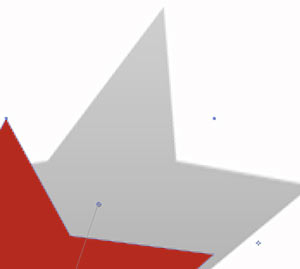
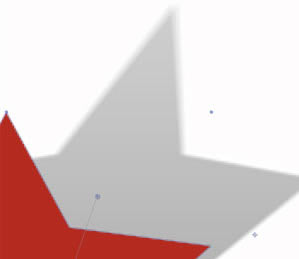
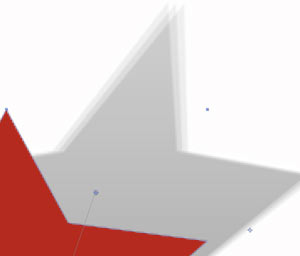
Left to right: Shutter Angle at 0, 180 and 360. For all images, Shutter Phase at 130, Samples at 3.
Motion Blur> Shutter Phase
Shutter Phase affects the appearance of the blur by determining when the shutter opens relative to the beginning of the frame. It defines an offset that determines when the shutter opens relative to the beginning of a frame. Adjusting Shutter Phase can be helpful if the shadow applied appears to lag behind the position of the source object. The default is 0 degrees and the value range is 0 to 360 degrees.
Samples
Samples sets the number of image instances that are used to generate the Motion Blur. If Samples is set to 3, for instance, you should see three distinct levels for the Motion Blur. The default is 8. The higher the value, the smoother the Motion Blur will look, but the longer the render time will be.
The control has a practical limitation of 32, since your eye can't really detect Motion Blur distinctions above that value. There is a middle, front and back sample based on the shutter, which is using a 360 degree shutter for the camera, just like After Effects does. Once the animation has stopped, the blur will disappear.
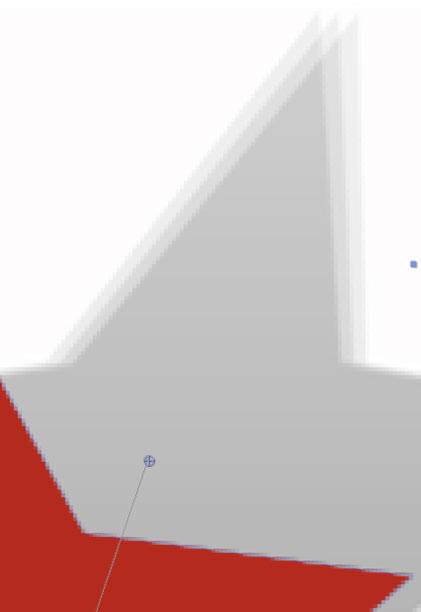
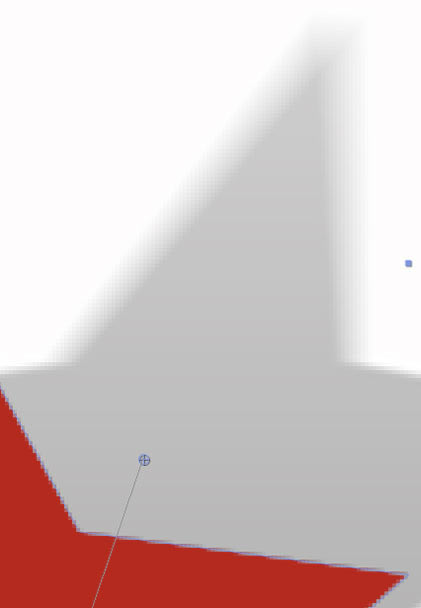
At left, Samples at 3. At right, Samples at 9. The image sequence that simulates the blur gets spaced closer together as the value gets higher.