Using Motion Blur in Warp
The Corner Pin, Shadow and Reflection plug-ins all have a Motion Blur group. You can use their Motion Blur settings OR you can tell the plug-in to use After Effects' motion blur settings.
If you want blur applied to both your source object and its shadow, or to your whole composition in general, then you should use After Effects' Motion Blur. See below for details.
If you want blur applied only to the shadow and not to its source image, you should use the plug-in's Motion Blur. Let's say you want the motion blur to exaggerate RG Shadow, but not the object that the shadow is cast from. To do this, you would tell the Shadow plug-in to override the After Effects settings. This gives you some ability to do Motion Blur on a per-layer basis instead of calculating for the whole comp. Calculating per layer provides some valuable compositing opportunities and also decreases the project's render time.
Go to these pages for info about Shadow's Motion Blur, Reflection's Motion Blur, and Corner Pin's Motion Blur. The Radium Glow plug-ins do not have a motion blur control.
What is Motion Blur?
Motion Blur is the representation of the blur that occurs in the movement of an object between frames. Because a frame represents a sample of time, a moving object occupies more than one position as it travels from frame to frame. The object doesn’t appear as a sharp, still object but instead it often looks blurred. The faster the object moves, the more it appears blurred. This creates the perceptual effect of high-speed motion.
In most editing applications, you can use motion blur when you animate a layer across the screen. Without motion blur, layer animation may produce a strobe-like effect of distinct steps instead of the appearance of continuous change. Adding motion blur in your editing application makes the motion of the affected layers appear smoother and more natural. Similarly, adding motion blur to the shadow in our Shadow plug-in makes the movement of the shadow appear smoother and more natural.

![]()

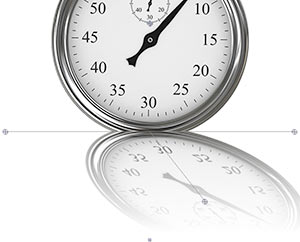
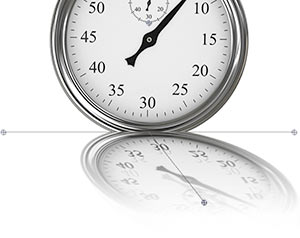
In Reflection plug-in, at left, no Motion Blur is applied.
At right, Motion Blur is applied. The edges of the watch are blurred, and the numbers and hand are shown in duplicate because of overlap between frame rendering.
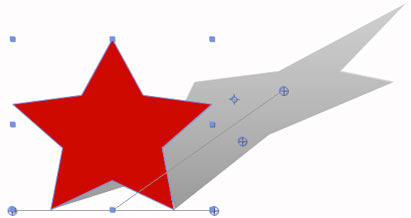
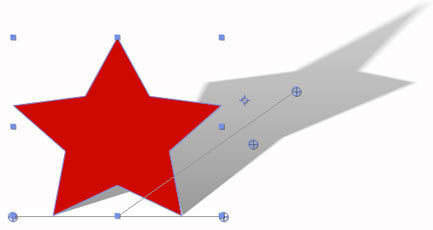
In the Shadow plug-in, at left, the shadow animates without Motion Blur. At right, Motion Blur is applied.
After Effects' tools for Motion Blur
When the Motion Blur> Comp Settings control is selected, the Corner Pin plug-in will take on After Effects' motion blur settings. There are a few components to the After Effects motion blur. You can active a Motion Blur switch for each layer; activate an Enable Motion Blur switch for the whole composition; and use the Motion Blur project settings.
Turn on the Timeline's Motion Blur layer switch for each layer individually, including the Shadow plug-in layer. This creates a blur based on that layers’s movement in the composition.

Use the Timeline's Enable Motion Blur composition switch to create a blur for the whole composition. With this switch, you can enable or disable motion blur for previews and/or rendering. You will also want to look at the render settings in the Render Queue> Render Settings> Time Settings panel to enable or disable motion blur for the final output.

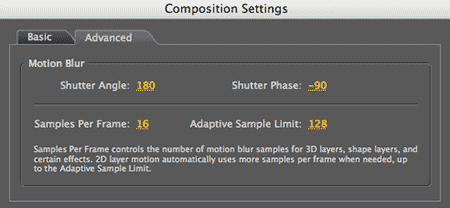
After Effects has built-in project settings for Motion Blur. These project settings determine how the motion blur is rendered for previews and final rendering. If you choose the menu item Composition> Composition Settings, then click on the Advanced tab, there are three settings similar to the Shadow plug-in controls: Shutter Angle, Shutter Phase and Samples Per Frame.
In fact, if you need some help in deciding the settings for Shadow plug-in's Motion Blur, you can just crib from the After Effects' default project settings.
