
RG Reflection plug-in: 2D Transform group
This 2D Transform group controls the generation of the reflection in terms of location, size and bounding box. These are settings that you will probably not use often, unless you run into some difficulty with the way the reflection is behaving.

Quality pop-up
There are three Quality settings for final output: Low, Medium, and High. Let's look at examples of the two settings you will generally use, Low and Medium.

Low: Point-sampled so it's a very fast render, but the results are a little blotchy and pixelated, as you can see from our close-up below.
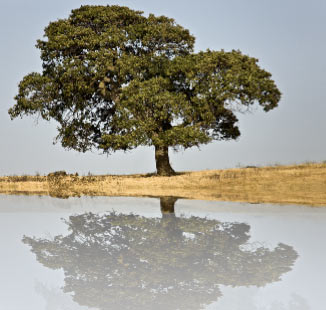
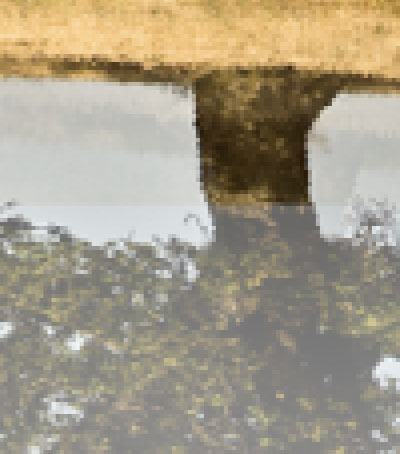
Medium: Gives nice-looking results and runs fairly fast. You can work at this Quality option most of the time.
High: Doesn't look much different than Medium Quality, and its increased render time means it doesn't need to be used very often. High mode isn't needed unless your reflection is doing a really exaggerated Bend, and the renderer needs to add in more fine detail. (See Bend group.)

Zoom
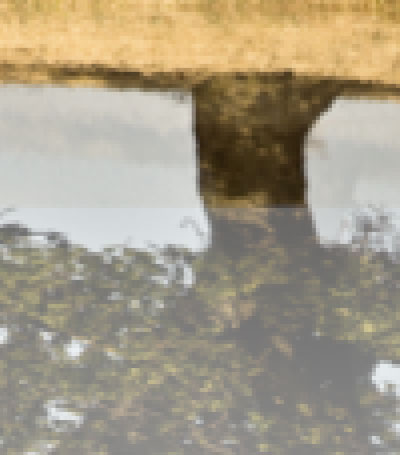
This control zooms into the reflection. The zoom increases or decreases the reflection's size relative to the source image. This is great for situations in which you want an exaggerated reflection size; for instance, if a boat is casting a long, large reflection along the water's surface.
Zoom is a pretty sensitive slider. It's set to 1 by default. Lower values shrink the reflection, while higher values make the reflection larger. Be careful with Zoom, because a high value can cut the shadow off at the baseline, which may not be what you are looking for artistically.
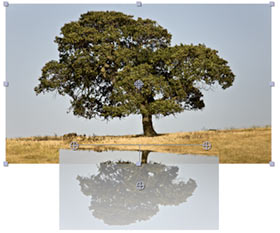
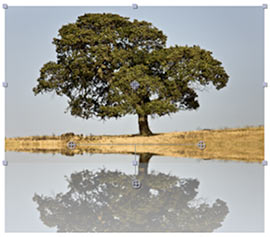
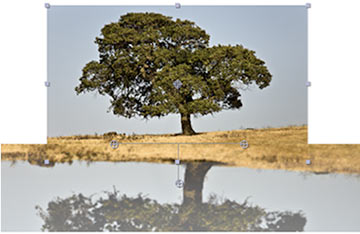
Left to right: Zoom at 0.6 makes the reflection smaller. Zoom at 1 (default). Zoom at 2 makes the reflection larger and causes cropping at the layer's boundaries.
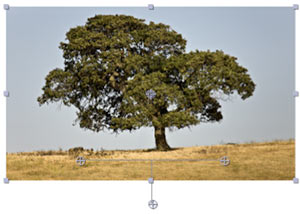
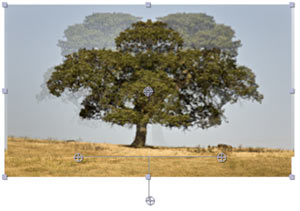
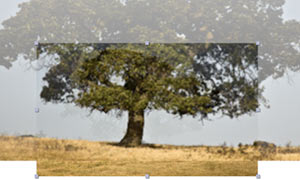
Left to right: Zoom at 0 makes the reflection disappear. Zoom at -1 flips in place a ghosted duplicate of the source image. Zoom at -2 makes the flipped ghosted reflection larger than the source image. Strange things can happen at low Zoom values!
Translate
The Translate control lets you move the center point of the reflection itself. This in turn moves the entire reflection away from the source object. It's as if your reflection unhooked its feet from yours and danced away. Translate is a great way to animate the whole reflection moving off (as if the light source that casts the reflection is fading out into the distance) without moving the source layer at all.
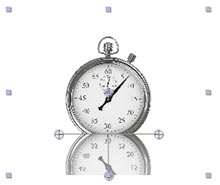
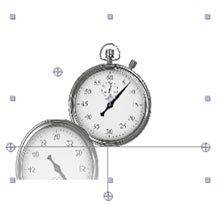
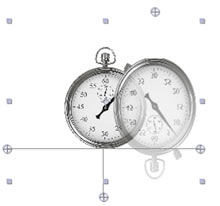
At left, Translate starts the center of the image. In middle, Translate moves to left. At right, Translate moves to top right. As the point animates, the reflection follows.
The Transform group has separate values for X and Y. By default, the Translate points X and Y starts in the center of the image. This means the image layer and reflection centerpoints match up by default. Once the Transform values are changed, the Transform centerpoint is no longer in the center. This means the layer's center point and the reflection's centerpoint are no longer aligned. The layer centerpoint is not affected by the movement of the Translate value.

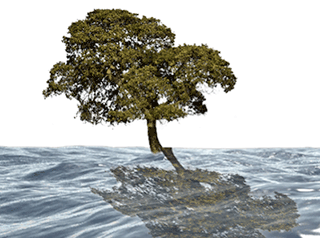
At left: Translate X at 410. At right, Translate X at 430. The new value makes the reflection fall where it's more visually interesting.
The source image is always the default center of the Translate centerpoint. This is true even if a transformation outside of the plug-in, like scaling, has been applied to the source layer.
In our stopwatch image below, the size of the image is 1000 x 750. The Translate point defaults to 500, 375, which is the exact center of the image. Let's say that we scale down the source layer in the Timeline to 80% of its original size, making the layer's new dimensions 800 x 600. The Translate point will still default to the center of 1000 x 750.
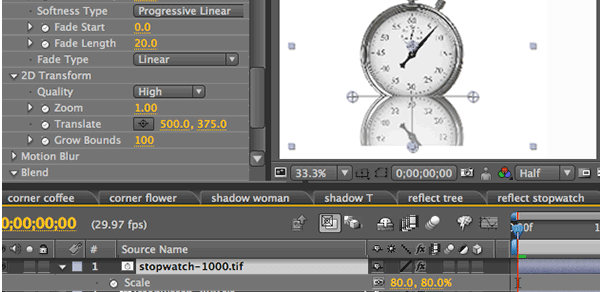
Source image is 1000 x 750. It has been sized down to 800 x 600. The Translate point still defaults to 500 x 375, instead of 400 x 300.
Grow Bounds
Grow Bounds expands the boundaries of the reflection itself, as if it's making a larger bounding box around the source object. The size of the reflection area grows in pixels. If Grow Bounds is set to 20, then the boundary increases by 20 pixels, with 10 pixels added to each side. At 200, Grow Bounds is creating an extra 200 pixels with 100 extra pixels along each side.
Grow Bounds is a terrific control to have around. Sometimes an image won't have enough pixels to render the entire reflection, and the reflection will appear cut off at the edge of the layer. Increasing Grow Bounds lets the image breath and show its reflection more fully. NOTE: It's best to keep Grow Bounds to reasonable values when possible, like under 300.
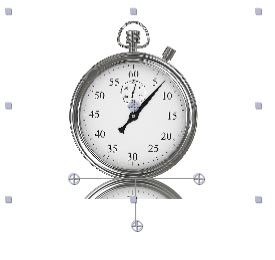
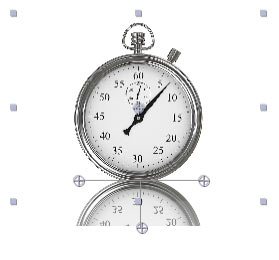
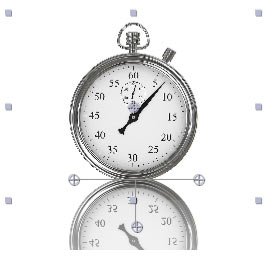
At left, Grow Bounds at its default of 0 crops the reflection. In middle, Grow Bounds at 100 reveals more reflection. At right, Grow Bounds at 200.
Grow Bounds has a relationship to the Zoom and Translate controls in the 2D Transform group. If you increase the size of the reflection with Zoom, the shadow will soon get cut of by the source graphic's bounding box. Increasing the Grow Bounds value will reveal more of the reflection. (See example on this page.)
Grow Bounds also affects the 3D Transform> Light setting. The Light setting (Frontlit or Backlit) determines where the reflection begins along the baseline of the source image. The reflection gets clipped at this base point. Even though you increase the boundaries with Grow Bounds, you're still cutting the reflection at the very edge of the image itself. Moving the baseline down means you allow the plug-in to build extra pixels around it.
Something to note is that if you have more 'white space' around the source image, then you may not need Grow Bounds. If you look at our stopwatch image below, we have imported it twice. One import has a 1,200 pixel canvas; the other has an 800 pixel canvas. The watch image is the same size in each graphic. The import with the larger canvas area and additional white space surrounding the image has more room for the reflection to render. Therefore, we didn't need Grow Bounds for the 1,200 pixel graphic.
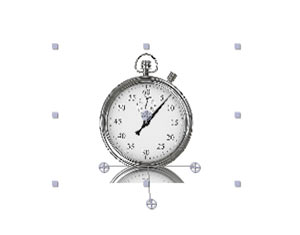
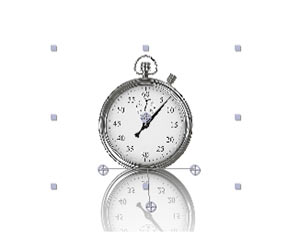
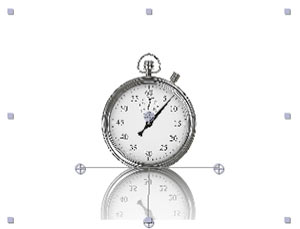
At left, 800 pixel canvas with Grow Bounds at 0. In middle, 800 pixel canvas with Grow Bounds at 200. At right, 1,200 pixel canvas with Grow Bounds at 0.