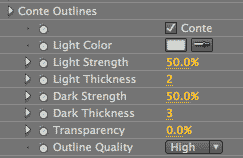
Outlines Only plug-in, Conte Outlines group (NEW to v2.0)
Conte Outlines creates an effect of drawing with a Conté crayon, which is made by mixing graphite or other natural pigments with wax or clay. Traditionally these colors are white, black, reddish, or brownish though any outline color can be used.
How does it work? Conte adds a light-colored outline as counterpoint to a dark-colored outline, both in the style of the Soft Outlines group. The two outlines appear in different, generally non-overlapping, locations on each frame. When rendered together, the outlines create an effect similar to conté crayon drawing.

Conte checkbox
Turned off by default. Turning this option on will activate the Conte controls. This produces an conté crayon effect using the Outline Color and Background Color controls. Turning off the Conte checkbox will give you standard Outlines Only edge detection.
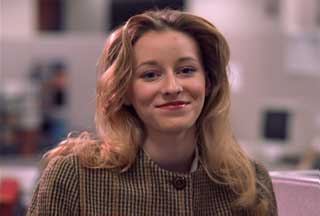
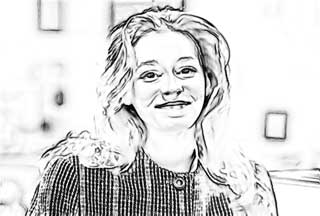
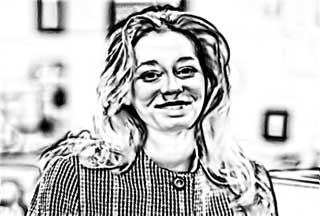
At left, original footage from ArtBeats Stock, www.artbeats.com. In middle, Conte checkbox off. At right, Conte checkbox on.
For the other Outlines Only stylizations (Marker, Scratchboard, Shadow, Stipple and Woodcut) that style will look more or less interesting if one of the regular Outlines (Comic or Soft) is turned on or off. It's your choice. For Conte, however, we do suggest that you keep Soft and Comic turned off. The effect's chalky charm comes through a lot better and makes for a more organic stylization.
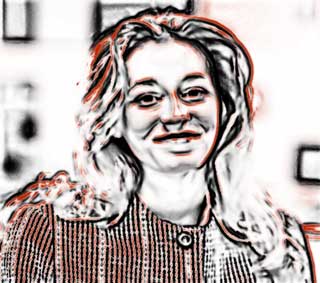
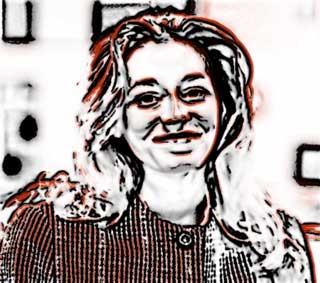
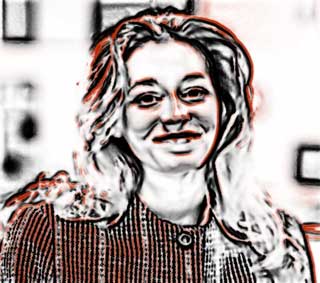
At left, Conte Outlines only on. In middle, Comic Outlines also on. At right, Soft Outlines also on.
Light Color
Two outline colors, a light and a dark, are combined to make the Conte effect. Light Color is the color that you select for the light-colored outline. The default color is white. The dark-colored outline takes on the color set by the plug-in's Outline Color control. By default, this is black. The background color is set by the plug-in's Background Color control.
Real conté crayons are white, black, reddish, or brownish. You can make some interesting chalky, artistic effects by playing around with the Light, Outline and Background colors.

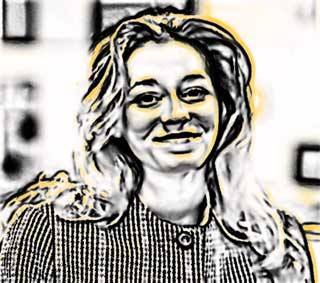

Left to right: Light Color is white (default), light orange and dark red. The Light Color doesn't HAVE to be light but a lighter value typically looks nicer.

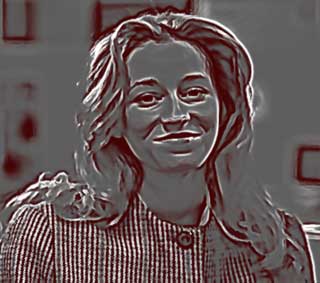
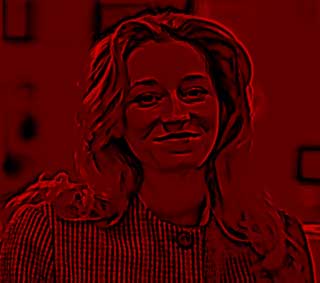
At left, Light Color is dark gray, Outline Color is black, Background Color is gray. In middle, Outline Color is red. At right, Background Color is red, Outline Color is light red. There are more opportunities for interesting effects if Background Color and Outline Color are changed.
Light Strength, Dark Strength
These controls determine the amount of Conte shading present in the image. Light Strength sets the amount of the light-colored tones. Dark Strength sets the amount of the dark-colored tones.
Default setting for each is 50. Value range for each is 0 to 100. Higher values increase the amount of chalk-like shading, which typically adds more contrast to the cartoon.
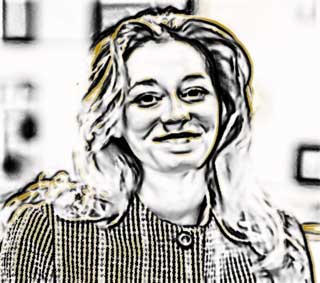
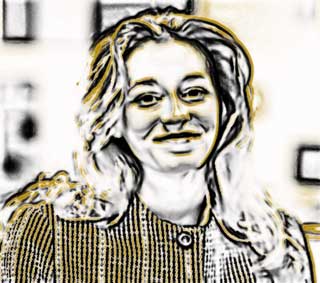
Left to right: Light Strength is 10 and 90.

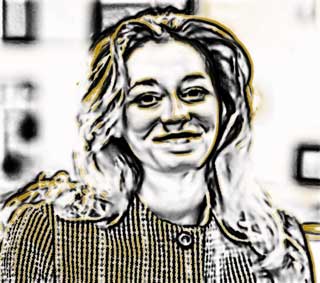
Left to right: Dark Strength at 10 and 90.
Light Thickness, Dark Thickness
These controls determine the thickness of the major Conte edges. Light Thickness sets the thickness of the light-colored tones. Dark Thickness sets the thickness of the dark-colored tones.
Default setting is 2 for Light and 3 for Dark. Value range for each is 1 to 100. Higher values make the lines thicker. Values above 10 or 15 will cause a ghosted shadowy effect around the major edges.

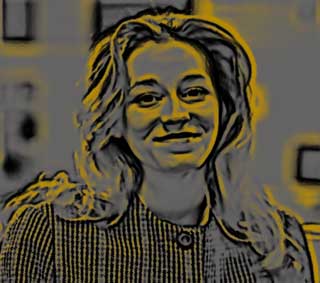
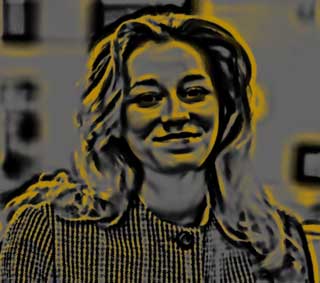
Left and middle: Light Thickness at 1 and 6. At right, Dark Thickness also at 6.
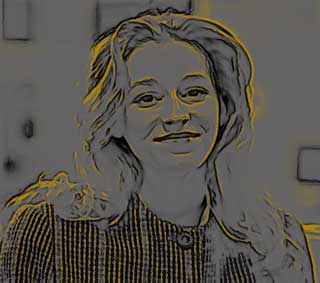
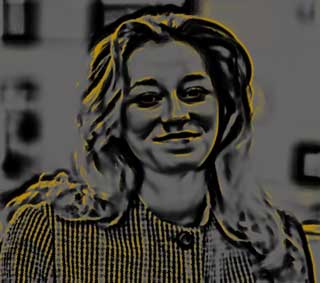
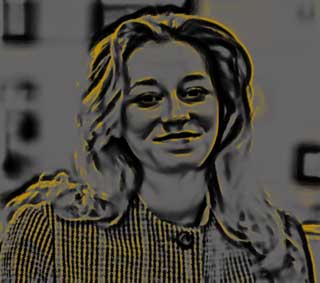
Left and middle: Dark Thickness at 1 and 6. At right, Dark Strength at 20.
Transparency
This sets the opacity level of the Conte effect. The default is 0%, which is fully transparent. Value range is from 0 to 100. The higher the value, the more transparent the Conte lines are. The lower the value, the more opaque they are.

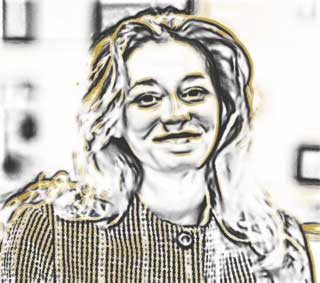
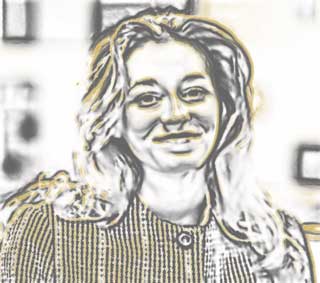
Left and middle: Transparency at 0 and 20. At right, Transparency at 40, Light and Dark Strength at 100.
Outline Quality pop-up
Determines the quality of the Conte effect, or basically the amount of detail that is affected by any setting. The pop-up menu has two options, a Fast Quality and High Quality. Set it to Fast for better interaction while adjusting settings. Always set it to High before rendering the image for final output.