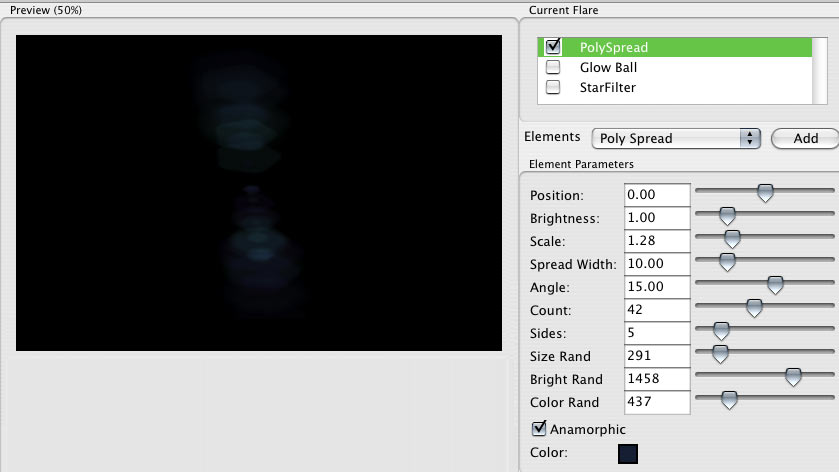
Element: Poly Spread
The Poly Spread element creates a number of randomly positioned polygonal reflections, each with a different brightness and random hue. Its controls are similar to those in the Circle Spread element.

What it is based on
Poly Spread is based on the polygonal opening of a bladed aperture which can cause many polygonal reflections to appear on the exposure surface. Since these reflections are created randomly, there are three different random seeds used to vary the look. As you move the flare around the polygons will spread themselves out different. If the flare is directly in the center, you’ll hardly see them at all. If the flare is off in a far corner, the polygons may spread all the way across the image.
Position
Sets the location of the Poly Spread element. The position is always along a line that passes through both the center of the image and the light source. Alternately, you can click inside the Preview Window and reposition the element with the cursor crosshair.
A value of 1 sets the element at a light source. A value of 0 sets the element in the center of the composition frame. A value of -1 sets the element on the opposite side of the frame from the light source.
Brightness
Sets the brightness of the polygons. High values make the polygons brighter.
Scale
Sets the size of the Poly Spread polygons. High values make the polygons larger.
Spread Width
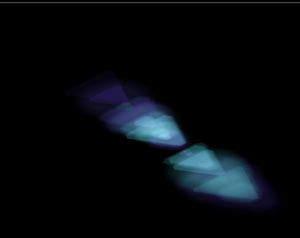
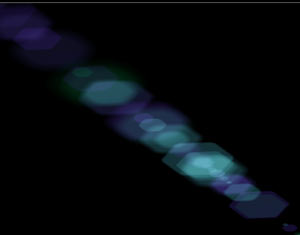
Sets the spacing between polygons. Low values will bunch the polygons together. As you increase Spread Width, the polygons will stretch out in both directions as if they’re in 3D space. This is a critical parameter for properly setting up the look of your flare when using this element.

![]()

At left, Spread Width set low, Count set low, and Sides at 3.
At right, Spread Width set high, Count set high, and Sides at 6.
Angle
Sets the angle of the polygons by rotating them. Essentially, Angle designs where the points of the polygon sit. High values rotate to the right. Low values rotate to the left.
Count
Sets the number of polygons. High values add more polygons. If you have a high Spread Width, then increasing the Count value will fill in the gaps. If the polygons are bunched together at a low Spread Width, you may want to decrease the Count.
Sides
Sets the shape of the polygon by adding or reducing the number of sides. The default of 5 produces a pentagon, 8 produces an octagon, and so on. The lowest possible value is 3, which creates a triangle. If you are trying to model a real lens and know the number of lens blades, this is an absolutely critical parameter for creating a realistic effect.
Size Rand, Bright Rand, Color Rand
Three random seeds that vary the look of the Poly Spread. Each sets a seed value for the randomness of its attribute.
Different seed values produce slightly different variations, WITH ONE EXCEPTION… A value of -1 will lock that attribute and prevent any randomness. For example, if you want all your polygons to be golden orange, set the Color Rand parameter to golden orange, and set Color Rand Seed to –1.
Anamorphic
Use this to create a wide elliptical element or a circular elliptical element. Turned on by default. When the checkbox is checkmarked, the Poly Spread is elliptical. This simulates a common aspect of using anamorphic lenses in cinematography in which light reflections in the lens appear elliptical. When the checkbox is off, the element is round, since light reflections appear round in spherical cinematography.
Color
Sets the base color of the Poly Spread. Default color is deep blue. This polygons take on variations of tint and transparency.