Make a new composition. DV NTSC 29.97fps. You can render with or without fields.
Cretae a new Title (File > New > Title...) called "Shine".
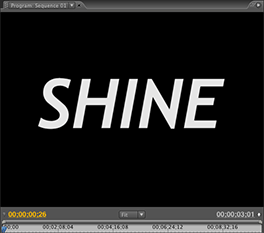
Change the text to "SHINE" and set the font size to 170. Set the Font to Trebuchet MS. Set the Style to Bold Italic.
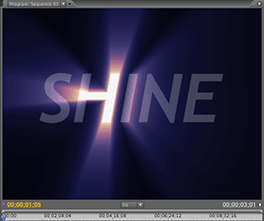
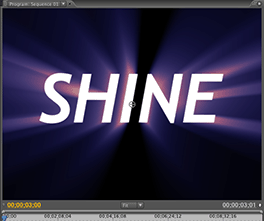
Insert the Title on the timeline. Trim the title to 3 seconds in length. The Program window should look like this.
The Program preview should now show the Shine result.
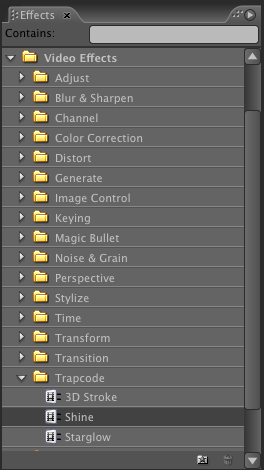
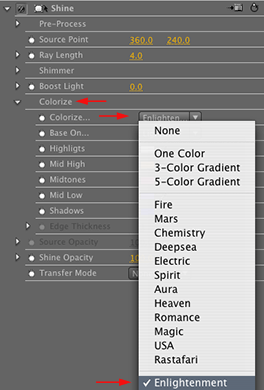
Click the Title in the Timeline, then click the Effect Controls tab to reveal the Shine controls.
This is a 5-color preset, so when selecting it the 5 colors below the pop-up will change and become enabled for tweaking.
Note: If using a multicolored logotype, and the desired effect is to let the light rays pick up the colors of the logo, then use Colorize None.
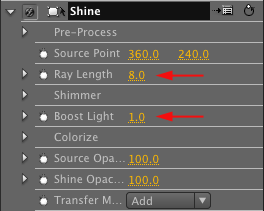
To brighten up the image a bit, set Boost Light to 1.0.
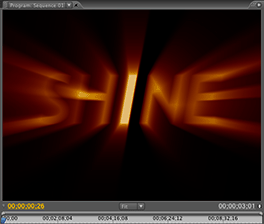
The comp window should look something like this:
Turn keyframing on for Source Point and set the value to 90, 224 on frame 1. Go to the last frame of the tile and change the value to 636, 224. This will sweep the light rays across the text.
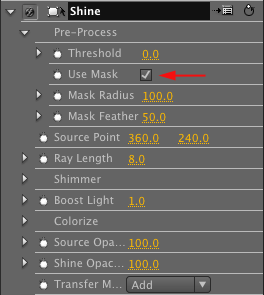
Open up the Pre-Process group and check the Use Mask checkbox.
Using Radius and Feather you can tweak the size and softness of the mask. For this tutorial, simply leave them at the defaults.
Press the Loop button in the Program window. Then hit the space bar to play back the result.
In the Transfer Mode pop-up, select Add. Set Source Opacity to 20%.
Note that you have to change the transfer mode first, since Source Opactity has no meaning when transfer mode is None.