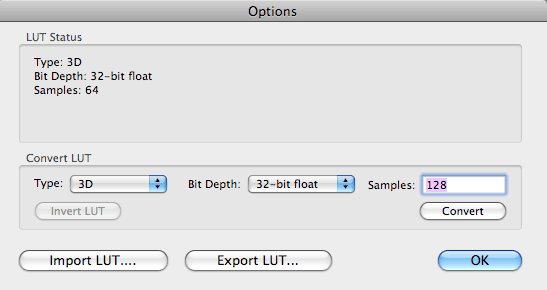
Options dialog for LUT Buddy
The Options dialog lets you to load, apply, create, convert and export LUTs in After Effects, Premiere Pro and Final Cut Pro. In the host application (like After Effects), LUT Buddy stores LUTs in memory, and they are in turn saved in the application's project file.
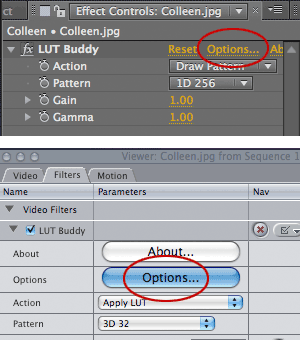
In After Effects or Premiere Pro, click the Options text button in the Effects menu. In Final Cut Pro, click the Options button in the Video Filter Viewer. This button will open the Options dialog.
![]()
LUT Status
Provides information about the currently LUT held in memory. If you haven't drawn a pattern yet, then no info will display.
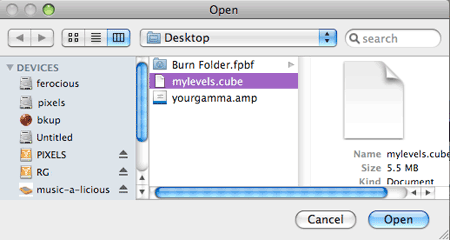
Import LUT... button
This is where the reading and writing of LUT files is handled. Use Import LUT... to open and load in a new LUT file. Import will replace the LUT currently held in memory.
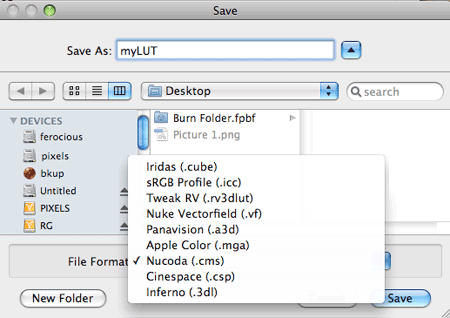
Export LUT... button
If a LUT is loaded, you can use the Export LUT… button to write it out to a file. In some cases a LUT can be given a name, which is entered in the Name field. This is especially important in the case of ICC Profiles, which will appear as the name entered here, not as the file name they are given.
Convert LUT group
If you have a LUT stored in memory, you can use this area of the dialog to convert it to a different Type, Bit Depth and Samples size. This conversion may be especially useful if you need to write out a LUT to a certain specification, such as making a 3D LUT of Size 17 for the Inferno. NOTE: Any changes made here are not undoable, so you should store the original LUT separately.

Convert> Invert LUT button
Takes the current LUT and makes an inverse of its values. When you apply a LUT and then an inverse LUT, the net change should be nothing. For example, the inverse of a log2lin LUT is lin2log.
Not all LUTs are invertible. 3D LUTs are generally impossible to invert. Many 1D LUTs can not be inverted either. When you click the Invert button, a 1D LUT will be transformed into a 1D I/O LUT, which is the perfect inverted case. You are then free to convert it back to a regular 1D LUT if you wish.
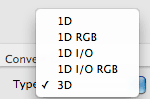
Convert> Type pop-up
Choose the LUT type that you want to convert to. The LUT Types are explained on this page.
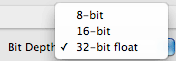
Convert> Bit Depth pop-up
Choose the bit depth that you want to convert to. The LUT’s bit depth is initially determined by the depth of your After Effects, FCP or Premiere Pro project.
NOTE: The floating point to 8-bit conversion has accuracy issues. If you want an 8-bit table, we recommend that you work in an 8-bit project. The 32- to 16-bit and 16- to 8-bit conversion work fine. However, the 32- to 8-bit conversion can result in garbage.
Convert> Samples pop-up
Samples converts the number of values or 'samples' in a LUT. Type in the Sample size that you want to convert to.
For instance, if you generate a 3D LUT and you want to output an Inferno LUT that has 17 samples, then you would type 17 into the Samples field. You can increase or decrease the samples, or the sample size of the table that you are building. The number of samples corresponds to the amount of precision in the table you are building.
For a 1D LUT, samples are the values in a single dimension, visually displayed in the LUT pattern as one line of values. The maximum Sample value is 1024.
For a 3D LUT, samples are represented by the points on the side of the cube, visually displayed in the LUT pattern as rows/columns of patches. There need to be an equal number of samples on each side of the cube that you are creating in the 3D LUT. The maximum Sample value is 128.