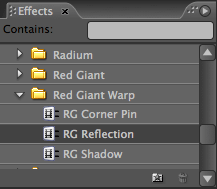
Differences in Premiere Pro
Warp plug-ins operate in Premiere Pro almost the same as they do in After Effects. Minor differences in Premiere Pro are covered on this page.
You can access the filters from the Effects panel, or from the menu item Video Filters> Red Giant Warp.

Warp plug-ins in Premiere Pro
RG Corner Pin plug-in
In Premiere Pro, the main feature difference is that Premiere Pro does not have the Mocha import menu. The Premiere Pro version also lacks the Motion Blur Comp Settings switch in the Motion Blur menu. You can only turn the Motion Blur On or Off. This is because Premiere Pro does not natively support motion blur rendering for effects.
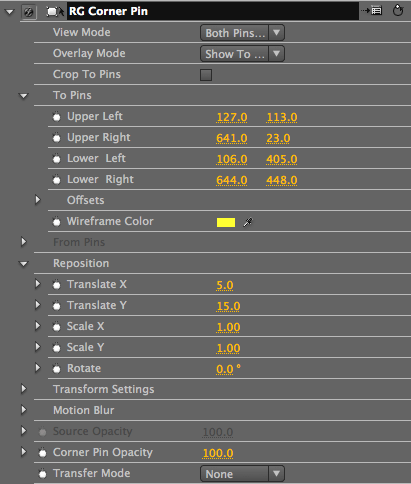
Corner Pin in Premiere Pro
RG Shadow plug-in
The only Shadow control missing in Premiere Pro is Align Axis. This control aligns the 3D points to the edges of an object. This feature was removed because all FX Plug effects only see the full layer, for instance, an image the same size as the project such as a DV frame that is 720 x 480. You must align the controls manually using the 3 point controls under 3D group. The Premiere Pro version also lacks the Motion Blur Comp Settings switch in the Motion Blur menu. You can only turn the Motion Blur On or Off, since Motion does not natively support motion blur rendering for effects.
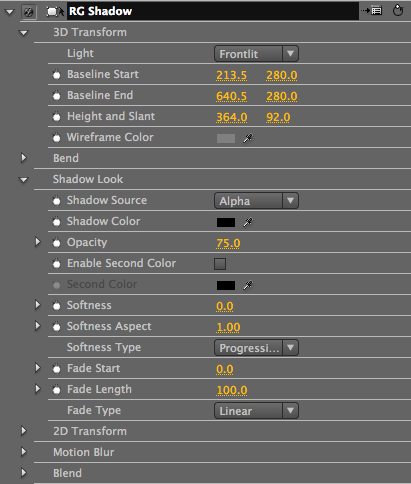
Shadow in Premiere Pro
RG Reflection plug-in
The Reflection controls are very similar to the Shadow controls. As with Shadow, the plug-in does not feature an Align Axis control or a way to use Comp Settings for Motion Blur in Premiere Pro.
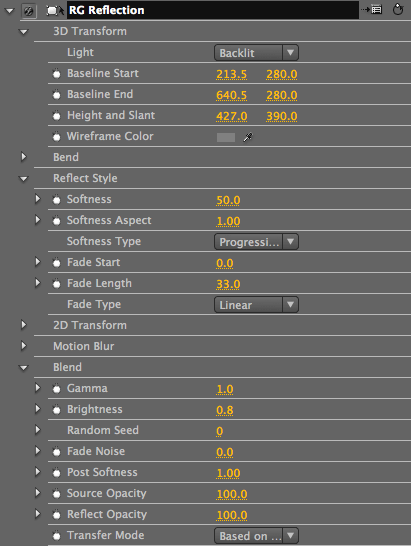
Reflection in Premiere Pro
Controlling Points in Premiere Pro CS3 on Mac OS X
The Mac version of Premiere Pro CS3 does NOT show the overlays for Shadow, Reflection or Corner Pin. These missing overlays include the From and To pin labels and the baseline and height and slant lines in the Program window. This problem only is an issue on Premiere Pro CS3 on the Mac. Premiere Pro CS3 on Windows XP and Vista work fine, as does the latest version, Premiere Pro CS4 on both Mac OS X and Windows. This does NOT change the render output in this version, it simply a limitation in the CS3 version.
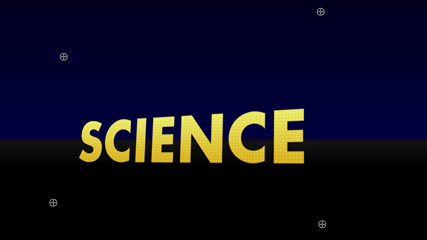
In Premiere Pro CS3 on Mac OS X, the overlay line and controls are NOT available.
Radium Glow plug-in
The main difference in Premiere Pro is how the Glow's Shape Layer, Input Layer and Mask Layer input work. Rather than providing a pop-up menu which shows the name of the layer, Premiere Pro simply refers to the layers in the timeline by the name of the track. By default this is shown as Video 1, Video 2, Video 3, etc. If you change the track name, then name in the pop-up will reflect the track name.
The other difference is the performance of Glow's Quality setting. The plug-in will run very slowly when set to Quality 1:1 or 2:1. The Glow output will be at its highest quality, but the slow performance is notable.
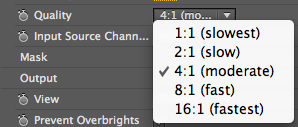
Quality pop-up in Premiere Pro.
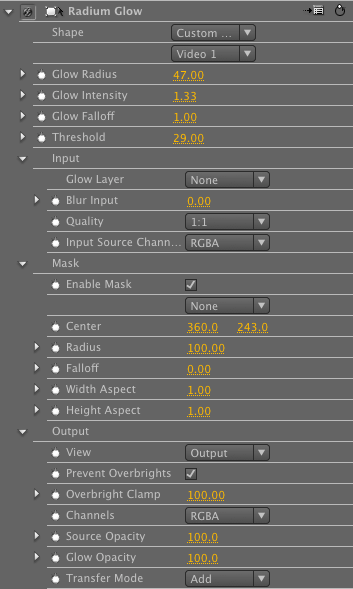
Glow in Premiere Pro