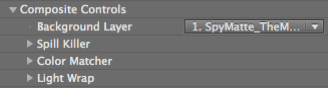
Composite Controls group
The Composite Controls group incorporates some of the color correction and advanced compositing features found in Red Giant’s Key Correct plug-in suite. There are three subgroups: Spill Killer, Color Matcher and Light Wrap. Learn more about Key Correct at www.redgiantsoftware.com/products/all/key-correct/
Background Layer pop-up
Determines the layer that will be used in the Color Matcher and Light Wrap functions. This is a global option for all Composite Control options.

Spill Killer group
As its (awesome!) name suggests, Spill Killer is a spill removal group. These controls operate separately from the other Primatte spill functions.
Spill Killer mathematically analyzes and corrects for colored spill on the foreground without harming the original color of the pixels. This spill is caused by bounced light from the surface of the bluescreen. Spill Killer will also correct many spill situations that might otherwise be difficult, such as semi-transparent areas like fringe and motion blur.
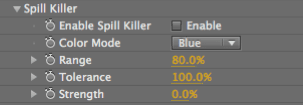
Spill Killer> Enable Spill Killer checkbox
This checkbox enables or disables the Spill Killer group. Turned off by default.
Spill Killer> Color Mode pop-up
Lets you choose the default spill removal color. Choose between Blue, Green and Red as the default color.
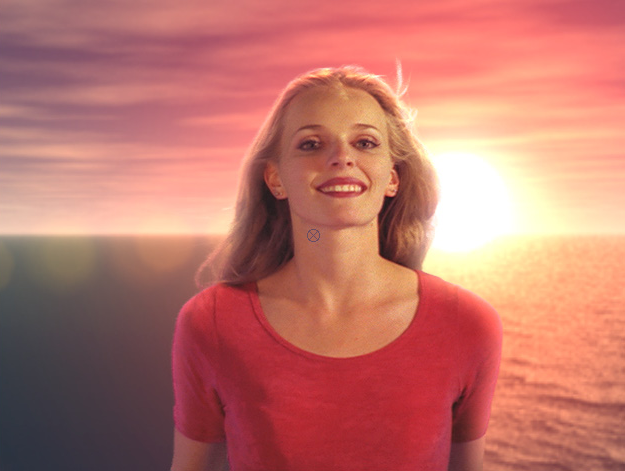
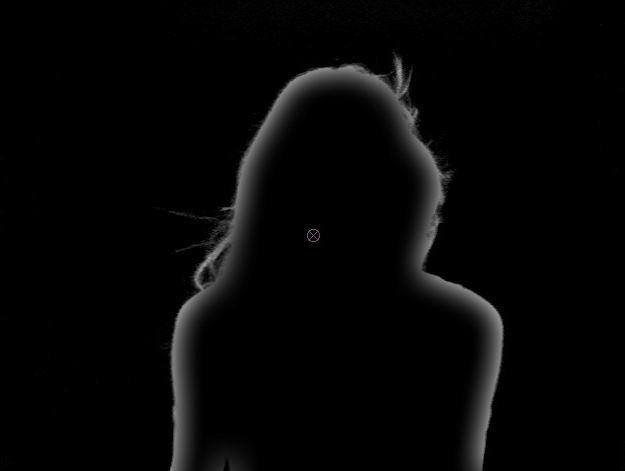
At left, the keyed bluescreen image has a significant amount of blue spill. At right, Color Mode gets rid of the blue spill.
Spill Killer> Range
Specifies the lower value designating which pixels will be corrected. The lower the setting, the more pixels will be affected. Range also defines the limit of spill suppression. The lower the setting, the more correction will occur.
Spill Killer> Tolerance
Controls the upper value, defining which pixels will be corrected. The higher the setting, the more pixels will be corrected. In most cases, a setting of 100% is recommended.
Spill Killer> Strength
Determines how much the original colors of the foreground element are spill corrected. A value of 100% means that the foreground colors are completely corrected.
Color Matcher group
One of the biggest problems in compositing a shot comes in making the foreground and background elements appears as if they coexist in the same space. Balancing an element’s tonal exposure to make it fit into a new environment can often involve multiple applications of standard color correction filters.
Color Matcher easily integrates an element into a composite environment by balancing the element’s colors to match the general color balance of the environment into which it is being placed. This is accomplished quickly, and with just a few mouse clicks can yield results superior to those achieved with hours of work with conventional color correction filters.
Users of previous versions of Color Matcher will notice a significantly improved interface. The new algorithm automatically samples the specified background layer and remaps the foreground to match. In addition, you now have far greater control over the color correction process with the introduction of individual RGB controls for shadow, midtone, and highlight ranges.
Color Matcher> Enable Color Matcher checkbox
This checkbox enables or disable the Color Matcher group. Turned off by default.
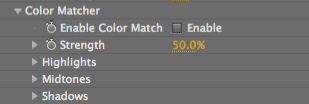
Color Matcher> Strength
Determines how much the original colors of the foreground element are adjusted towards the background colors. The color remap can be as subtle or as bold as you choose. A value of 100% means that the foreground colors are completely replaced.
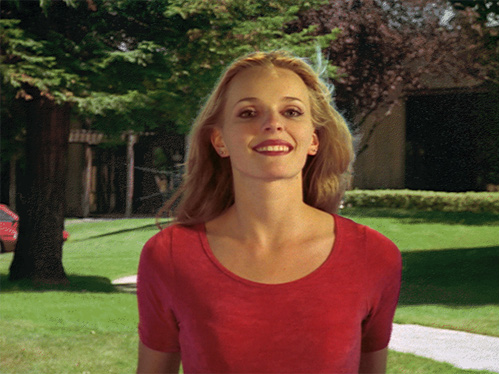
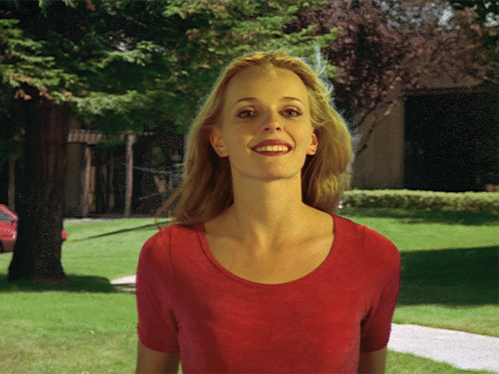
At left, Strength at 25%. At right, Strength at 75%.
Color Matcher> Highlights, Midtones, Shadows
Three sets of sliders that color correct the Highlight, Midtone, and Shadow ranges of the image. Each tonal range offers a set of RGB sliders, enabling you to add or remove red, green, or blue in each range to achieve the highest quality match. Primatte gives you a great deal of color correction control with these RGB sliders and often, you can avoid using outside color correction filters.


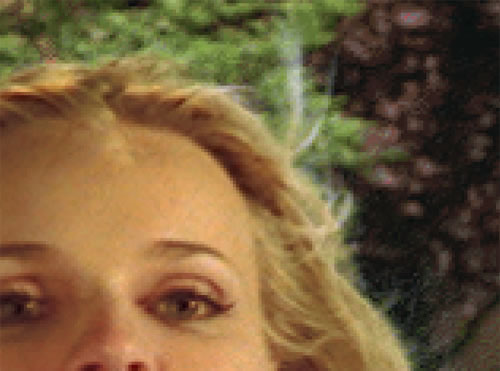
At left, the highlight areas of the blonde hair at top right are a little green. At right, Highlights Green at -30 knocks out green tint and leaves a more natural hair color.
Light Wrap group
Light Wrap is the secret to seamless layer integration. It works by wrapping the edges of a foreground layer with soft light from the background layer, producing a powerful level of integration by providing the illusion that light from the background layer is reflecting along the edges of the foreground.
Light Wrap> Enable Light Wrap checkbox
This checkbox enables or disable the Light Wrap group. Turned off by default.
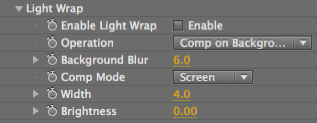
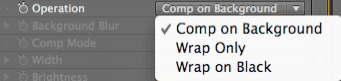
Light Wrap> Operation pop-up
Determines the output from Light Wrap. There are three modes.
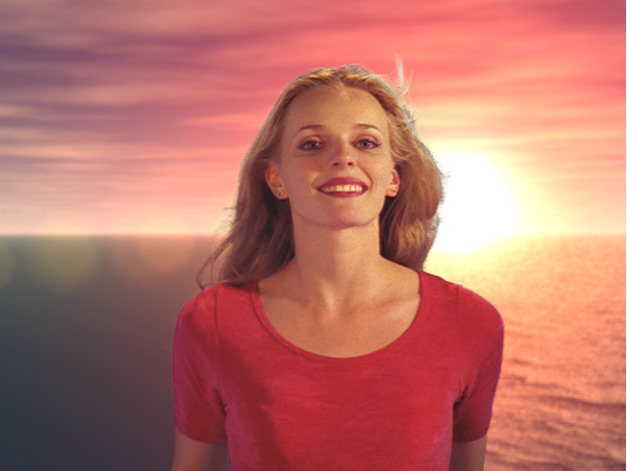
At left, the keyed and color corrected foreground. At right, Operation> Comp on Background with a solid white output alpha channel.

At left, the RGB channel generated with Operation> Wrap Only. At right, the alpha channel generated when this mode is selected.
Light Wrap> Background Blur
Designates the amount of internal blur applied to the background image before the light wrap effect is applied. This is a pre-process only; it merely softens the wrap effect, and will not alter the background element in any way.
Light Wrap> Comp Mode pop-up
Sets the compositing mode used by Light Wrap. These modes are identical in function to the transfer modes in After Effects. For detailed explanations of these transfer modes, please refer to your After Effects documentation.

Light Wrap> Width
Controls the width of the light wrap effect. Higher settings create a bigger backlight wrap on the layer. The Width value operates independently of Background Blur, allowing you to set a high blur value on the background element while still retaining independent control of the width of the effect.
Light Wrap> Brightness
Controls how bright the wrap effect will be. Higher settings are brighter, negative numbers are darker.