Roto Toon plug-in, Halftone, Stipple & Duotone groups
This page discusses three stylized coloration effects that can be applied within Roto Toon. Each creates a look that simulates a printing or illustration technique.


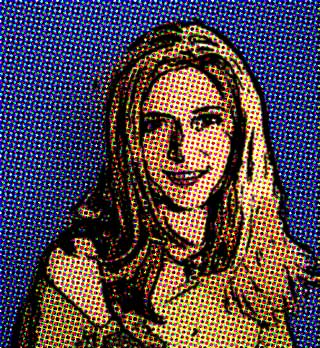
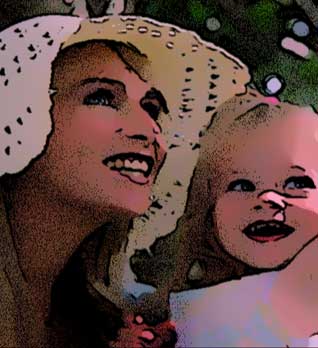
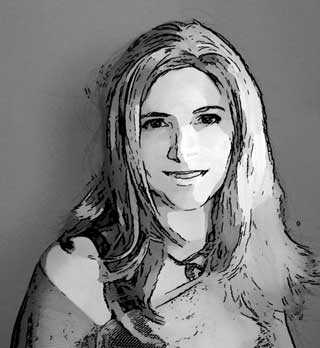
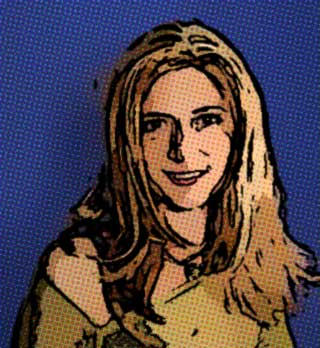
Left to right: Halftone effect, Stipple effect and Duotone effect.
Duotone Shading group (NEW to v2.0)
This group of controls sets and defines a stylization called Duotone. Duotone gives you the option of converting any Roto Toon effect to a two-color image. Light colors in the image are mapped to a Light Color, and dark colors are mapped to a Dark Color. That's really all there is to decide; it's a simple effect with just two settings.
What is 'duotone'? This is the result of creating a grayscale image from two different colors. For instance, in printing, outputting an photograph by the duotone method produces a richer, longer tone scale than is possible using only one ink color. Duotones can provide a very pleasing effect. While they may be built to have more or less color in different parts of the image, they are still monochromatic in nature, as both colors are composed of the same grayscale image.

Duotone checkbox
The Duotone group is turned off by default. Checkmark this option to turn on the Duotone settings. Uncheck this if you want to have standard Roto Toon color fields.
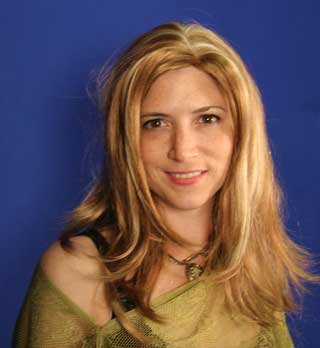

At left, the original image. At right, Duotone defaults applied.
Lightest Color
A color selection well that sets the color of the lightest tone. The default is white.
Darkest Color
A color selection well that sets the color of the darkest tone. The default is black.
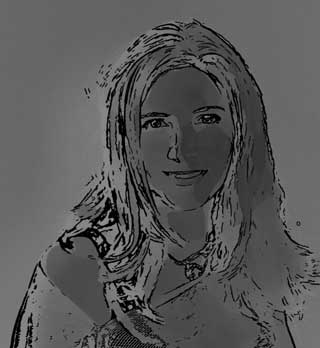
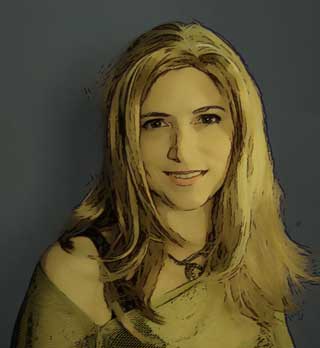
At left, Light Color is dark gray, Dark Color is light gray. At right, Light Color is gold and Blend With Original at 40.
Grayscale images with Duotone
There are a few ways to produce a grayscale image with the Duotone group. The Lightest and Darkest Colors can be set to white and black (default), white and gray, gray and black, or dark gray and light gray. Alternatively, one of the Lightest or Darkest Colors can be set to white, gray, or black to render Roto as a monochromatic (but still RGB) image.
The Darkest or Lightest Color can be the same as the Outline Color, but this is not required.
Halftone Pattern group
This group of controls sets and defines a stylized effect called Halftone, which tries to replicate the appearance of something that has been printed. This is a great effect for certain situations, for instance, if you’re trying to replicate the look of old 70's comics or newsprint.
A halftone simulates continuous tone imagery through the use of equally spaced dots of varying size. The traditional halftone process creates a basic optical illusion, in which these tiny halftone dots are blended into smooth tones by the human eye. Typically, halftone refers to a printing process; in Roto Toon, we are referring to an onscreen visual.
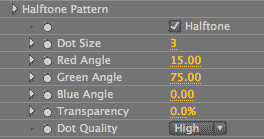
Halftone checkbox
The Halftone group is turned off by default. Check this option to turn on the Halftone settings. Uncheck this if you want to have standard Roto Toon color fields.


At left, the original image. At right, Halftone defaults applied.
Dot Size
Determines the size of the Halftone dots. The default is 3. Value range is 1 to 30.
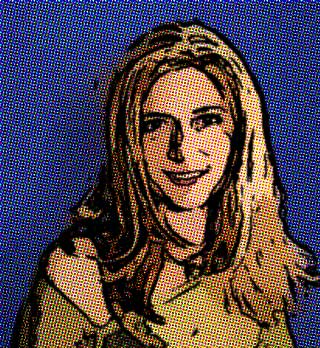

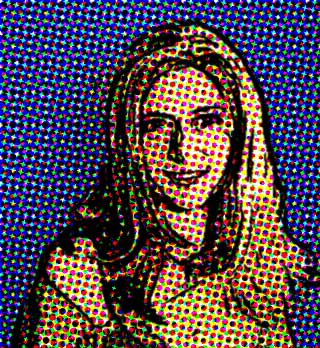
Left to right: Dot Size 1, 3, (default), 6.
Red, Green, Blue Angle
Individually determines the ‘printing’ angle of the separate halftone dot colors. This is really just a stylization choice. The dots will actively size and position themselves based on the luminance of the frame.
Value range is 1 to 90 for each Angle control. Red defaults to 15, Green defaults to 75, Blue defaults to 0.

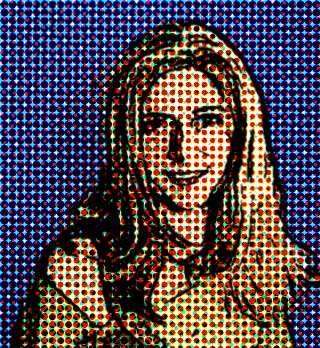
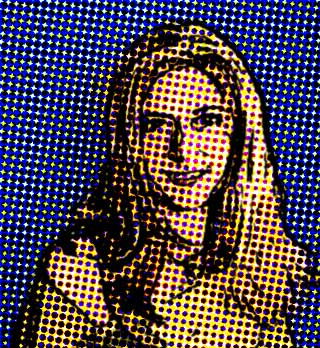
At left, Red 15, Green 75, Blue 0 (the defaults). In middle, Red 40, Green 0, Blue 90. At right, Red 80, Green 80, Blue 80.
Transparency
Sets how opaque the Halftone dots are. The default is 0, or fully opaque. Value range goes from 0 to 100. At higher than 0, the dots will blend with the background. Setting this to 100 will turn off the dots, because they will be fully transparent.

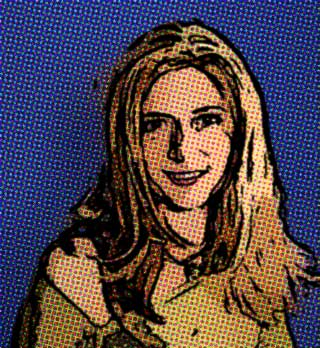
Left to right: Transparency at 0 (default), 50, 80.
Dot Quality
Dot Quality sets how detailed and round the Halftone dots appear. High is the default setting and it produces a high-quality version for the final render. The Fast setting allows you to render more quickly, but the dots are less round.
Stipple Pattern group
These controls set and define a stylized effect called Stipple. This effect uses varying densities of black grain, or noise, to shade the cartoon image.
Stippling is the technique of using small dots to simulate varying degrees of solidity or shading. Traditionally, this technique produces shaded line art illustrations in drawing or painting, in addition to being a printing and printmaking technique. Stipple acts as a black grain that represents dark regions of an image with circular dots of different sizes and densities. In ToonIt, our Stipple settings create varying densities of noise to simulate that look.
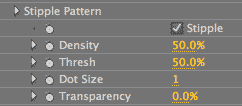
Stipple checkbox
The Stipple group is turned off by default. Check this option to turn on the Stipple settings. Uncheck this if you want to have standard Roto Toon color fields.
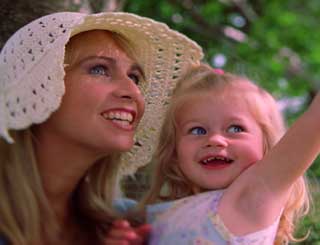
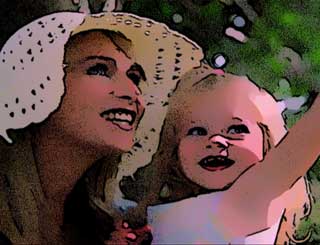
At left, the original image from Artbeats Stock, www.artbeats.com. At right, Stipple defaults applied.
Density
Determines the amount of shading that will be used in the image. This visually defines the stylization. The default is 50%. Value range is 0 to 100. Increasing this value yields more contrast and heavier noise.
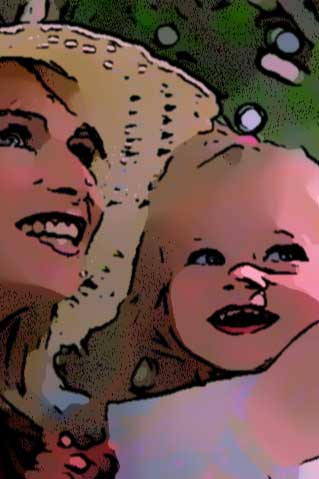
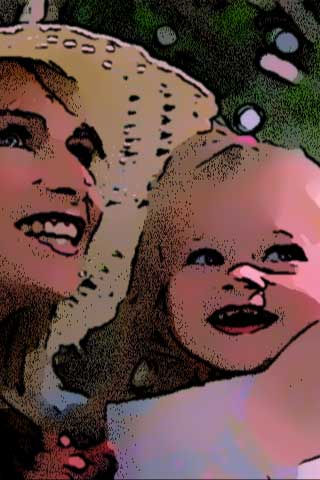
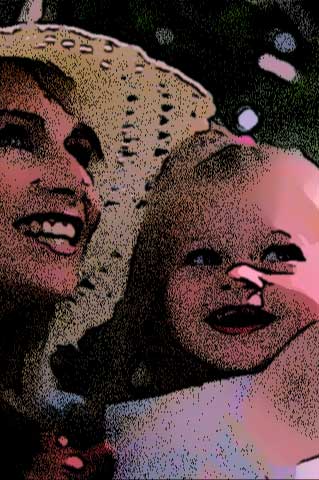
Left to right: Density at 30, 50 (default), 70.
Thresh (Threshold)
Sets how much of the image is affected by the stippling. The default is 50%. Value range is 0 to 100. Lower values gives the stippling a lot of definition; it makes the noise more refined and shaped towards the initial subject. Higher Threshold values make the dots stick together.
If you raise the Main Blur group a bit and boost the Threshold to above 30, the noise will appear to flow more over the image, not maintaining the original shapes as much. This can be an interesting effect for the right image.
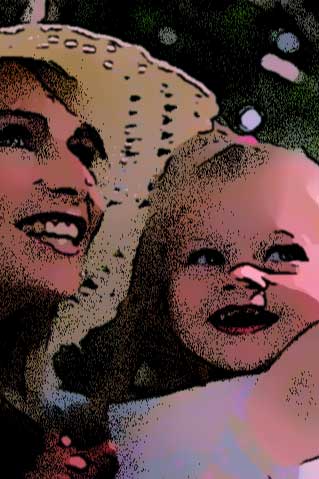
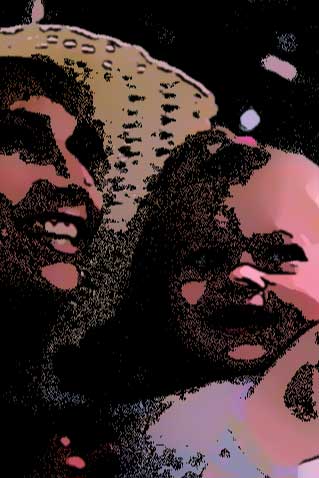
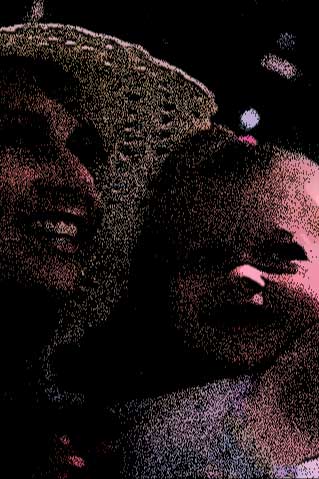
At left, Density at 50, Threshold at 70. In middle, Density 50, Threshold 100. At right, Density 100, Threshold 50.
Note that Density affects the amount of black grain, while Threshold affects the clumpiness of the grain.
Dot Size
Determines the size of the Stipple dots. The default is 1. Value range is 1 to 30. Increasing this value makes the dots larger.
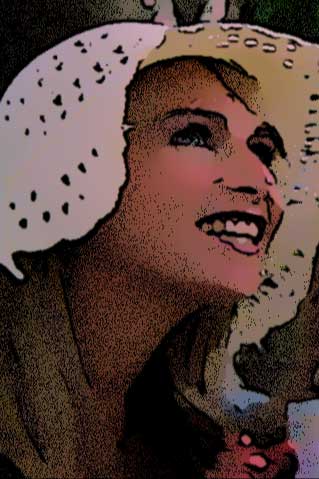
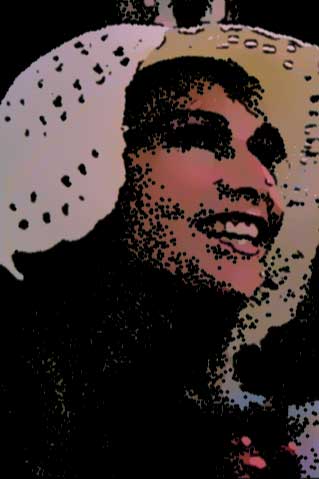
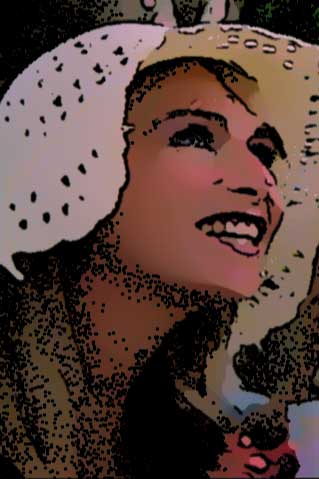
At left, Dot Size 1, Density 50. In middle, Dot Size 3, Density 50. At right, Dot Size 3, Density 30.
Transparency
Sets how opaque Stipple’s black grain is. The default is 0, or fully opaque. Value range is from 0 to 100. At higher than 0, the grain will blend with the background. Setting this to 100 will turn off the grain, because it will be fully transparent.
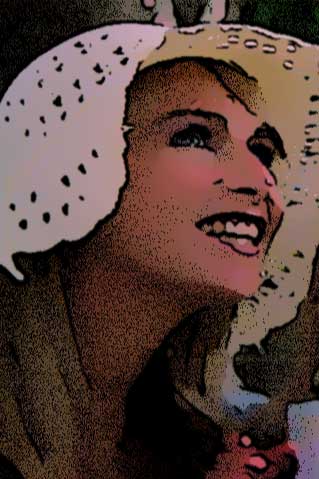
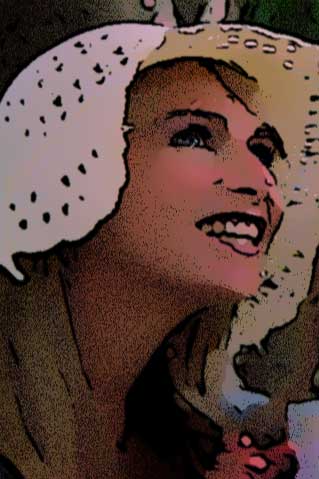
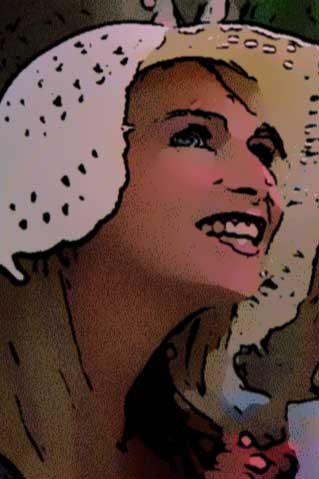
Left to right: Transparency at 0 (default), 30, and 60.
Workflow and WYSIWIG
Stipple does not give you a WYSIWYG view: what you see in the Preview Window is not an accurate preview of the rendered result. To get an accurate representation, you must set the Preview at 100%. Otherwise, ToonIt is compressing the preview of the dots so it can draw a preview. The preview will still be a lot lighter and less dense than the final render. In fact, when you first activate the Effect, you might not see anything appear in Preview, but rest assured, it is there.
Stipple settings can work nicely with the Blur controls. In general, keep this concept in mind: The higher the Blur, the more random the Stipple noise generation.