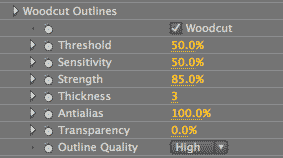
Outlines Only plug-in, Woodcut Outlines group (NEW to v2.0)
Woodcut Outlines creates the effect of a high-contrast woodcut plate. This stylized effect has broad light areas and details gouged into black areas. This effect is the closest that Red Giant ToonIt comes in one step to the popular Sin City graphic novel look. (We are referring to the flat areas of color in the panels of Frank Miller's graphic novels, not to the Sin City films.)
How does it work? Woodcut Outlines essentially overlays a light background-colored palette over the dark outline-colored parts of the footage. At the same time, a dark outline-colored palette overlays the light background-colored parts. Basically, Woodcut will add white outlines into the black threshold area and black outlines into the white threshold area. The light outlines are set by the Background Color control. The dark outlines are set by the Outline Color control.

Woodcut checkbox
Turned off by default. Turning this option on will activate the Woodcut controls. This produces a high-contrast stylized line effect using the global Outline Color and Background Color controls. Turning off the Woodcut checkbox will give you standard Outlines Only edge detection.

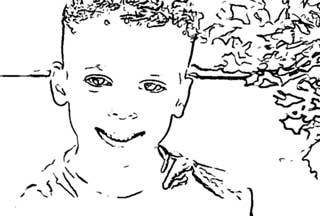
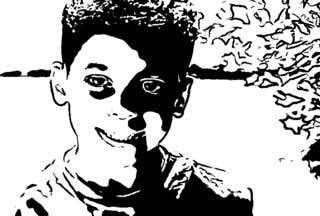
At left, original footage from ArtBeats Stock, www.artbeats.com. In middle, Woodcut checkbox off. At right, Woodcut checkbox on.
Threshold
Sets the relative overall size of light and dark regions. Threshold determines how dark the color has to be for that color to be replaced by the Woodcut effect. Default value is 50%. Value range is 0 to 100.
By default, only the darkest color areas will be filled with woodcut. As you increase the Threshold, lighter areas start getting filled with the shadow. For images with dark backgrounds, you can easily create a dramatic effect by turning the entire background black.
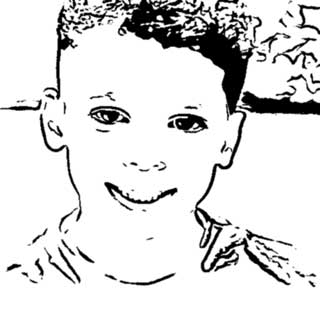
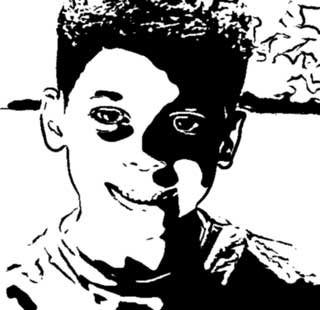
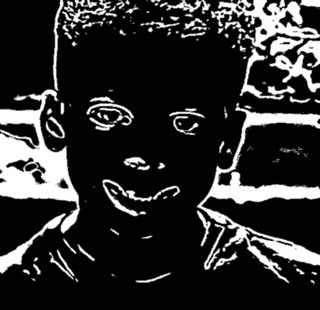
Left to right: Threshold at 30, 50 (default) and 100. Higher values fill in lighter colors with the dark woodcut.
Sensitivity
Determines how much detail will be picked up by the Woodcut edge algorithm. Sensitivity adds in the color of the Outline Color control.
The default is 50%. Value range is 0 to 100. Lowering the value considerably, for example to 10 or 20%, may cause the control to have no effect. Raising this will increase the amount of edge detail. Raising the value to 100% will saturate the image in the Outline Color because so much edge is added.
The higher the Sensitivity, the denser the woodcut outlines will appear in the dark areas. High Sensitivity values can also produce strange artifacts as the algorithm picks up edges in gradients. This usually happens in darker regions where there isn’t much detail. The artifacts look like squiggly lines in areas that clearly shouldn’t have lines.
Higher Sensitivity values increase the outline-colored lines at the expense of the background-colored lines. Lower Sensitivity values decrease the outline-colored lines and allow in more background-colored lines.
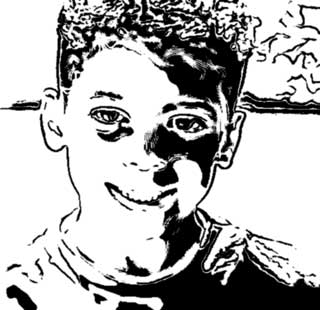
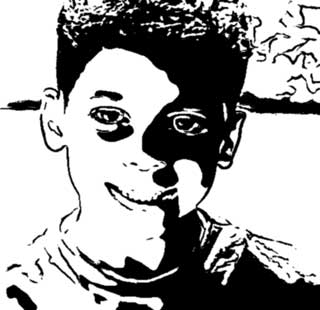
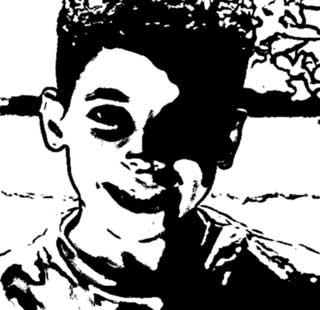
Left to right: Sensitivity 10, 30 and 95. The lines fill in around the darker parts of the image as the value goes higher.
Strength
Determines how heavily the Woodcut lines are drawn. Increase this for a heavier woodblock/linotype effect. The default is 50%. Value range is from 0 to 100.
We explained earlier how Woodcut Outlines creates its effect. Woodcut essentially overlays light lines over the dark parts of the footage, while overlaying dark lines over the light parts. Higher Strength values increase the outline-colored lines at the expense of the background-colored lines. This means there will be more lines that take the color of the Outline Color control and fewer that take on the color of the underlying image. Lower Strength values decrease the outline-colored lines and allow in more background-colored lines.
Strength works very closely with Sensitivity. Strength will make lines darker and thicker, while Sensitivity will cause more lines to appear. However, high Strength values will also cause more lines to appear and high Sensitivity values will make lines darker. As Sensitivity and Strength go down, the white outlines get more frequent and thicker and the black outlines get less frequent and thinner. As Sensitivity and Strength go up, it's the other way around.
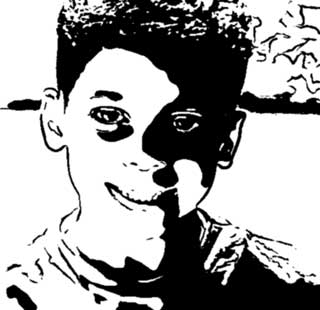
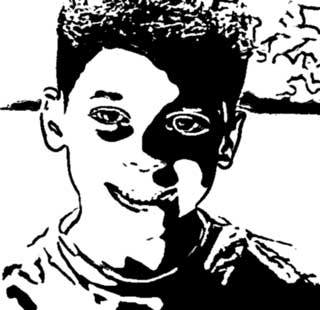
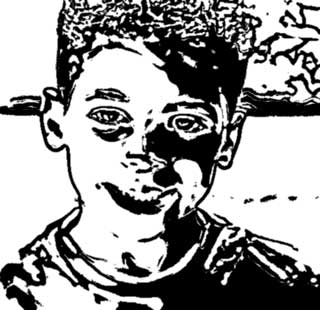
Left to right: Strength 40, 70 and 100. At higher values, there are more lines taking on the dark Outline Color.
A note about Strength
Strength works as described above for outlines drawn over darker parts of an image/frame. That is, Strength will make those outlines look darker and thicker, and higher values will cause more lines to appear. However, for some images, Strength will produce the opposite effect and make the image look lighter. That is because Strength works the opposite way for outlines drawn over lighter color areas. In these situations, higher Strength means fewer dark outlines and more light outlines, with more of the background color showing through.
If you want to restore thicker dark outlines over light color areas, but still keep some nice light outline detail, you can do so with the Comic Outlines controls. Start by giving the same settings to both Woodcut Outlines and Comic Outlines. Then slowly scale back Comic Outlines Strength for fine-tuned control to gradually decrease dark outlines and increase light ones.
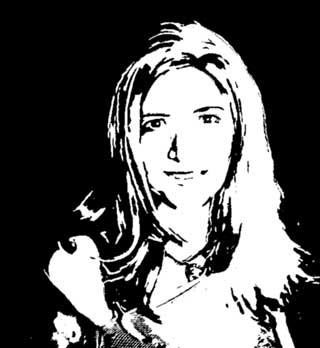
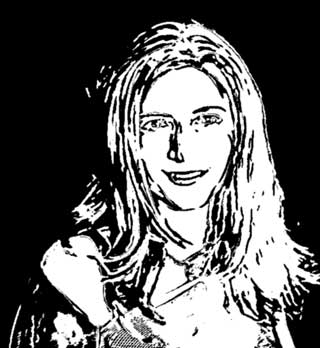
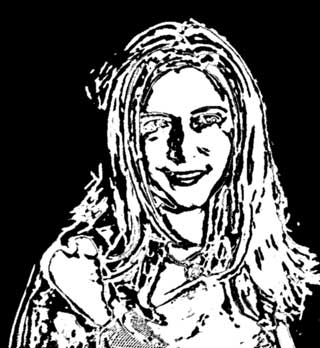
Left to right: Strength 40, 70 and 100. In this case, at higher values, there are more lines taking on the light Background Color.

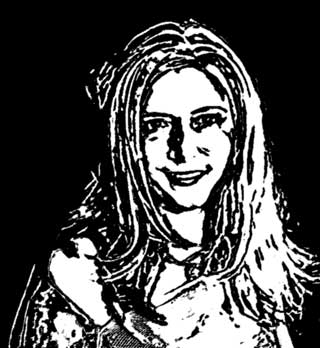
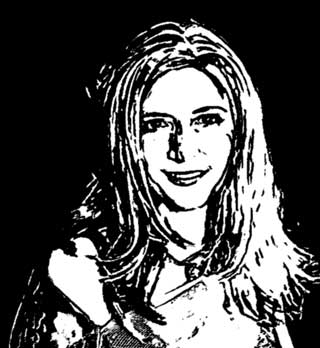
At left, Woodcut Strength at 100. In middle, Comic Outlines on, Comic Strength at 100. At right, Comic Strength at 80. You can use Comic Outlines to control the effect of Strength.
Thickness
Sets how thickly the Woodcut lines are drawn. The default is 3. Value range is from 1 to 30. Thickness can have some interesting effects if you really crank up the value, adding to the brush painting or woodcut look depending upon how other controls are set.
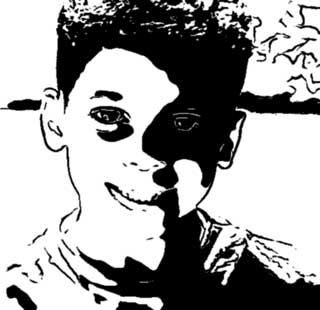
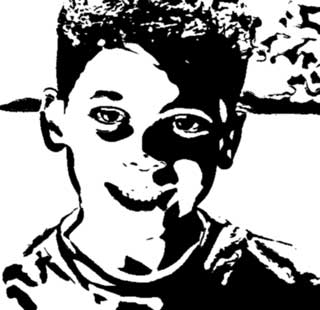
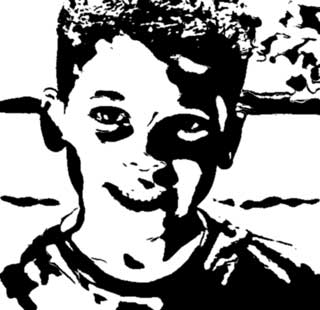
Left to right: Thickness at 1, 8 and 15.
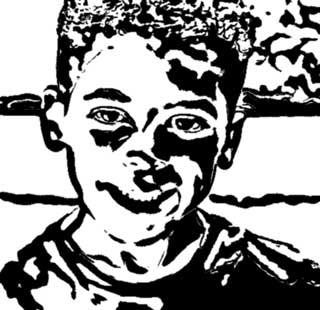
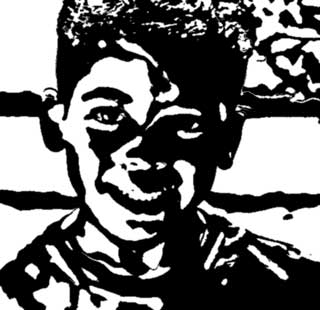
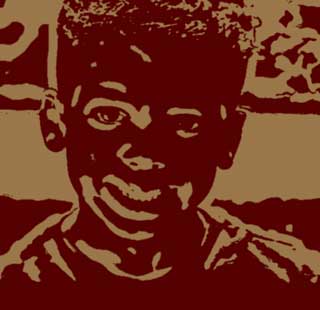
At left, Thickness at 8, Strength at 80. In middle, Thickness at 8, Strength at 80, Sensitivity at 70. At right, Thickness at 10, Sensitivity at 60, Threshold at 80, Background Color is red, and Outline Color is tan. Get interesting looks by mixing settings.
Antialias
Antialias is a percentage slider for the final output that helps to tone down any jagged edges. Default value is 100%. Value range is 0 to 100.
An Antialias of 0% is very slightly faster, but otherwise the render speed is the same as at higher values. Sometimes Antialias of 100% can look a bit blurry. If this is the case, just pull down the setting a bit.
Transparency
This sets the opacity level of the Woodcut effect. The default is 0%, which is fully transparent. Value range is from 0 to 100. The higher the value, the more transparent the Woodcut lines are. The lower the value, the more opaque they are.

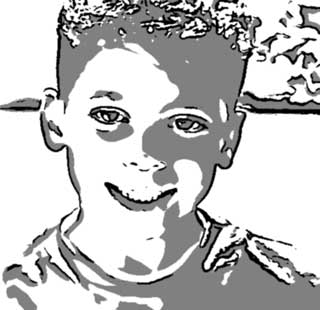
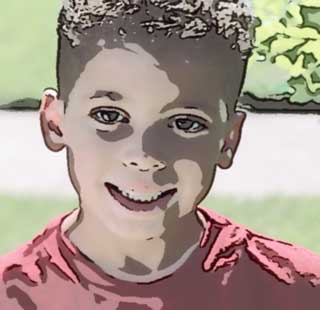
At left, Transparency at 0 (default). In middle, Transparency 50, Thickness at 8. At right, Blend With Original at 50. Comic Outlines on.
Outline Quality pop-up
Determines the quality of the Woodcut effect, or basically the amount of detail that is affected by any setting. The pop-up menu has two options, a Fast Quality and High Quality. Set it to Fast for better interaction while adjusting your settings. Always set it to High before rendering the image for final output.