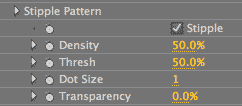
Outlines Only plug-in, Stipple Pattern group
These controls set and define a stylized effect called Stipple. This effect uses varying densities of black grain, or noise, to shade the cartoon image.
What is ‘stippling’? This is the technique of using small dots to simulate varying degrees of solidity or shading. Traditionally, this technique produces shaded line art illustrations in drawing or painting, in addition to being a printing and printmaking technique. Stipple acts as a black grain that represents dark portions of an image with circular dots of different sizes and densities. In ToonIt, Stipple controls create varying densities of noise to simulate that look.

Stipple checkbox
Turned off by default. Turning this option on will activate the Stipple controls. This produces an illustrative dotting of small black grain using the Outline Color and Background Color controls. Turning off the Stipple checkbox will give you standard Outlines Only edge detection.
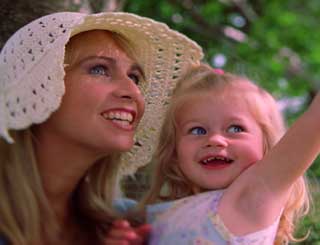
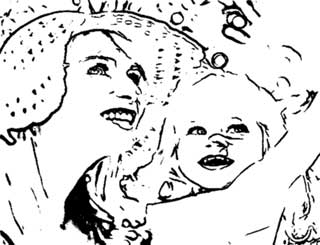
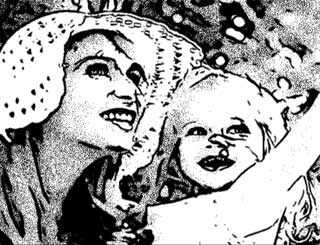
At left, the original image from Artbeats Stock, www.artbeats.com. In middle, Stipple checkbox off. At right, Stipple checkbox on.
Density
Determines the amount of shading will be used in the image. This visually defines the stylization. The default is 50%. Value range is 0 to 100. Increasing this value gives more contrast and heavier noise.
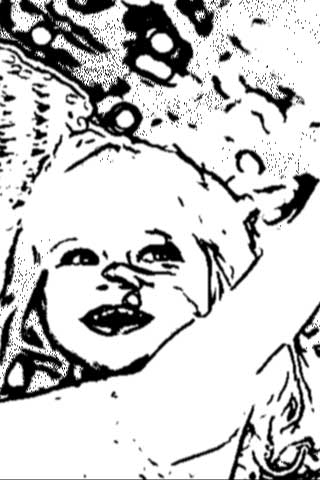
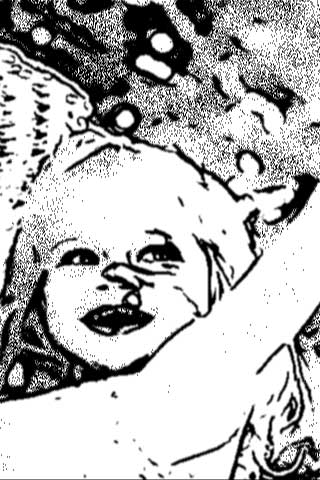
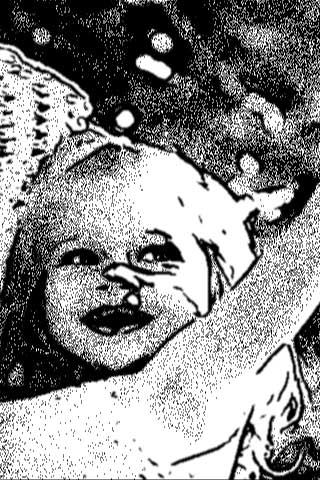
Left to right: Density at 30, 50 (default), 70.
Thresh (Threshold)
Sets how much of the image is affected by the stippling. The default is 50%. Value range is 0 to 100. Lower values gives the stippling a lot of definition; it makes the noise more refined and shaped towards the initial subject. Higher Threshold values make the dots stick together.
If you raise the Main Blur group a bit and boost the Threshold to above 30, the noise will appear to flow more over the image, not staying as true to the original shapes. This can be an interesting effect for the right image.
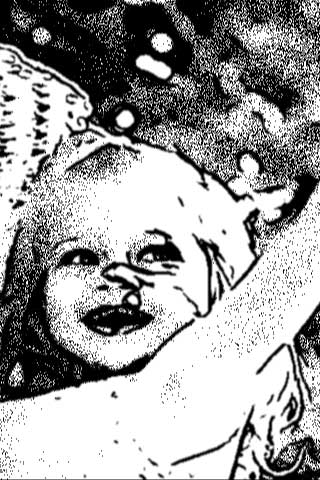
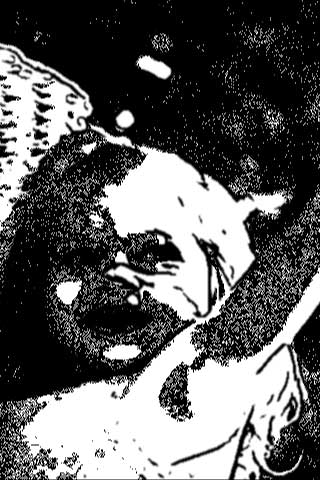
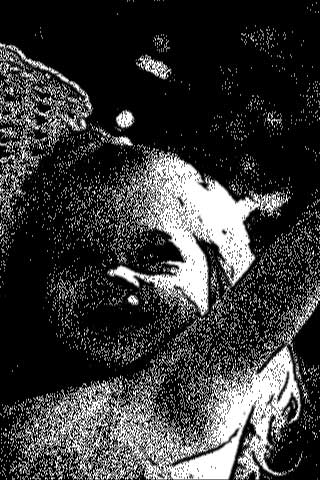
At left, Density at 50, Threshold at 70. In middle, Density 50, Threshold 100. At right, Density 100, Threshold 50.
Note that Density affects the amount of black grain, while Threshold affects the clumpiness of the grain.
Dot Size
Determines the size of the Stipple dots. The default is 1. Value range is 1 to 30. Increasing this value makes the dots larger.
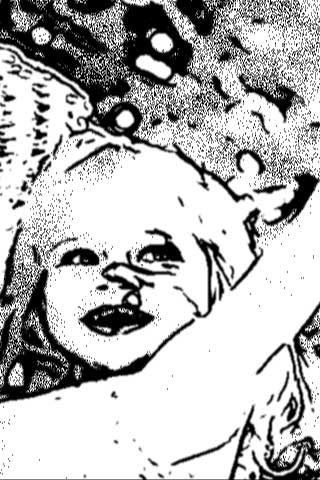
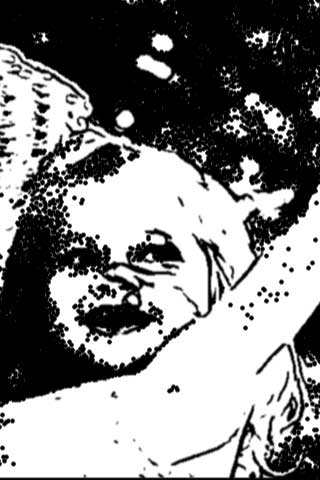
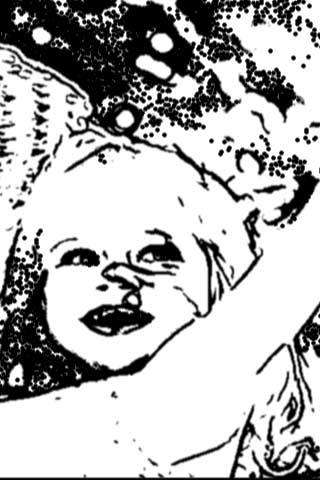
At left, Dot Size 1, Density 50. In middle, Dot Size 3, Density 50. At right, Dot Size 3, Density 30.
Transparency
Sets how opaque the Stipple’s black grain is. The default is 0, or fully opaque. Value range goes from 0 to 100. At higher than 0, the grain will blend with the background. Setting this to 100 will turn off the grain, because it will be fully transparent.
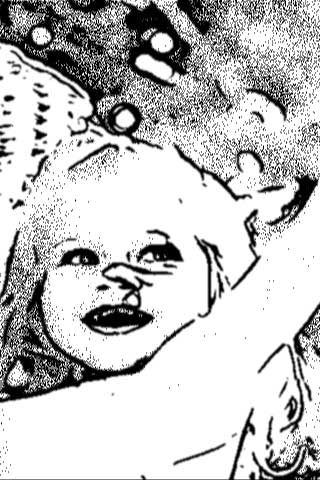
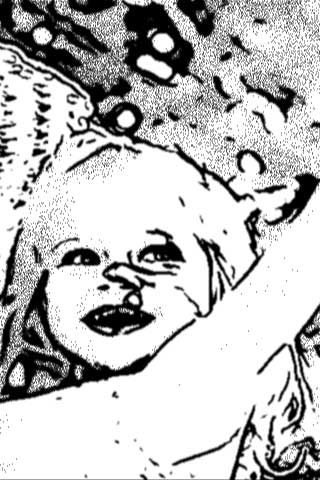
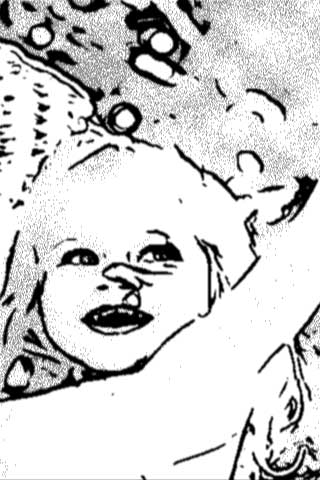
Left to right: Transparency at 0 (default), 30, 60. For the higher Transparency, we lowered Sensitivity also so the lines were delicate like the Stipple dots.
Workflow and WYSIWIG
Stipple does not give a WYSIWYG view: What you see in the Preview Window is not the same as what will render. To get an accurate representation, you must set the Preview at 100%. Otherwise, ToonIt will compress the preview of the dots so it can draw a preview. The preview will still be a lot lighter and less dense than the render. In fact, when you first activate the Effect, you might not see anything appear in Preview, but rest assured, it is there.
Stipple controls can work nicely with the Blur controls. In general, keep this concept in mind: The higher the Blur, the more random the Stipple noise generation.