Quickstart Guide
This is a very basic tutorial that introduces some of the controls in Psunami. Were going to set up a simple ocean scene with a rainbow.
STEP 1:
After Effects Users: Create a new comp and apply a new Solid. Apply Psunami to the solid.
Final Cut Pro Users: Create a new project. Create a slug on your Timeline by dragging one from the viewer and apply Psunami.
In either application, by default we get a nice sunset scene.
STEP 2:
Go to the Render Options group. By default, Render Mode is set to Texture (No Geometry). This is a very useful mode for seeing the colors in your scene, how the sky looks, and where the sun is. But Texture mode doesn't render the polygons in the ocean, so the wave surface tends not to look very realistic or representative of how the water will render.
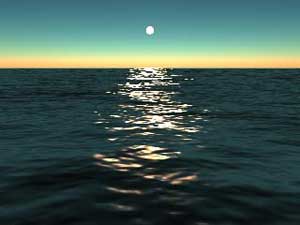
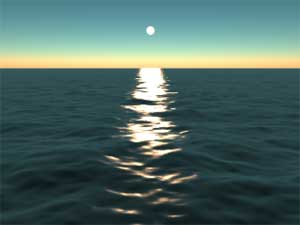
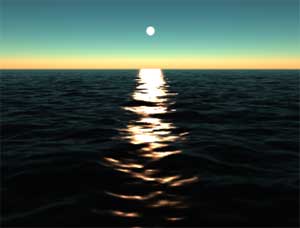
Switch the Render Mode to Realistic. This will render out the polygons but Psunami will run much slower. In our default scene, actually, there is not much difference between Texture and Realistic. You can also check out Too Realistic Mode. Don't use this render mode for our project, however, because its level of detail is not necessary or time-effective.


Left to right, Texture (No Geometry) mode, Realistic mode, Too Realistic mode.
STEP 3:
Go to the Primary Waves section and twirl it down. Since Psunami creates true-to-life waves, and real waves are created by wind, Psunami uses wind as well. If you want to make bigger waves, just increase the Wind Speed.
For this project, set the Wind Speed to 16. If you switch to Realistic mode, you will notice that we now have really big waves. They sometimes get in the way of the horizon.
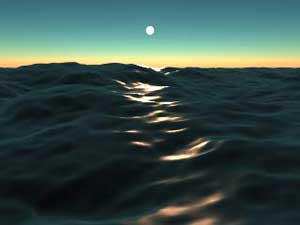
Wind Speed at 16.
STEP 4:
Let's make our composition asymmetrical. Twirl down the Camera section, and change Pan to 76. This moves our sun and its aquatic refraction over to the right side of the composition.
STEP 5:
Switch to Texture (No Geometry) in Render Mode. You will notice that the scene renders much faster than while in Realistic mode. You will also see that the waves don't look as they did in Realistic mode. Texture is a great option for quickly looking at your sky and the color of the water, but don't use Texture to accurately view the ocean surface or to set up your waves.
So, Texture mode doesn't show what the waves really look like, and Realistic takes a while to render. What to do?
STEP 6:
Switch the Render Mode to Wireframe. This will render everything out as a wireframe (surprise!). You cant see any colors, but you can see the shape of the waves and therefore what they will look like.
Wireframe is an incredibly useful rendering tool. We recommend this mode for setting up waves, loading in displacement maps, and creating animations. Wireframe mode renders quickly, which is great for previews. Between this and Texture mode, you only have to go into Realistic mode occasionally to see how the visuals will look in your final render.
STEP 7:
Still in Wireframe mode, go back down to the Primary Waves section. Set Wind Speed to 7. This will make our waves smaller, as right now they are a bit large.
That is all we need to do for the waves. Onwards to creating rainbows! Switch back to Texture so the rainbow can set up faster.
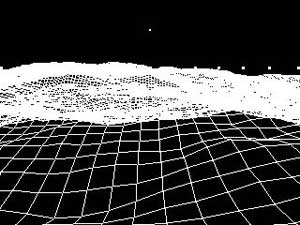
Wireframe mode.
STEP 8:
Rainbows are created by refraction, which is really just light reflecting through water. For this to occur, the light source needs to be behind the viewer, so the rainbow is in front of him. Our first step is to put a light source – the sun – behind the camera.
Twirl down the Light 1 section, and set the Light Elevation to -60. This negative value puts the sun behind the camera. As a comparison, if we set Light Elevation to 0, the light would be directly above the camera. At 89, the light would disappear below the horizon. Since this is raytraced and not a real scene, there is no real world ambient light, so the scene gets very dark.
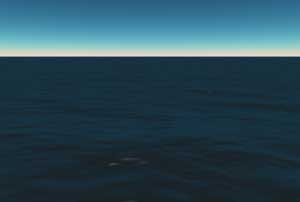
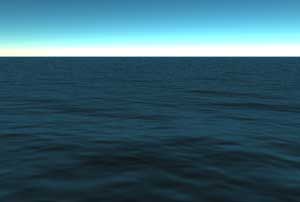
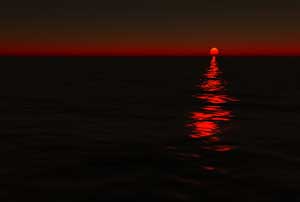
Left to right, Elevation at 0, 60 and 89.
STEP 9:
If you experimented with Light Intensity in the previous step, make certain to set that parameter back to -60.
Now go to the Air Optics section and twirl down the arrow. Notice the two sets of controls, one for Haze and the other for Rainbows. Click on the Rainbow Style pop-up and select Haze Rainbow. This creates a much nicer rainbow at the expense of speed. This is partially because Haze has to be turned on, which slows the renderer down.
Click on the Haze On checkbox to checkmark and turn it on. Set the Rainbow Radius to 48. Set the Rainbow Intensity to 8 and set Rainbow Thickness to 4.
Now this isn't bad. However, we are always looking for the pot o' gold at the end of the rainbow, so let's see if we can find that end. Twirl down the Camera section and set Pan to 125. Ah... That's it!
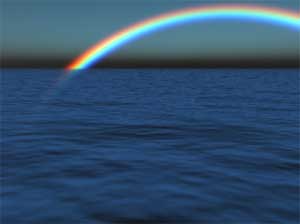

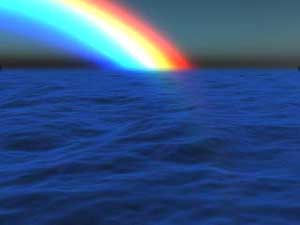
Left to right, Haze Rainbow selected, Haze adjustments made, and Camera> Pan moved.