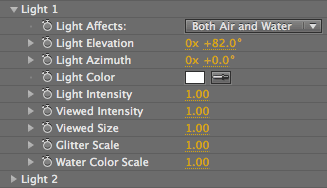
Light groups
The two Light property groups work exactly the same way, so we'll only describe them once here. Psunami give you two light sources to work with, the first of which is on by default and usually functions as the sun in your scene. Light 1 and Light 2 are independent of each other, and either (or both!) can work as suns.

Light group.
Light Affects
Light Affects lets you enable and disable the light, and choose which elements of your scene the light will affect. By default, Light 1 is set to Both Air and Water, which means it affects the whole Psunami scene, and Light 2 is set to Nothing, which keeps it turned off.
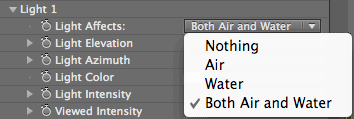
There are four Light Affects choices.
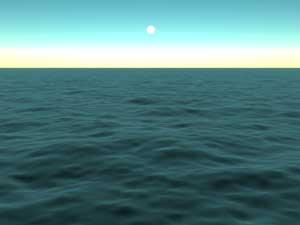
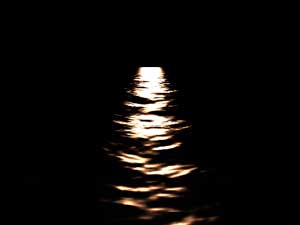
Left to right, Air mode, Water mode and Both Air and Water.
Light Elevation
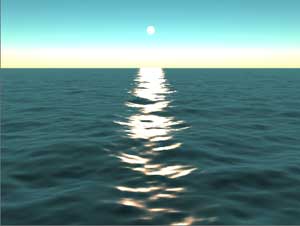
Light Elevation sets the angle, in degrees, of elevation of the light source above the horizon. An angle of 0 puts the light directly overhead (below left). A Light Elevation of 88 puts the light source just above the horizon. A Light Elevation of 90 or more hides the light below the horizon, so your scene renders black.
Notice that the light source automatically shades towards red as it approaches the horizon. In Psunami, any light source approaching the horizon anywhere is assumed to be a setting (or rising) sun and will change its lighting characteristics in a physically accurate way.
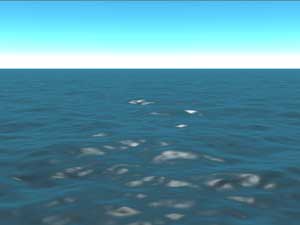
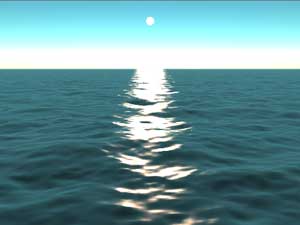
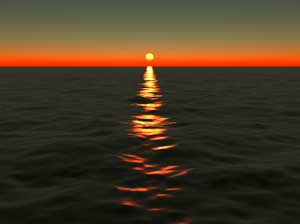
Left to right, Light Elevation at 30, 80 and 88.
Light Azimuth
Sets the angle, in degrees, of the orientation of the light source's axis of motion to the Psunami grid.
A Light Azimuth value of 0 orients the light along the east/west axis, so a camera facing directly east will see the light in the center of the frame. With the camera facing directly east, positive Light Azimuth values will shift the light to the right of the frame. Negative Light Azimuth values will shift the light to the left.
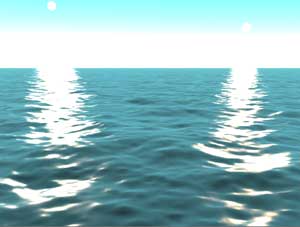
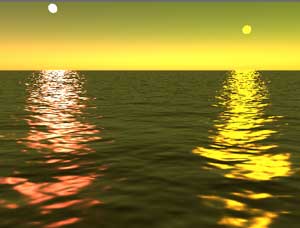
Both lights are turned on. At left, Light 1 has Light Azimuth at -20 and Light Elevation at 78, Light 2 has Light Azimuth at 20 and Light Elevation at 82.
At right, the Light Colors are changed to red and yellow.
Light Color
Sets the color of your light source, and by extension, the sky and the water. Thanks to the Light Affects property, you can have a light of one color illuminate only your sky, and the second light in a different color illuminate your water, for surreal effects.
Light Intensity
Sets how strongly the light will illuminate the elements in your scene. You can use values of 5 and above for blast effects. Very low values can be used to create night scenes.
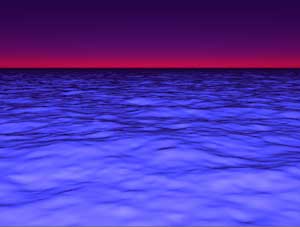
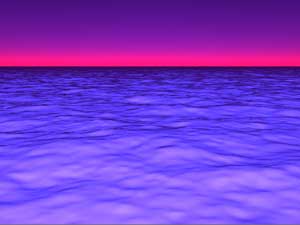
Left to right, Light Intensity at 1.0 and 2.0. Light Color is magenta.
Viewed Intensity
Sets how bright the light source will appear in the scene. The Viewed Intensity does not affect the light's brightness in the scene, only how it is displayed in the scene. You can use Viewed Intensity to turn off a light in the sky while still using it to light the scene.
Viewed Size
Sets the size of the light as it is displayed in the scene. Animating this higher increases the size of the light, so you can simulate the optical illusion of the setting sun growing larger as it approaches the horizon.
Glitter Scale
'Glitter' refers to the band of specular light that you see directly below the sun in a water scene. Glitter Scale sets how much of the specular light will be reflected back from Psunami's water surface. A Glitter Scale of 0 disables surface glitter. A value of 1, the default, is the normal amount of surface glitter that you would see in the real world. Higher values increase the brightness and size of the glitter area on the surface.
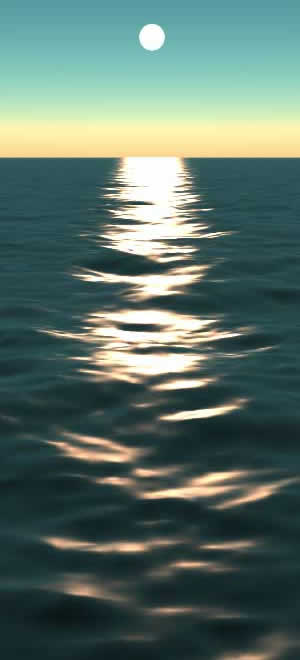
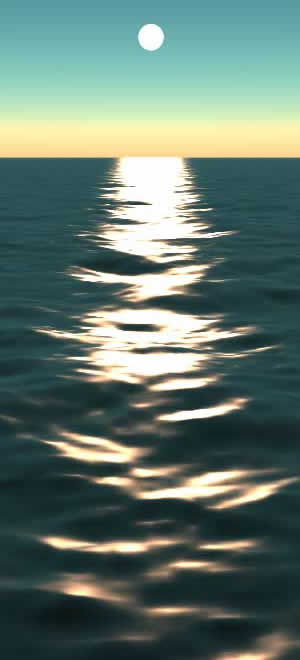
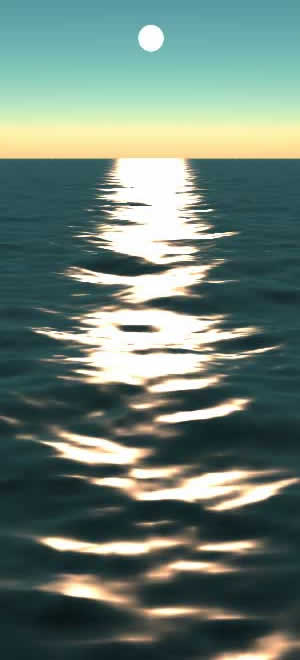
Left to right, Glitter Scale of 0.5, 1.0 and 2.0.
Water Color Scale
Sets how much the light color will contribute to the ocean's upwelling light color. You use this property mainly to disable a light's influence on the ocean color.
For example, if you want to use a light to only add a glitter color to the water surface without affecting the main water color, set this property to 0, and the light will only contribute to the specular highlight color.

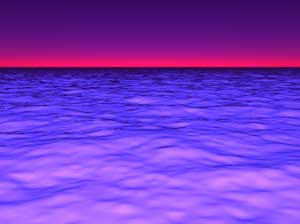
Left to right, Water Color Scale at 0 and 2.0.