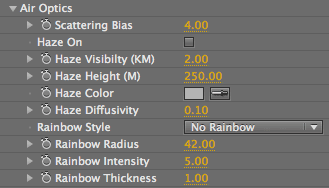
Air Optics group
Often in Psunami your attention will be focused on the water. But Psunami contains two physics-based render engines, one for large bodies of water and one for atmosphere.
While it can't create clouds or rain, Psunami's Air Optics engine can create photorealistic clear skies, along with haze and rainbows, all atmospherically correct. The Air Optics group lets you set air density, haze color and thickness, and a wide variety of rainbow properties.

Air Optics group.
Scattering Bias
Scattering Bias lets you set how much the air in your scene will scatter the sunlight before it reaches the ocean surface.
How it Works: As thin as it is, air still has density, and the denser it is, the more it scatters the sun's rays before they reach the surface. The air color is largely responsible for the color of the light and the water surface. 'Scattering' is the effect of filtering the sunlight and is what makes the sky blue. The normal atmospheric density is such that only blue Light is passed through in the upper atmosphere.
The default value produces a cheerful blue sky. Lower values reduce the saturation in your scene. A value of 0 renders the scene in grayscale. Negative values invert the low horizon and high atmosphere colors. More extreme Scattering Bias values cause surreal color filtering. High values filter out progressively more high-frequency blue and green Light, leaving the lower frequency reds and yellows.
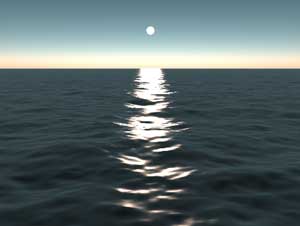
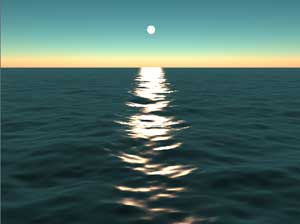
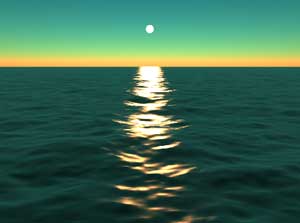
Left to right, Scattering Bias of 2, 4 (default) and 6.
Haze On checkbox
This checkbox turns on atmospheric haze in your scene. By default, your Psunami scene will look blown out because we are looking straight into the sun. You can move the sun or camera for less extreme results.
How it Works: Atmospheric haze consists of water vapor and droplets suspended in the air, which reduce the overall visibility. Haze has the effect of scattering and filtering Light just like the air itself does, but also tends to reduce the saturation in the scene. The default haze settings produce extreme filtering and luminance, but you can control this with the other haze properties. You can use haze to simulate fog, smog, or smoke, but since haze is uniform, you can't simulate a patchy fog with variable density. Be aware that adding haze to your scene can increase render times somewhat.
Haze Visibility (KM)
Sets the distance, in kilometers, from the camera where the haze becomes opaque. Increasing this value has the effect of increasing visibility and reducing the overall haze.
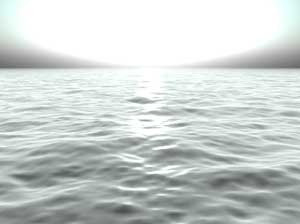
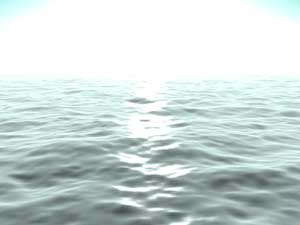
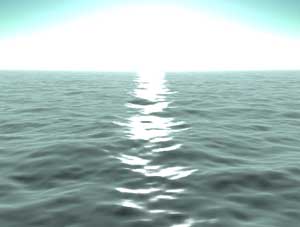
Left to right, Haze Visibility at 1, 5 and 10.
Haze Height (M)
Sets the thickness, in meters, of the haze layer. Lower values make the haze thinner and increase visibility. Higher values make the haze thicker and decrease visibility. Extreme settings, like a Haze Height of 3,000, produce desaturated light-bloom effects.
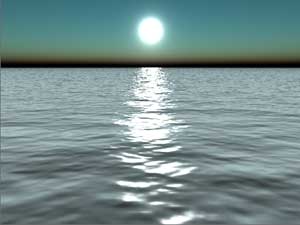
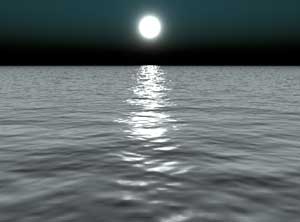
Left to right, Haze Height at 100 and 500.
Haze Color
Sets the color of the haze in your scene, obviously enough. Reducing the Lightness or luminance of your haze color will reduce the influence the haze has on visibility in the scene.
The image below left shows the same scene as used before, but with the Haze Color set to a dark gray. You can, of course, use colored haze in your scene too. Colored haze will colorize every element in the scene; the Lighter the color, the greater the colorization. The image below right shows our familiar scene with a bright teal haze.
Haze Diffusivity
Sets how diffuse, or scattered, your haze will appear in the scene. Like the Scattering Bias property, low values reduce the amount of scattering and defocusing of the Light in the haze. High values increase the amount of scattering and defocusing of the Light in the haze, creating a Light-bloom effect. You can use values of 1 or higher to produce moonlight scenes.
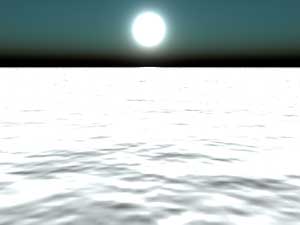
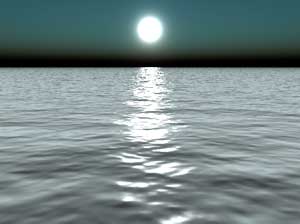
Left to right, Haze Diffusivity at 0.9 and 1.
Rainbow Style pop-up
Lets you turn on the rainbow generator and choose from two rendering styles.
How it Works: In Psunami, as in the real world, rainbows are generated by the refraction of sunlight through water vapor. To see a rainbow in the real world, you have to position yourself between the sun and the rainbow — that is, the sun must be at your back to see a rainbow in front of you. In Psunami, rainbows appear 180 degrees from the Light sources that generate them. In order to see them, you have to rotate your camera or position a Light source so that at least one of your Light sources is directly behind the camera.

There are three Rainbow Style options:
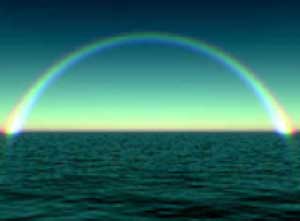

Left to right, Haze Rainbow and Clear Air Rainbow.
Rainbow Radius
Sets the size of the arc of the rainbow. A rainbow is actually a full circle, but most of the rainbow's arc is below the horizon. Increasing the Rainbow Radius increases the size of the rainbow circle. You can get interesting lighting effects with small Rainbow Radius values.
Rainbow Intensity
Sets the brightness and saturation of your rainbow. The default value of 5 gives you the most realistic rainbow image. Higher values of 20 or more give you intense glowing colors.
Rainbow Thickness
Sets the width of the rainbow arc. Higher values increase the width of the arc. Values of 5 or more produce interesting plasma effects.
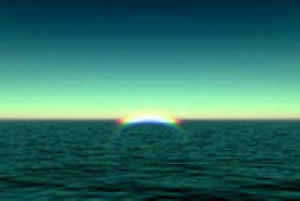
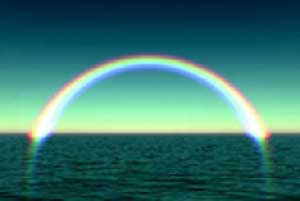
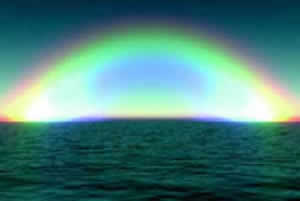
Left to right, Rainbow Radius set low, Rainbow Intensity set mid-level, Rainbow Thickness set high.