
Interface> Layer Options
Directly beneath the Preview Window are three (though sometimes four) pop-up menus and an Invert checkbox. All of these options are ways to control how the light effect interacts with your Photoshop file.

![]()
The Layer Options.
Tint Layer pop-up
The Tint Layer menu loads in another layer from your Photoshop file from which the flare will derive its color information. This will add color to the flare as you move it over certain areas of the image.
The color change that KLF Photo picks up from this layer is added to any coloring effects the flare elements have themselves. This blends a new color palette, essentially, for your lighting effect. For instance, a yellow flare passing through a blue-colored Tint Layer may result in a subtle green flare. This Tint effect can help you composite the light effect more seamlessly into your source image.

The Tint Layer pop-up.
How Tint Layer works
You can select any layer in your Photoshop file to use as the Tint. Often, it is most effective to load in the flare layer itself as the Tint Layer. This will make the flare properly adjusts itself to the color of the source it is being placed on.
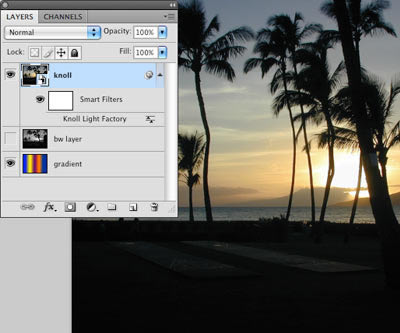
Another way to use the Tint Layer is to create a new layer above the flare layer and fill it with a colored gradient. Select the layer that the flare will be rendered on, apply KLF Photo, pop open the Tint Layer menu and select the gradient layer. Then move the flare around and note how it changes in color.
![]()

At left, a Photoshop file showing a sunset photograph layer.
At right, the same Photoshop file showing a colored gradient layer.
![]()
![]()
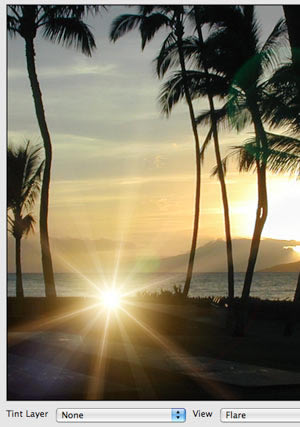
At left, inside KLF Photo, the Tint Layer is set to None and turned off.
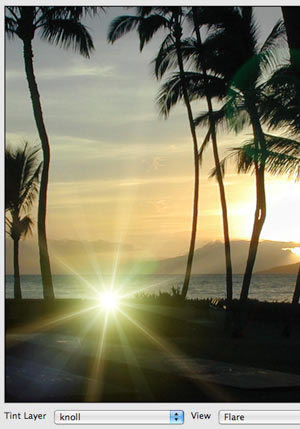
In middle, the Tint Layer is pointing to the sunset layer. This brings the photograph's colors into the light effect.
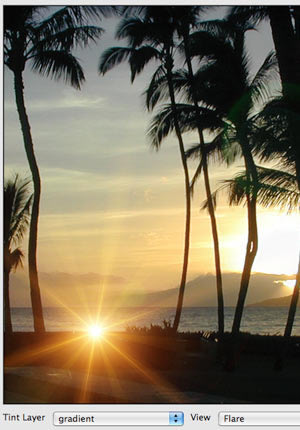
At right, the Tint Layer is pointing to the gradient layer. This brings the gradient's colors into the light effect.
Obscuration Layer pop-up
The Obscuration Layer pop-up menu is used to choose a layer in the Photoshop project that will hide (or 'obscure') the flare. This makes the lighting effect appear to pass behind objects.
Obscuration can be used to simulate light bloom. It can also allow a lens flare to properly taper itself the closer it gets to being blocked by a subject in the source image. KLF Photo is able to create very realistic simulations of a light passing behind an object using the Obscuration Layer function.
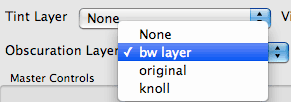
The Obscuration Layer pop-up.
How Obscuration Layer works
The Obscuration Layer is generally a black-and-white (b/w) layer that acts as a mask. The flare will be hidden by any area that is black and show through any area that is white.
It is often interesting if there are levels of gray in the b/w layer. To add levels of gray, you can desaturate a continuous tone image or you can add a blur to your b/w layer. The flare will adjust itself accordingly if brought through a soft gradient of gray between the black and white parts of the layer. This can create some interesting effects since there will be more of a transition at the fall-off.
The b/w image must be on a regular layer in the same Photoshop file. Loading in a layer with a vector mask will not work with the Obscuration Layer. You also cannot point to an alpha channel.
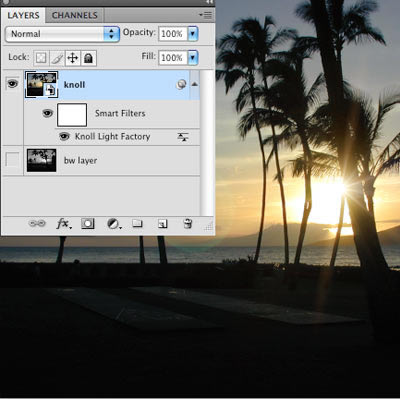
![]()

At left, the Photoshop file with KLF Photo applied to a sunset layer.
At right, the same Photoshop file showing a grayscale layer of that sunset image.
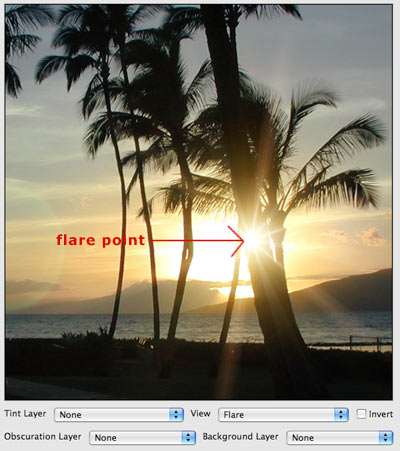
![]()
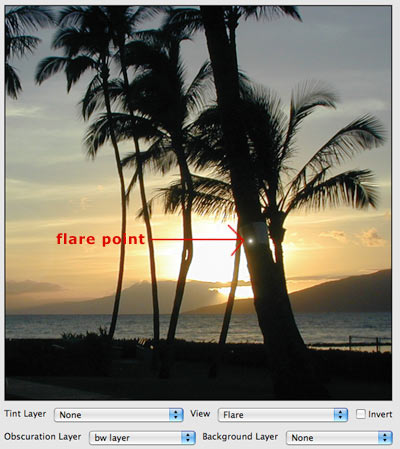
At left, inside KLF Photo, the Obscuration Layer is set to None and turned off.
At right, the Obscuration Layer is set to the 'bw layer' in the Photoshop file. This hides any part of the flare that is in a black area of the 'bw layer'.
Invert checkbox
Turned off by default. When turned off, the Obscuration Layer works as described above. Black hides the flare and white shows the flare.
![]()
Checkmarking the Invert checkbox will switch the alpha mode of the Obscuration Layer. When turned on, the flare will be hidden by the white areas of the layer, and will show through the black areas.
Background Layer pop-up
This pop-up is visible only some of the time. If your Photoshop file has one layer, the Background Layer pop-up does not display. If your Photoshop file has two layers or more, when KLF Photo is applied, the Background Layer pop-up appears. This is because the plug-in detects that you have two (or more) layers -- other than the layer that KLF Photo is applied to -- which can be used as background images.
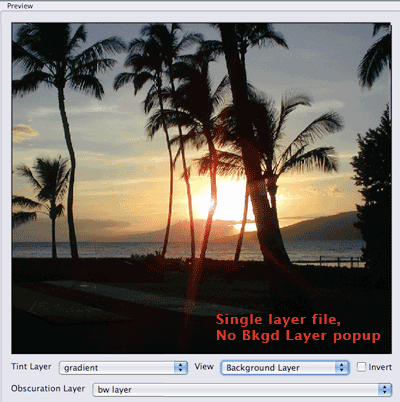
![]()
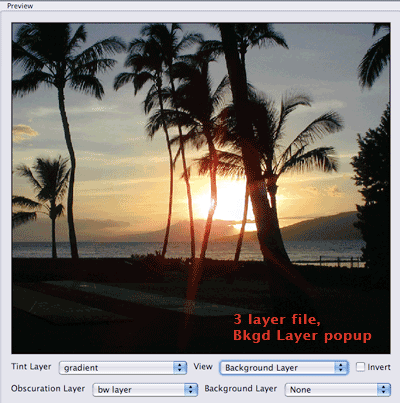
At left, for a Photoshop file with 1 layer, the Background Layer pop-up does not display.
At right, for a Photoshop file with 2 or more layers, the Background Layer pop-up appears.
How Background Layer works
The Background Layer pop-up displays all of the layers in your Photoshop file that can be used with the current light effect. Just choose the layer to make it active.
NOTE: The View pop-up's Background Layer option must initially be selected for the Background Layer pop-up to function. Once the Background functionality has been made active, any layer in the View pop-up can be subsequently chosen.
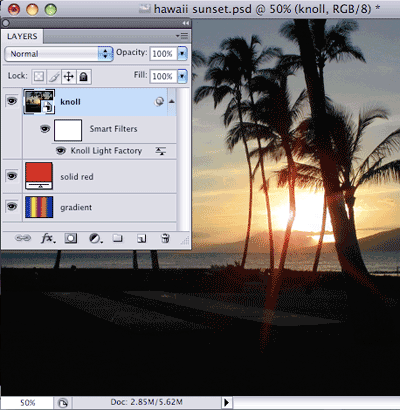
![]()
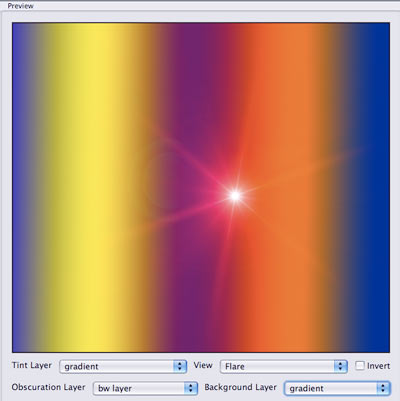
At left, the source Photoshop file with three layers. One layer is called 'gradient'.
At right, the 'gradient' Photoshop layer is chosen in the Background Layer pop-up.
View pop-up
The View pop-up menu gives five different modes to view your image in the Preview Window.
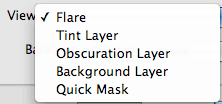
View> Flare
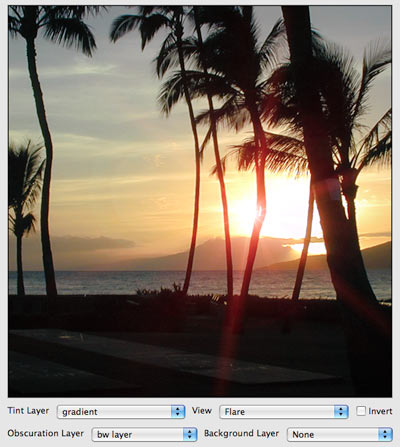
The default setting is Flare. This shows a preview of the final render of the light effect on top of the Photoshop layer to which it has been applied.
View> Tint Layer
Displays the layer selected in the Tint Layer pop-up menu. If there is no Tint Layer loaded, the Preview Window will be black.
![]()
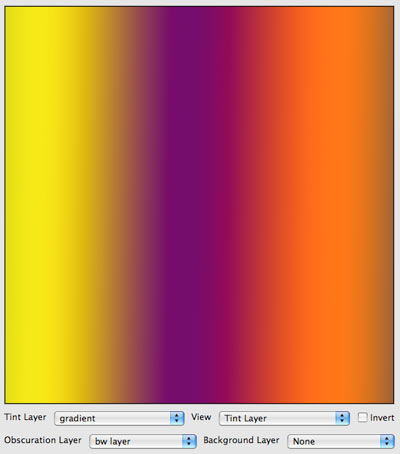
At left, the Flare View. At right, the Tint Layer View.
View> Obscuration Layer
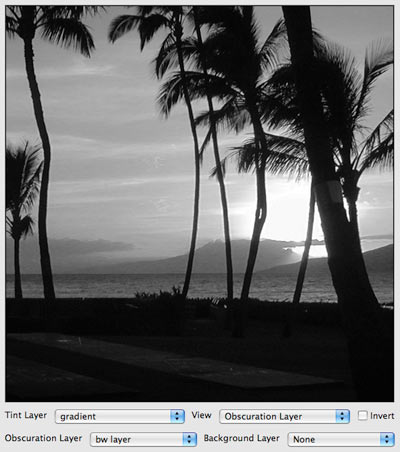
Displays the layer loaded into the Obscuration Layer popup menu. If there is no Obscuration Layer loaded, the Preview Window will be black.
View> Background Layer
Displays the light effect against a layer in your Photoshop file other than the source Photoshop layer. This View option works with the Background Layer pop-up.
![]()
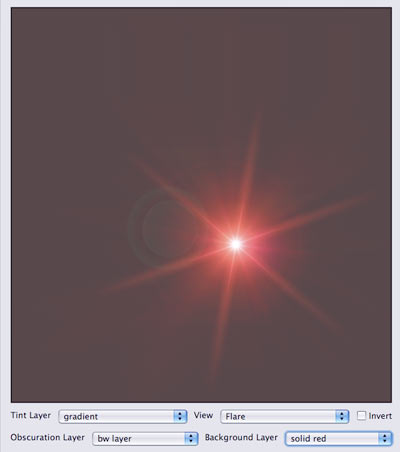
At left, the Obscuration Layer View. At right, the Background Layer View.
View> Quick Mask
The Quick Mask view mode generates a composite of the Obscuration Layer with the Flare layer. The white parts of the Obscuration Layer will show up red against the Flare layer. This makes it easier to see where the light effect will be blocked and where it will show through.
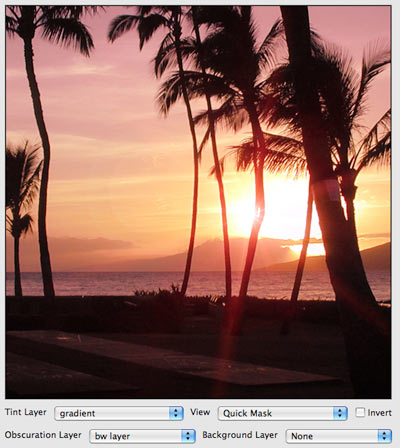
The Quick Mask View.